This is a roundup of the Christmas decor in our house this year! It’s more of a functional post than a “pretty” post, so if you want to see pictures, follow our LTK page and our Instagram page 🙂
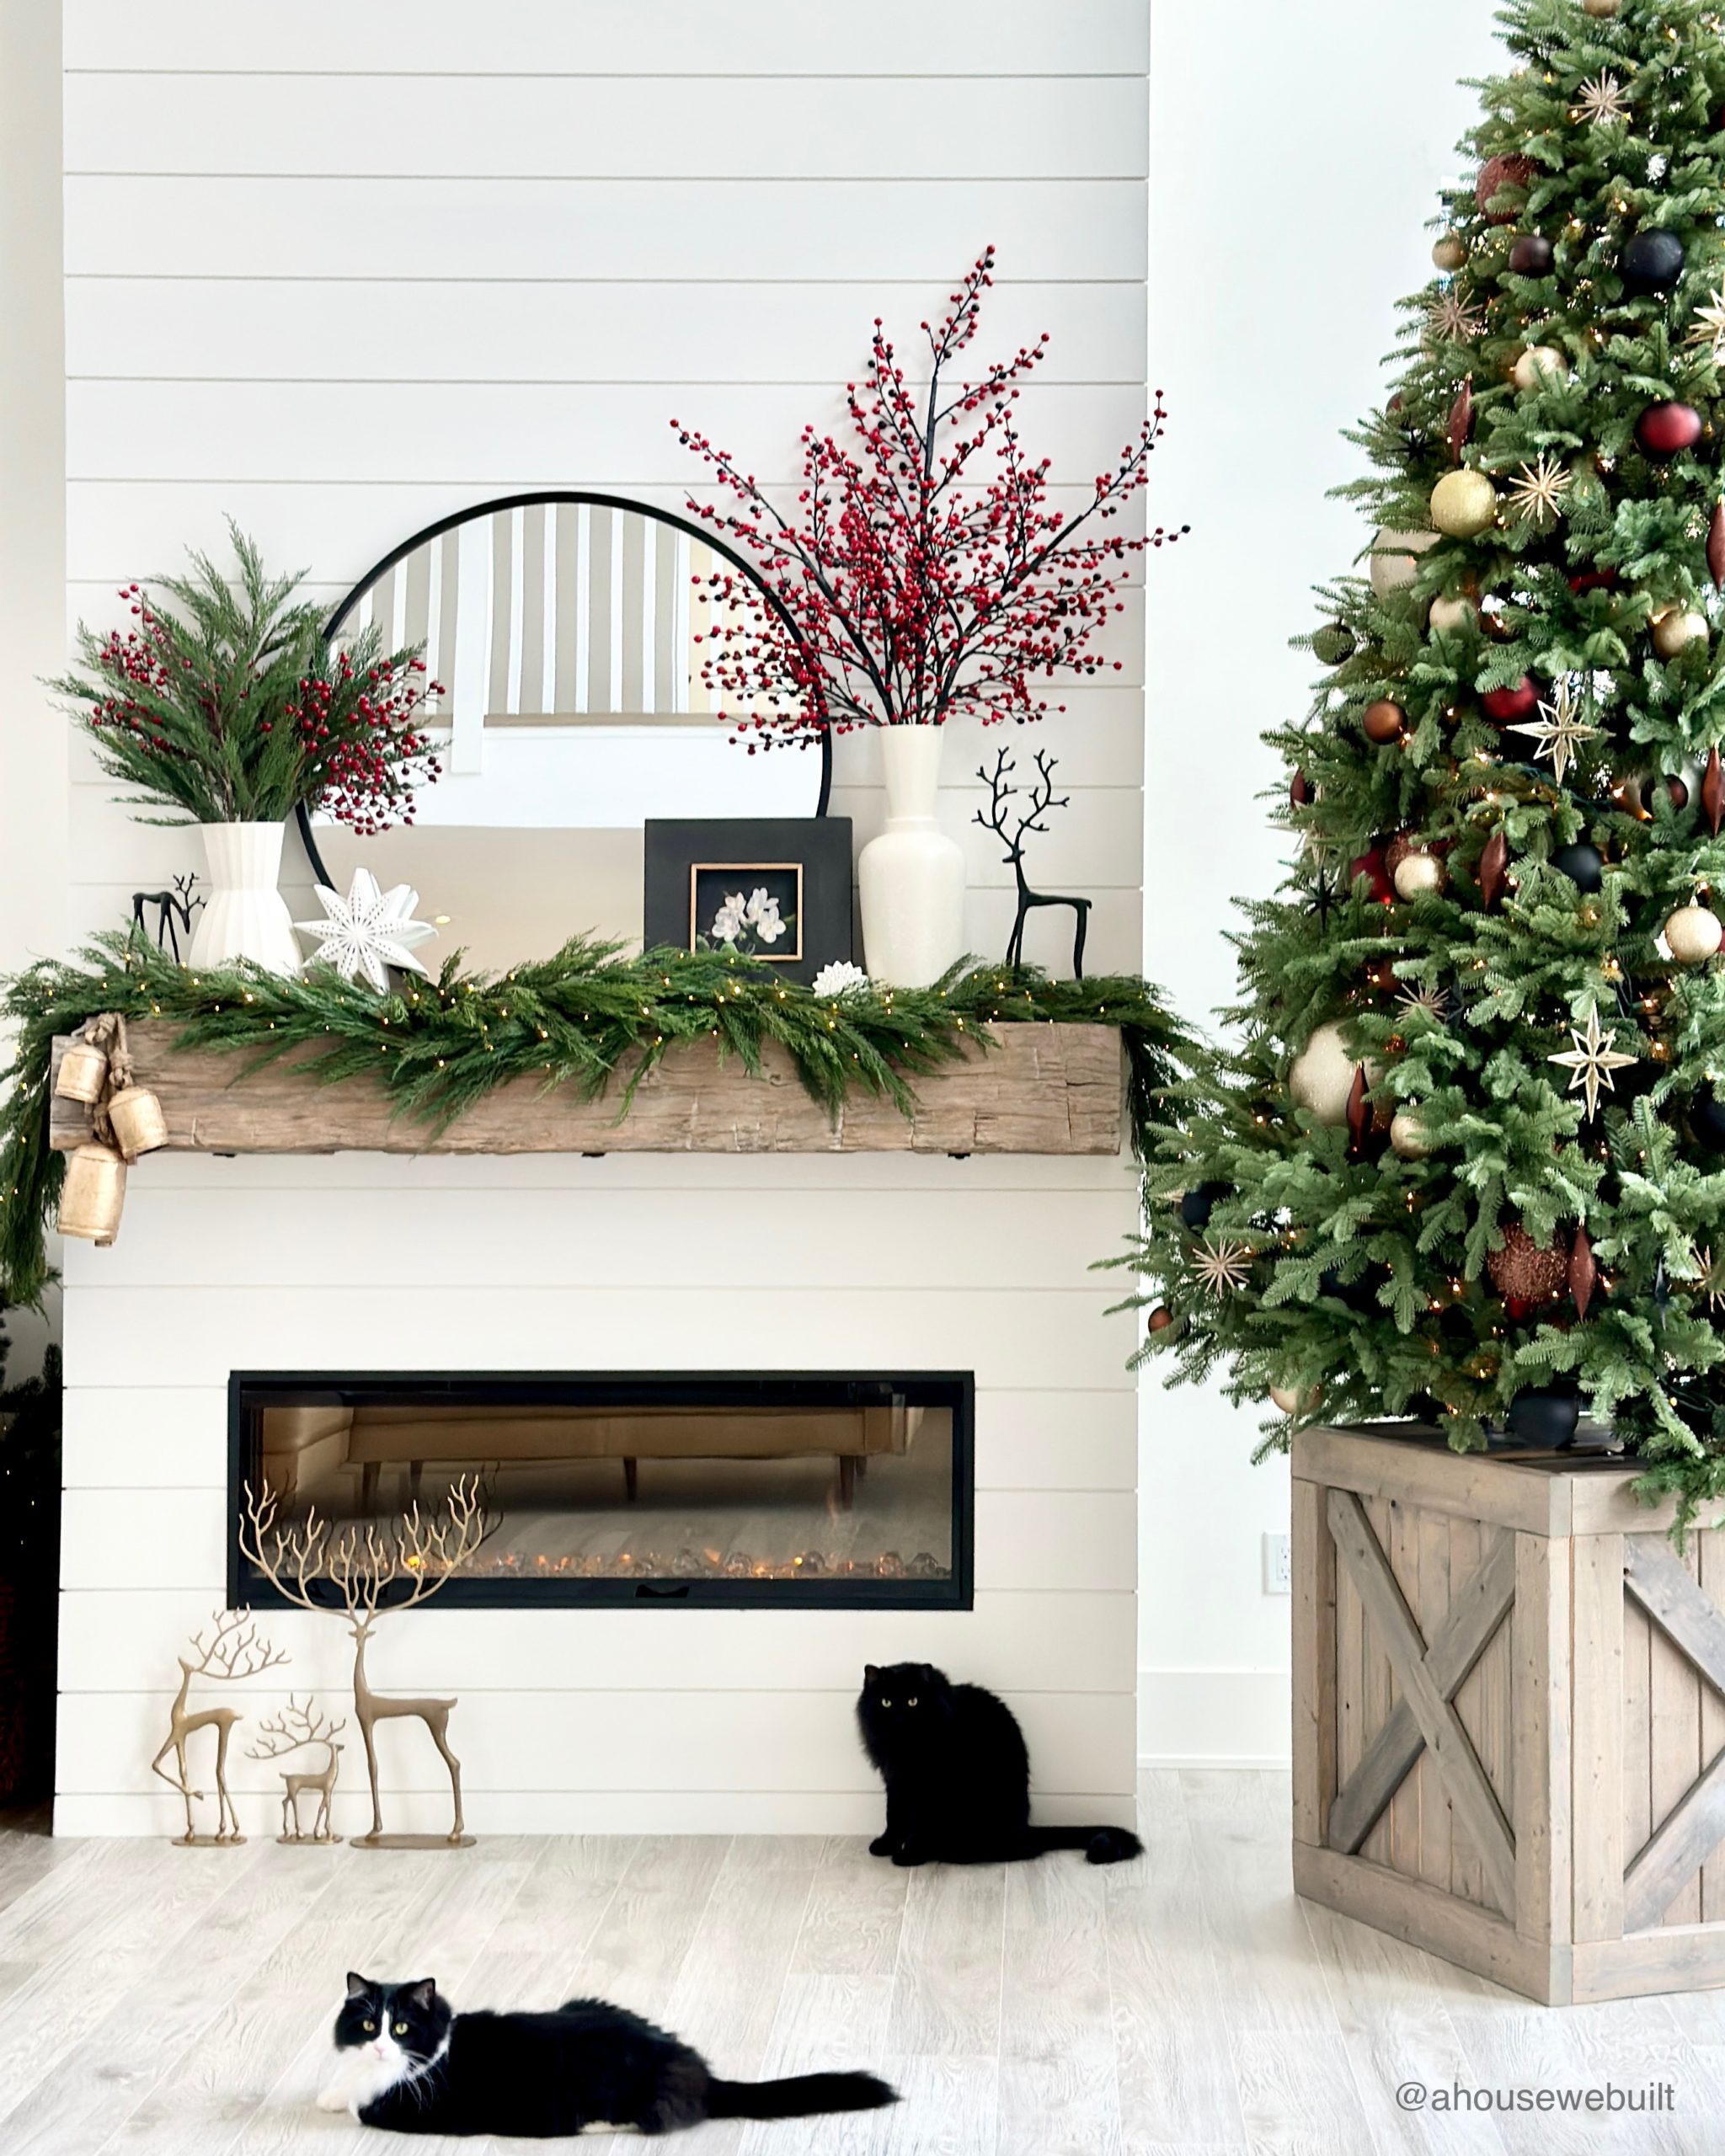
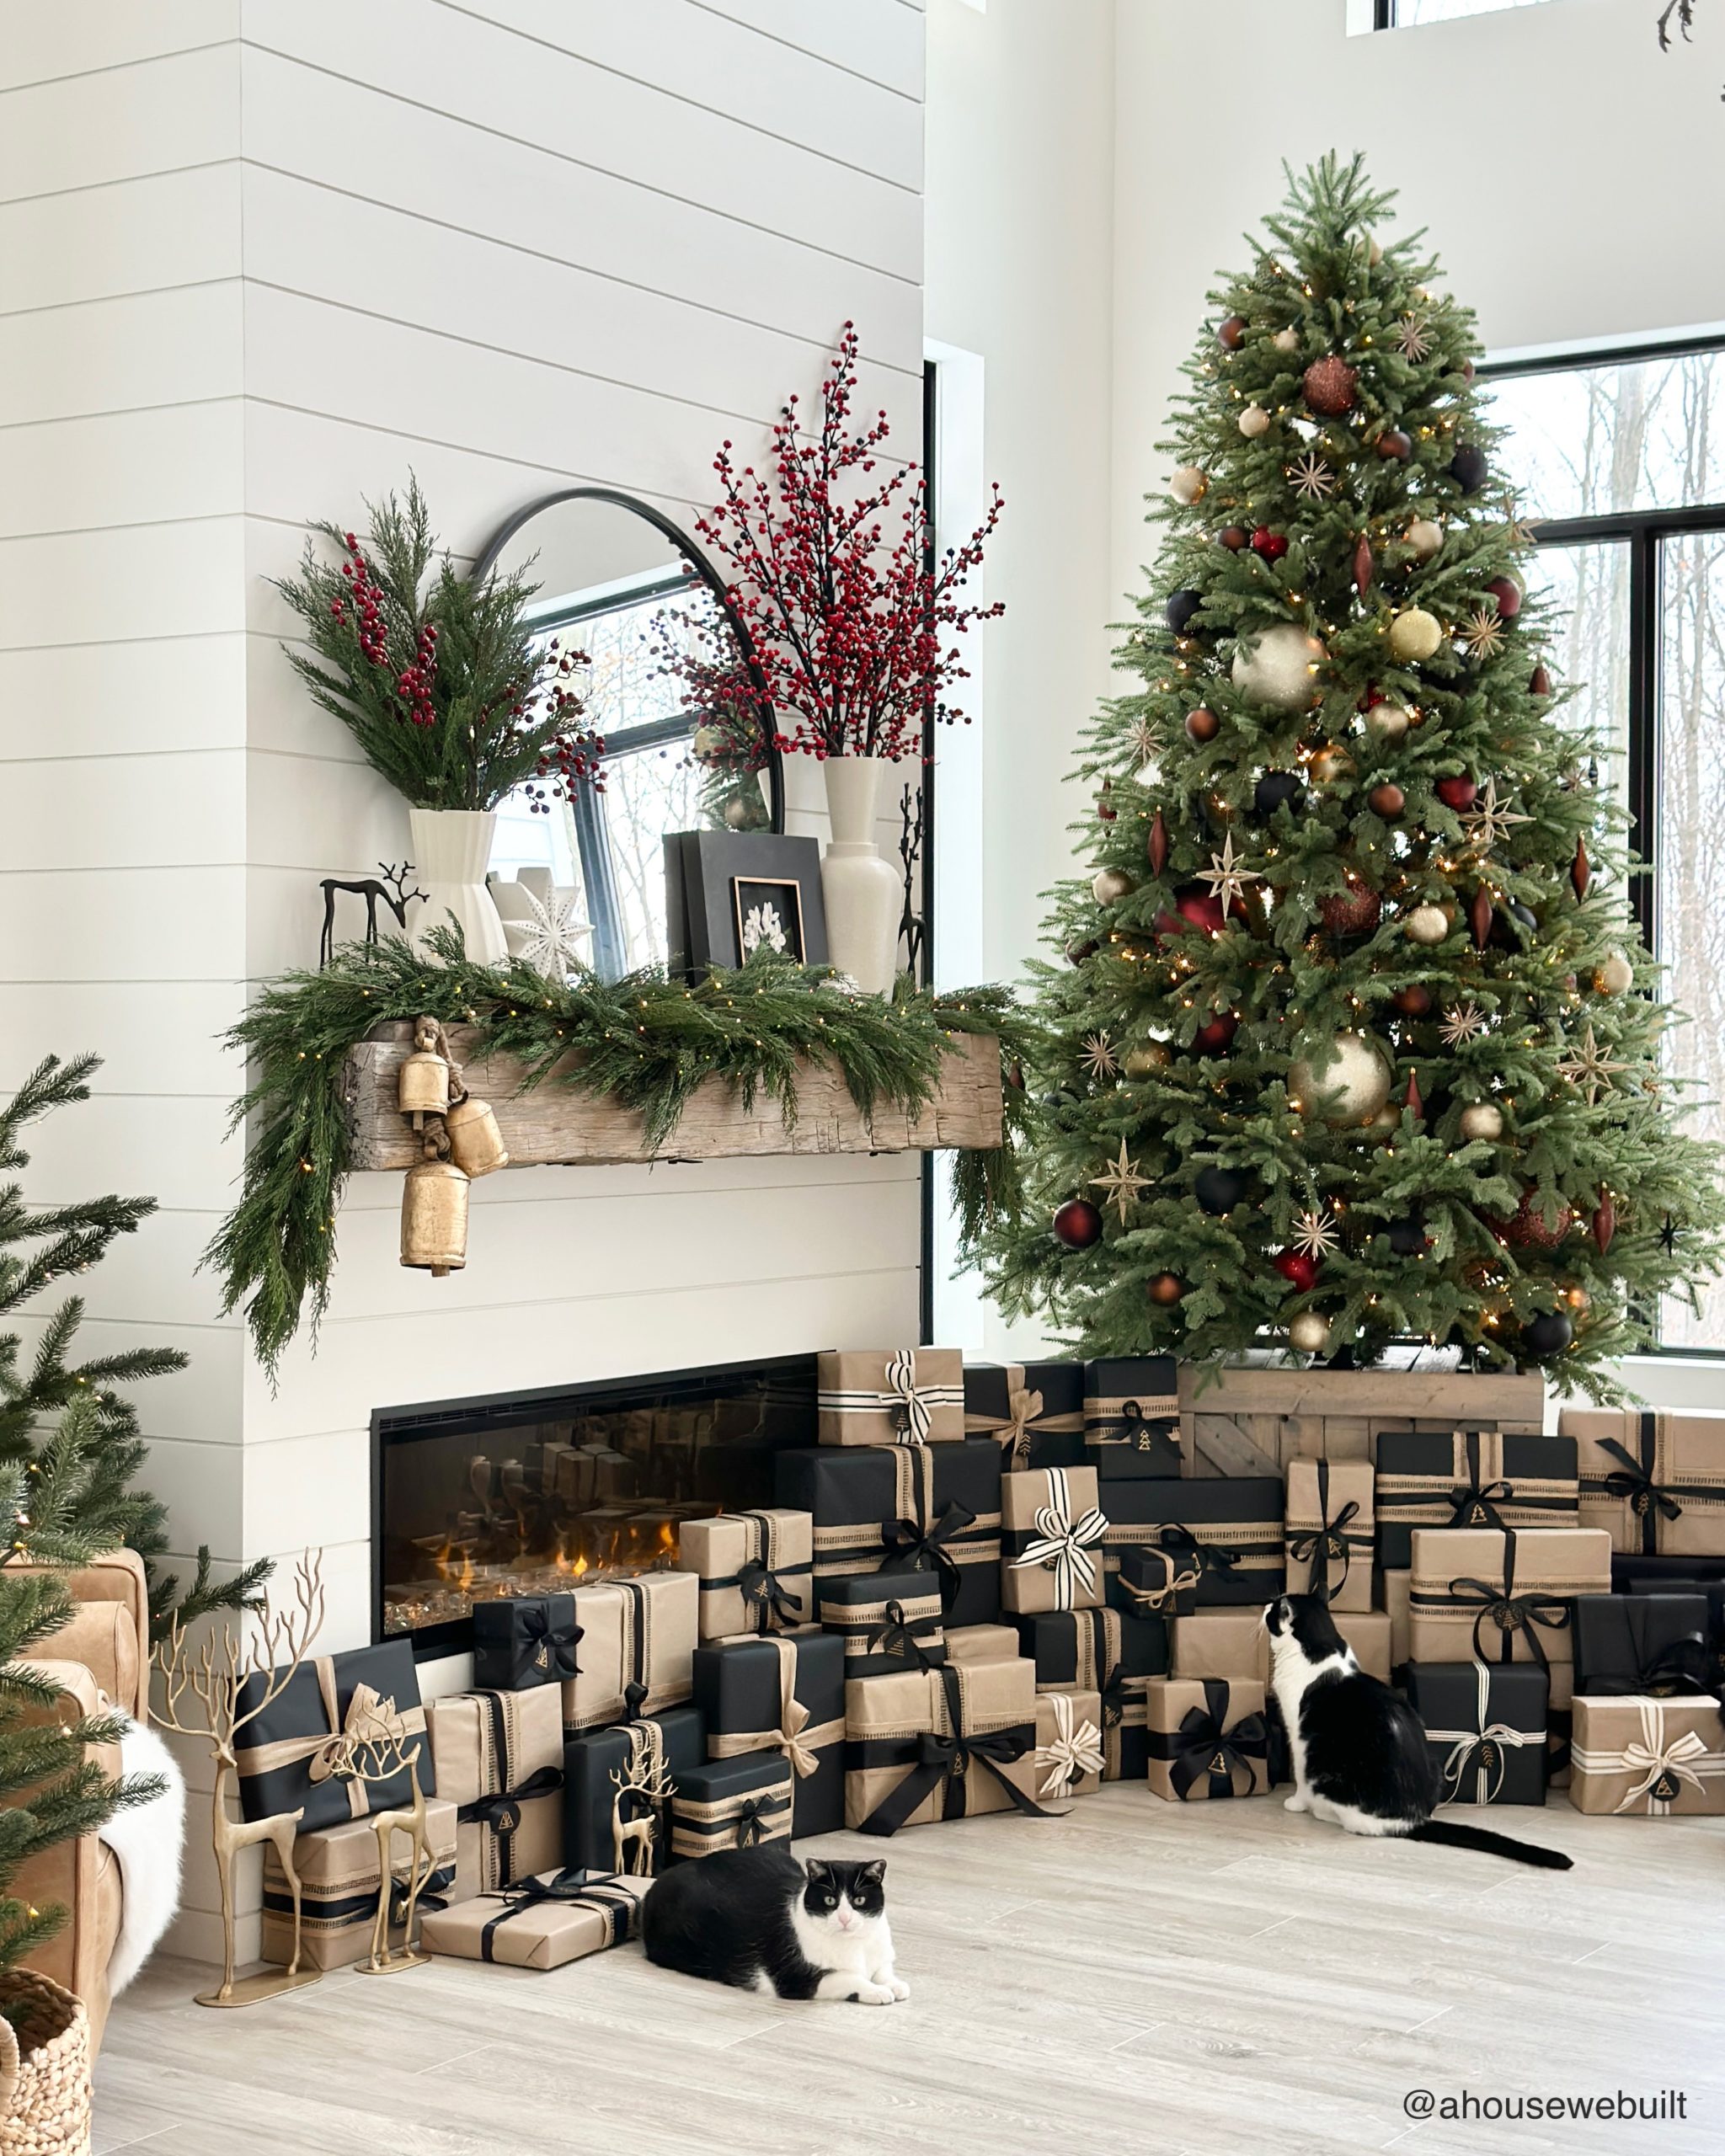
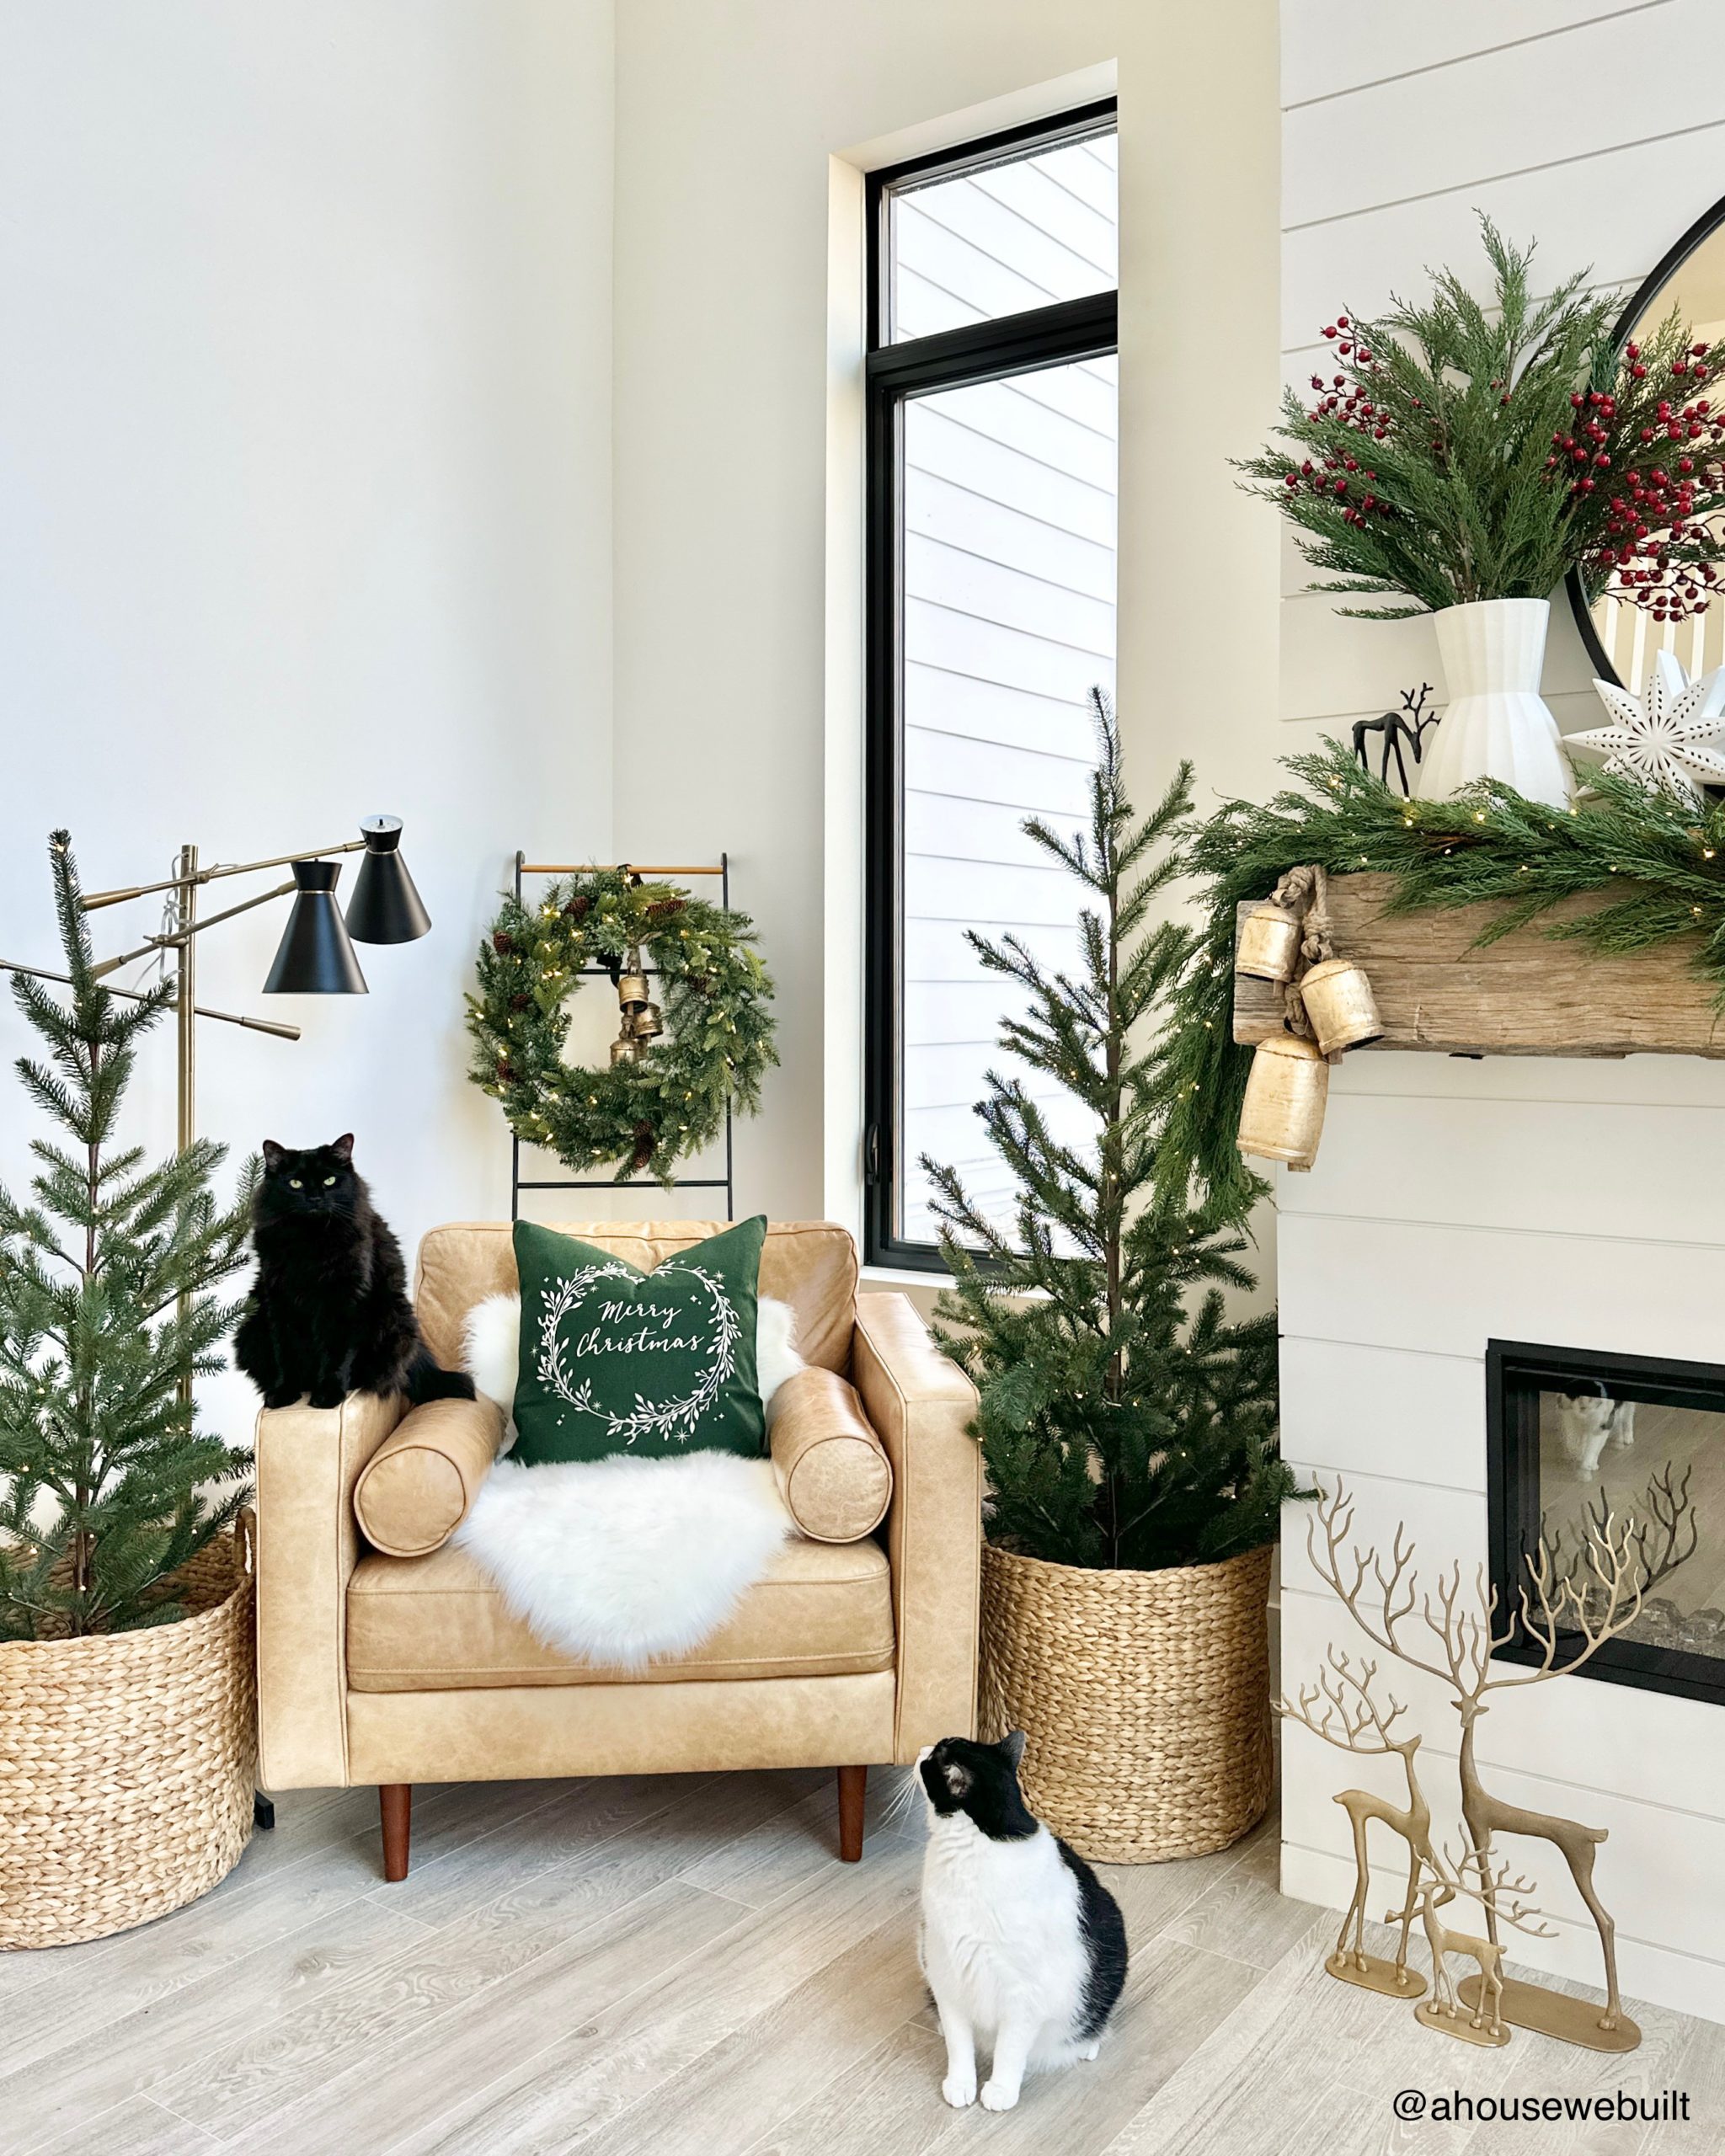
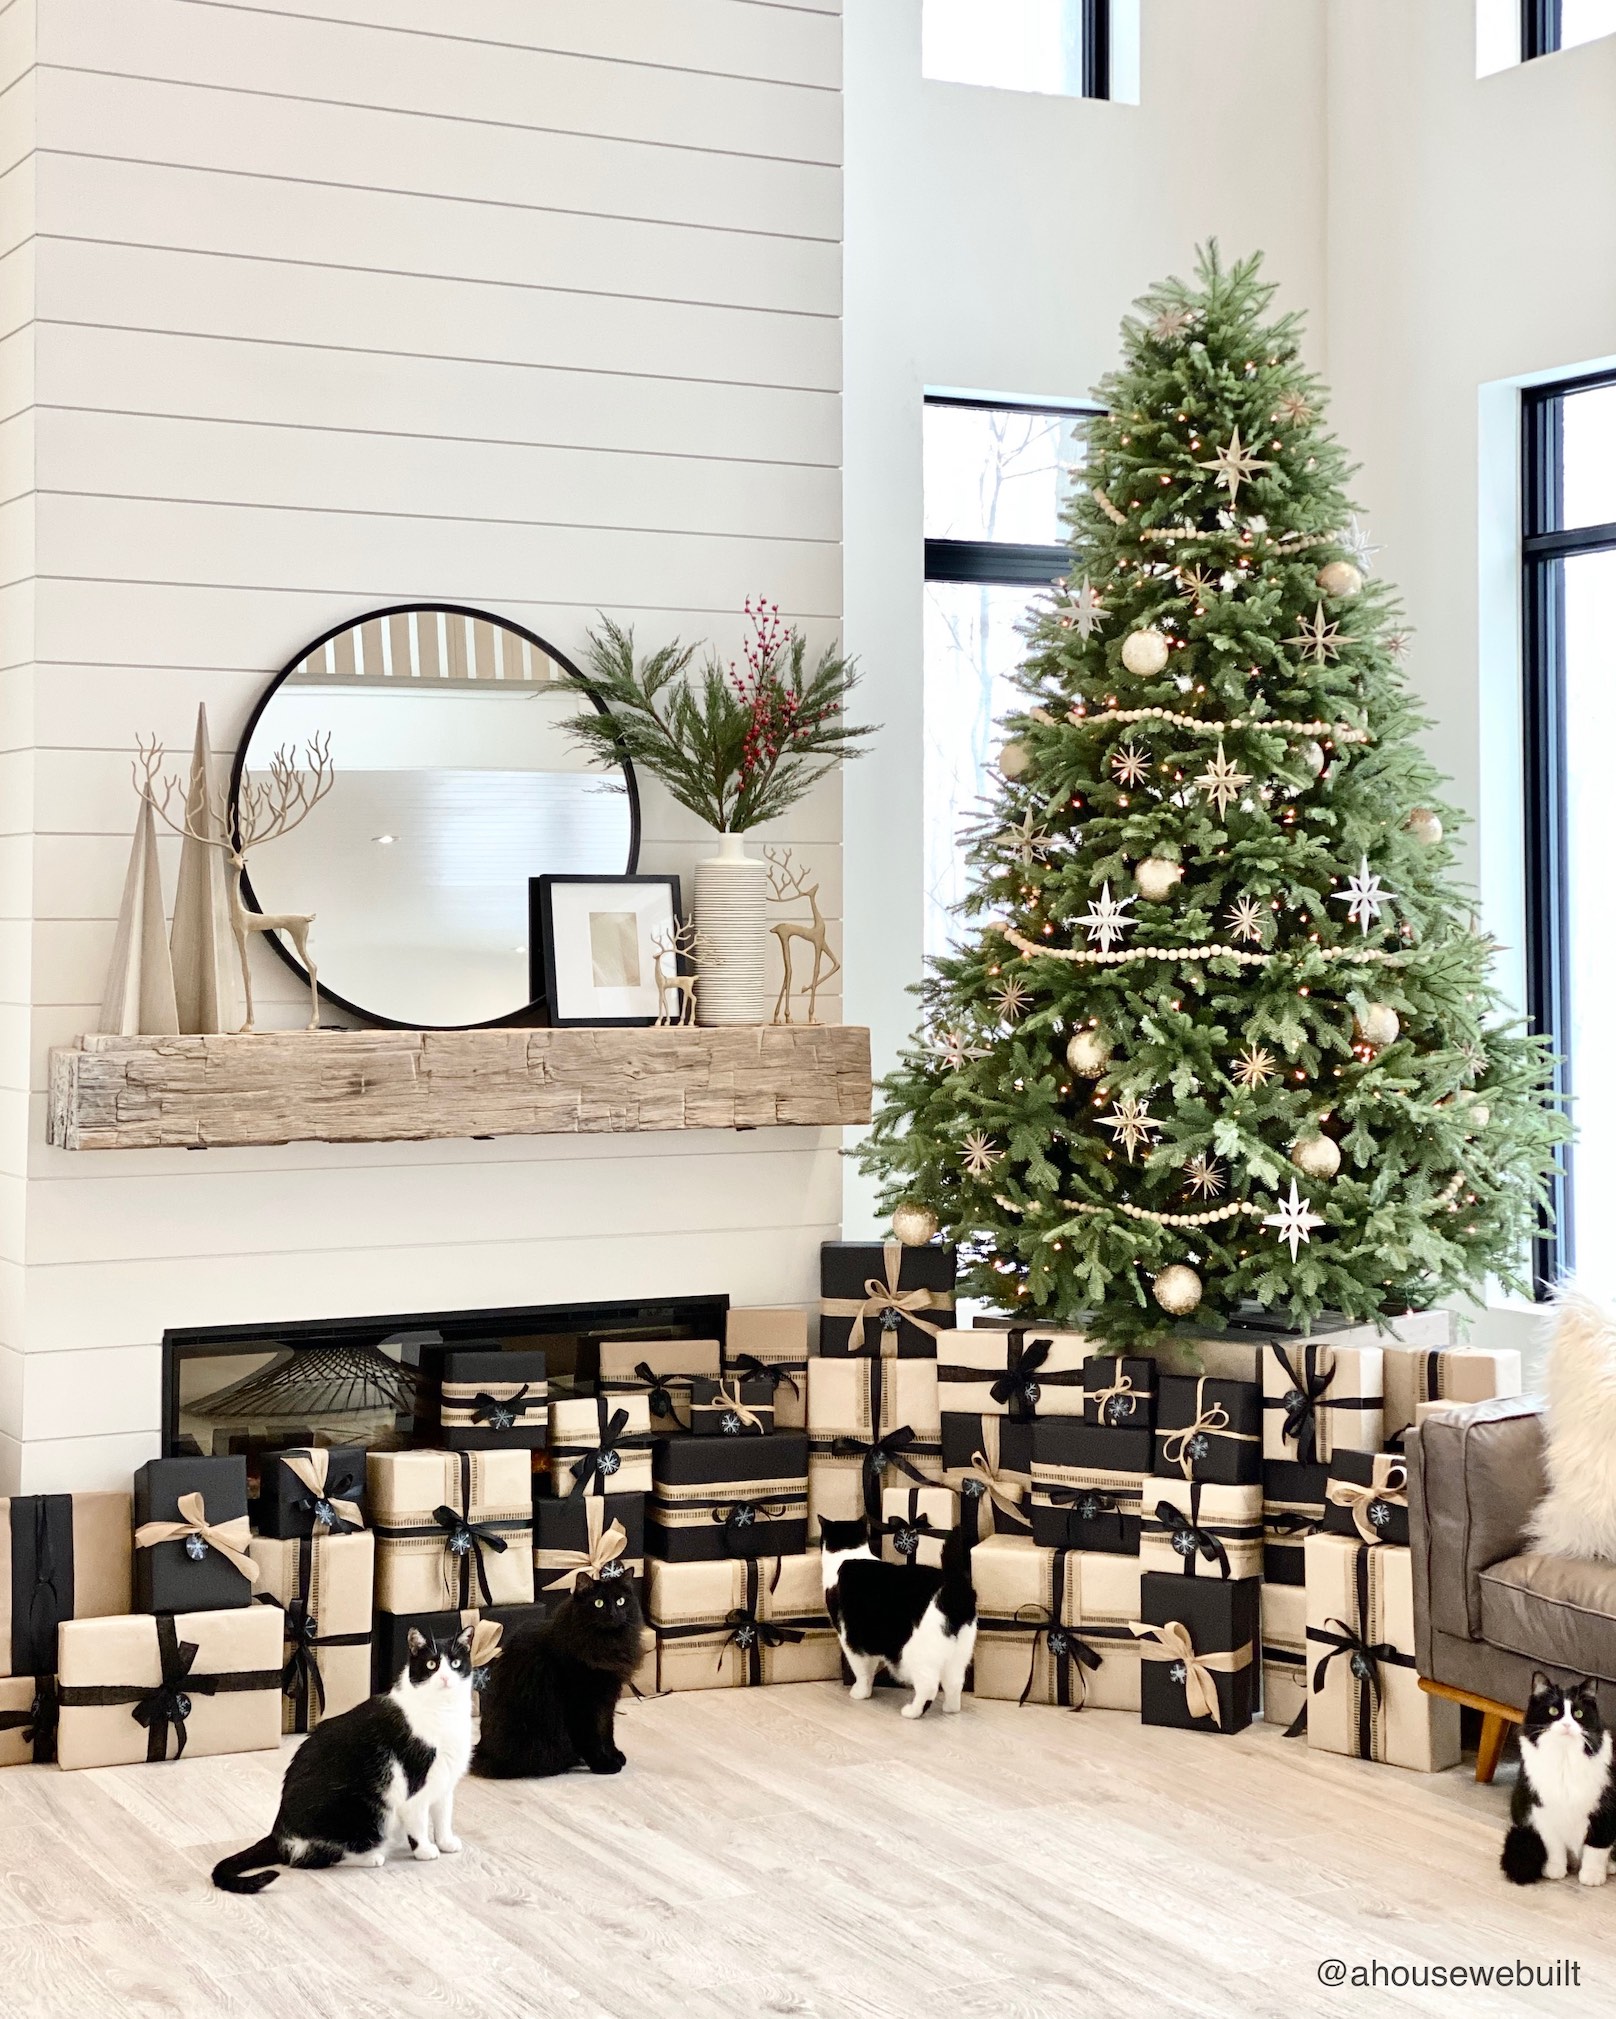
Living Room
- CHRISTMAS | Garland on mantle: Crate & Barrel
- CHRISTMAS | Red berry stems: Crate & Barrel
- CHRISTMAS | Gold reindeer: Pottery Barn
- CHRISTMAS | Brass bells on mantle: Amazon
- CHRISTMAS | Garland of bells: Michaels
- CHRISTMAS | Ceramic star: Crate & Barrel
- CHRISTMAS | Twinkle lights: Amazon
- CHRISTMAS | Christmas tree: Balsam Hill
- CHRISTMAS | Christmas tree stand: DIY | Similar @ Home Depot
- CHRISTMAS | Ornaments | starbursts: Crate & Barrel
- CHRISTMAS | Ornaments | round: Walmart
- CHRISTMAS | Wreath: Similar @ West Elm | Pottery Barn
- CHRISTMAS | Bells on wreath: Amazon
- CHRISTMAS | Cypress/cedar stems in clear vase: Crate & Barrel
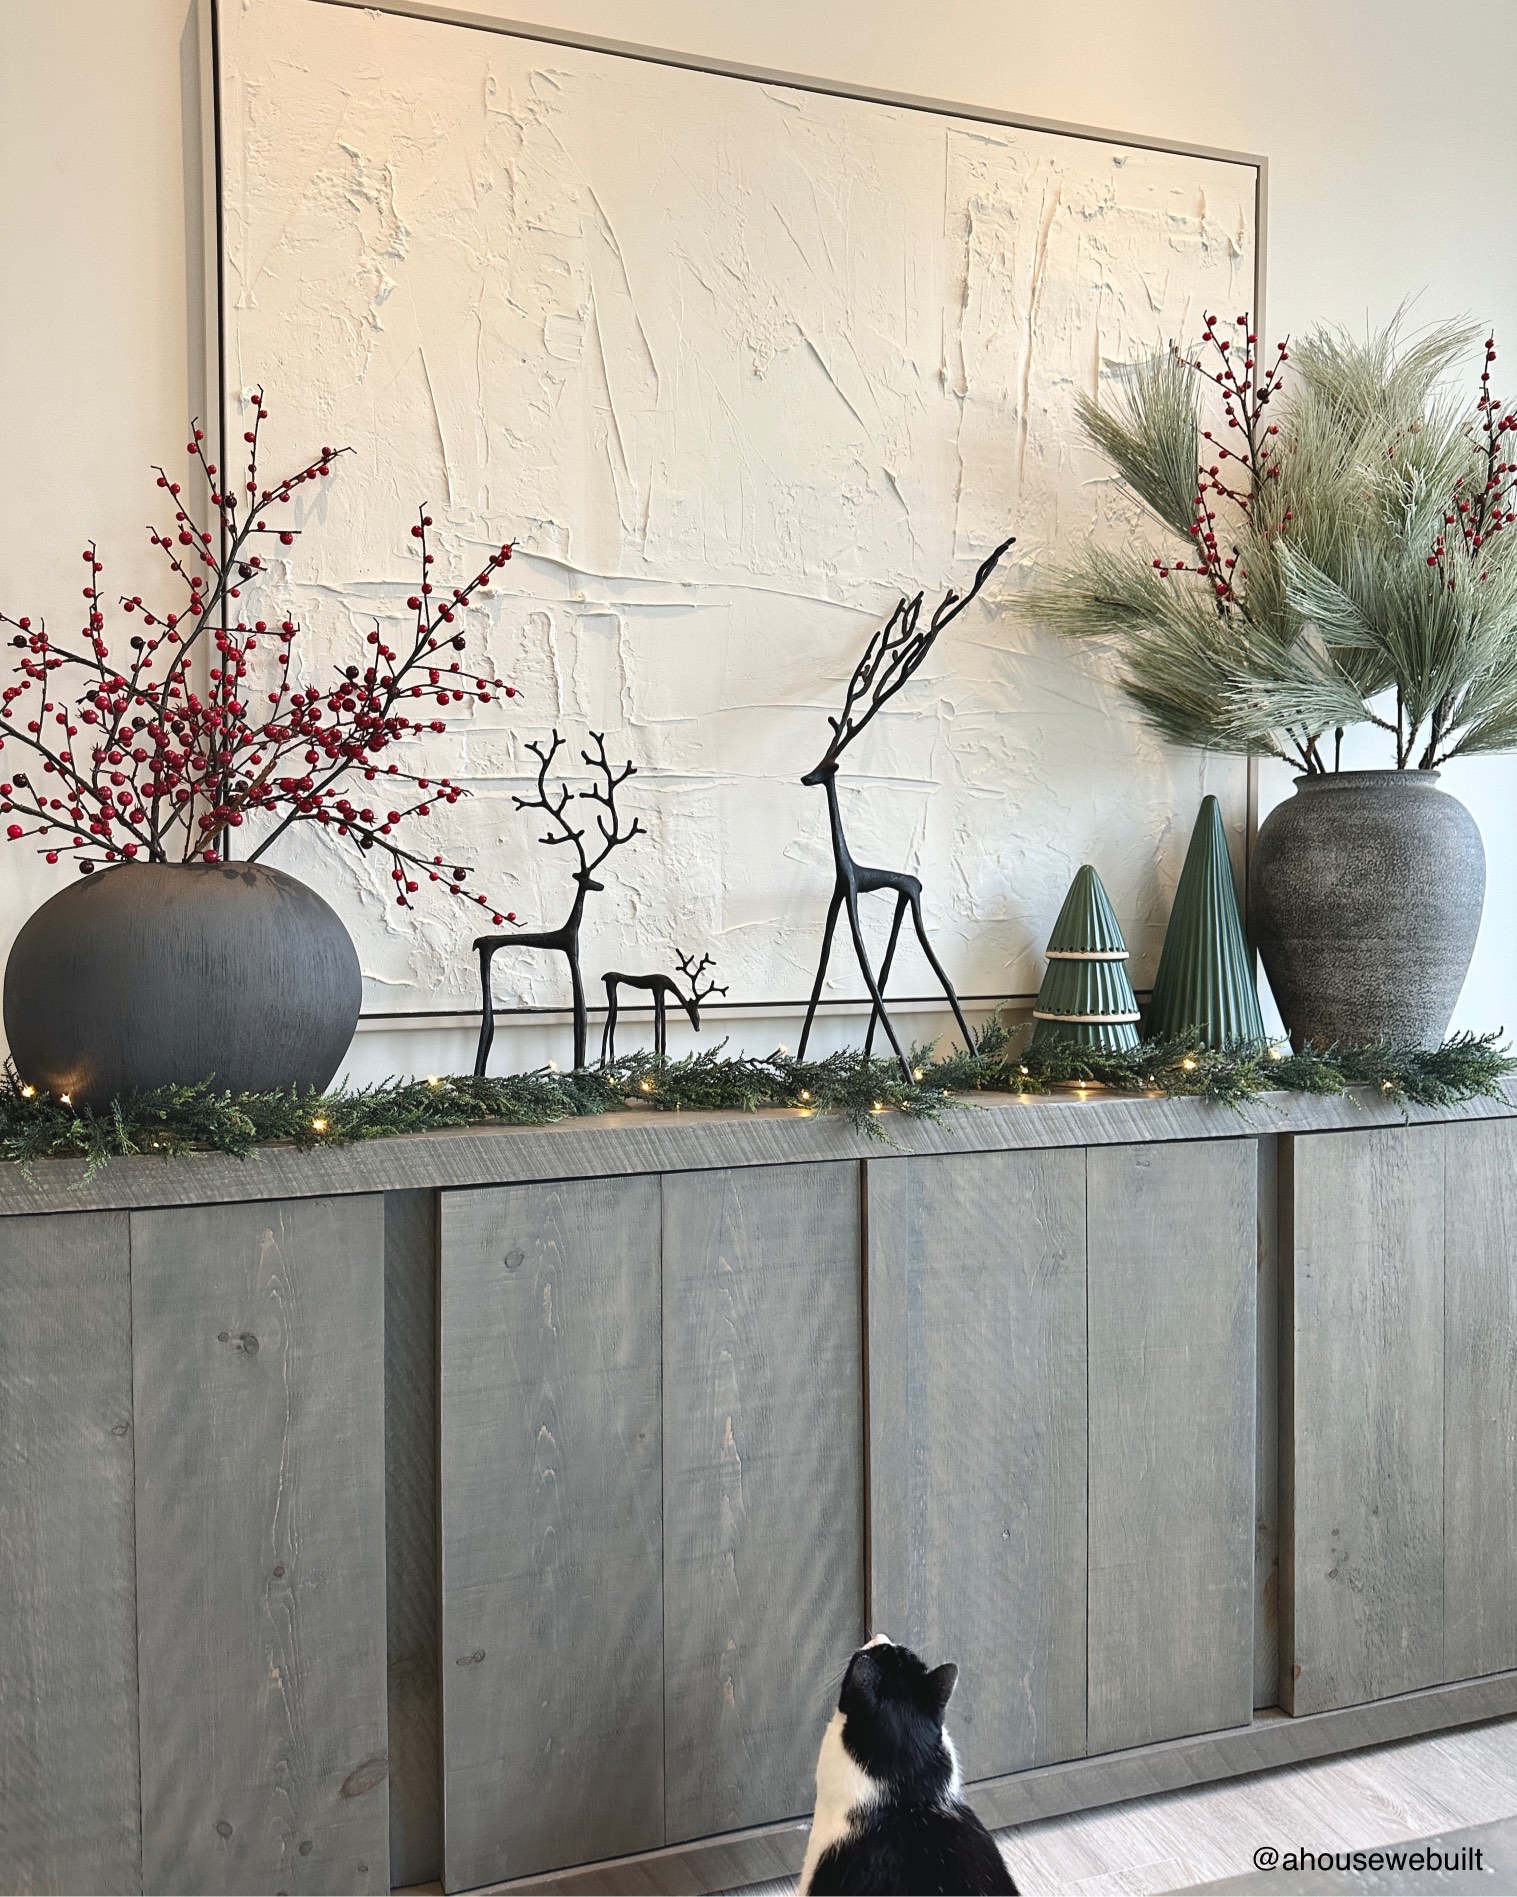
Dining Room
- CHRISTMAS | Black reindeer on sideboard: Pottery Barn
- CHRISTMAS | Black reindeer on table: Crate & Barrel
- CHRISTMAS | Pre-lit twinkle trees: Amazon | Similar @ Pottery Barn + Anthropologie
- CHRISTMAS | Garland on sideboard: Crate & Barrel
- CHRISTMAS | Red berry stems: Crate & Barrel
- CHRISTMAS | Faux cedar stems: Crate & Barrel
- CHRISTMAS | Garland in bowl: Afloral | Kirklands | Amazon
- CHRISTMAS | Christmas tree: Ikea (because they use non-toxic plastic)
- CHRISTMAS | Christmas tree stand/planter: Crate & Barrel
- CHRISTMAS | Tabletop ceramic trees: Crate & Barrel
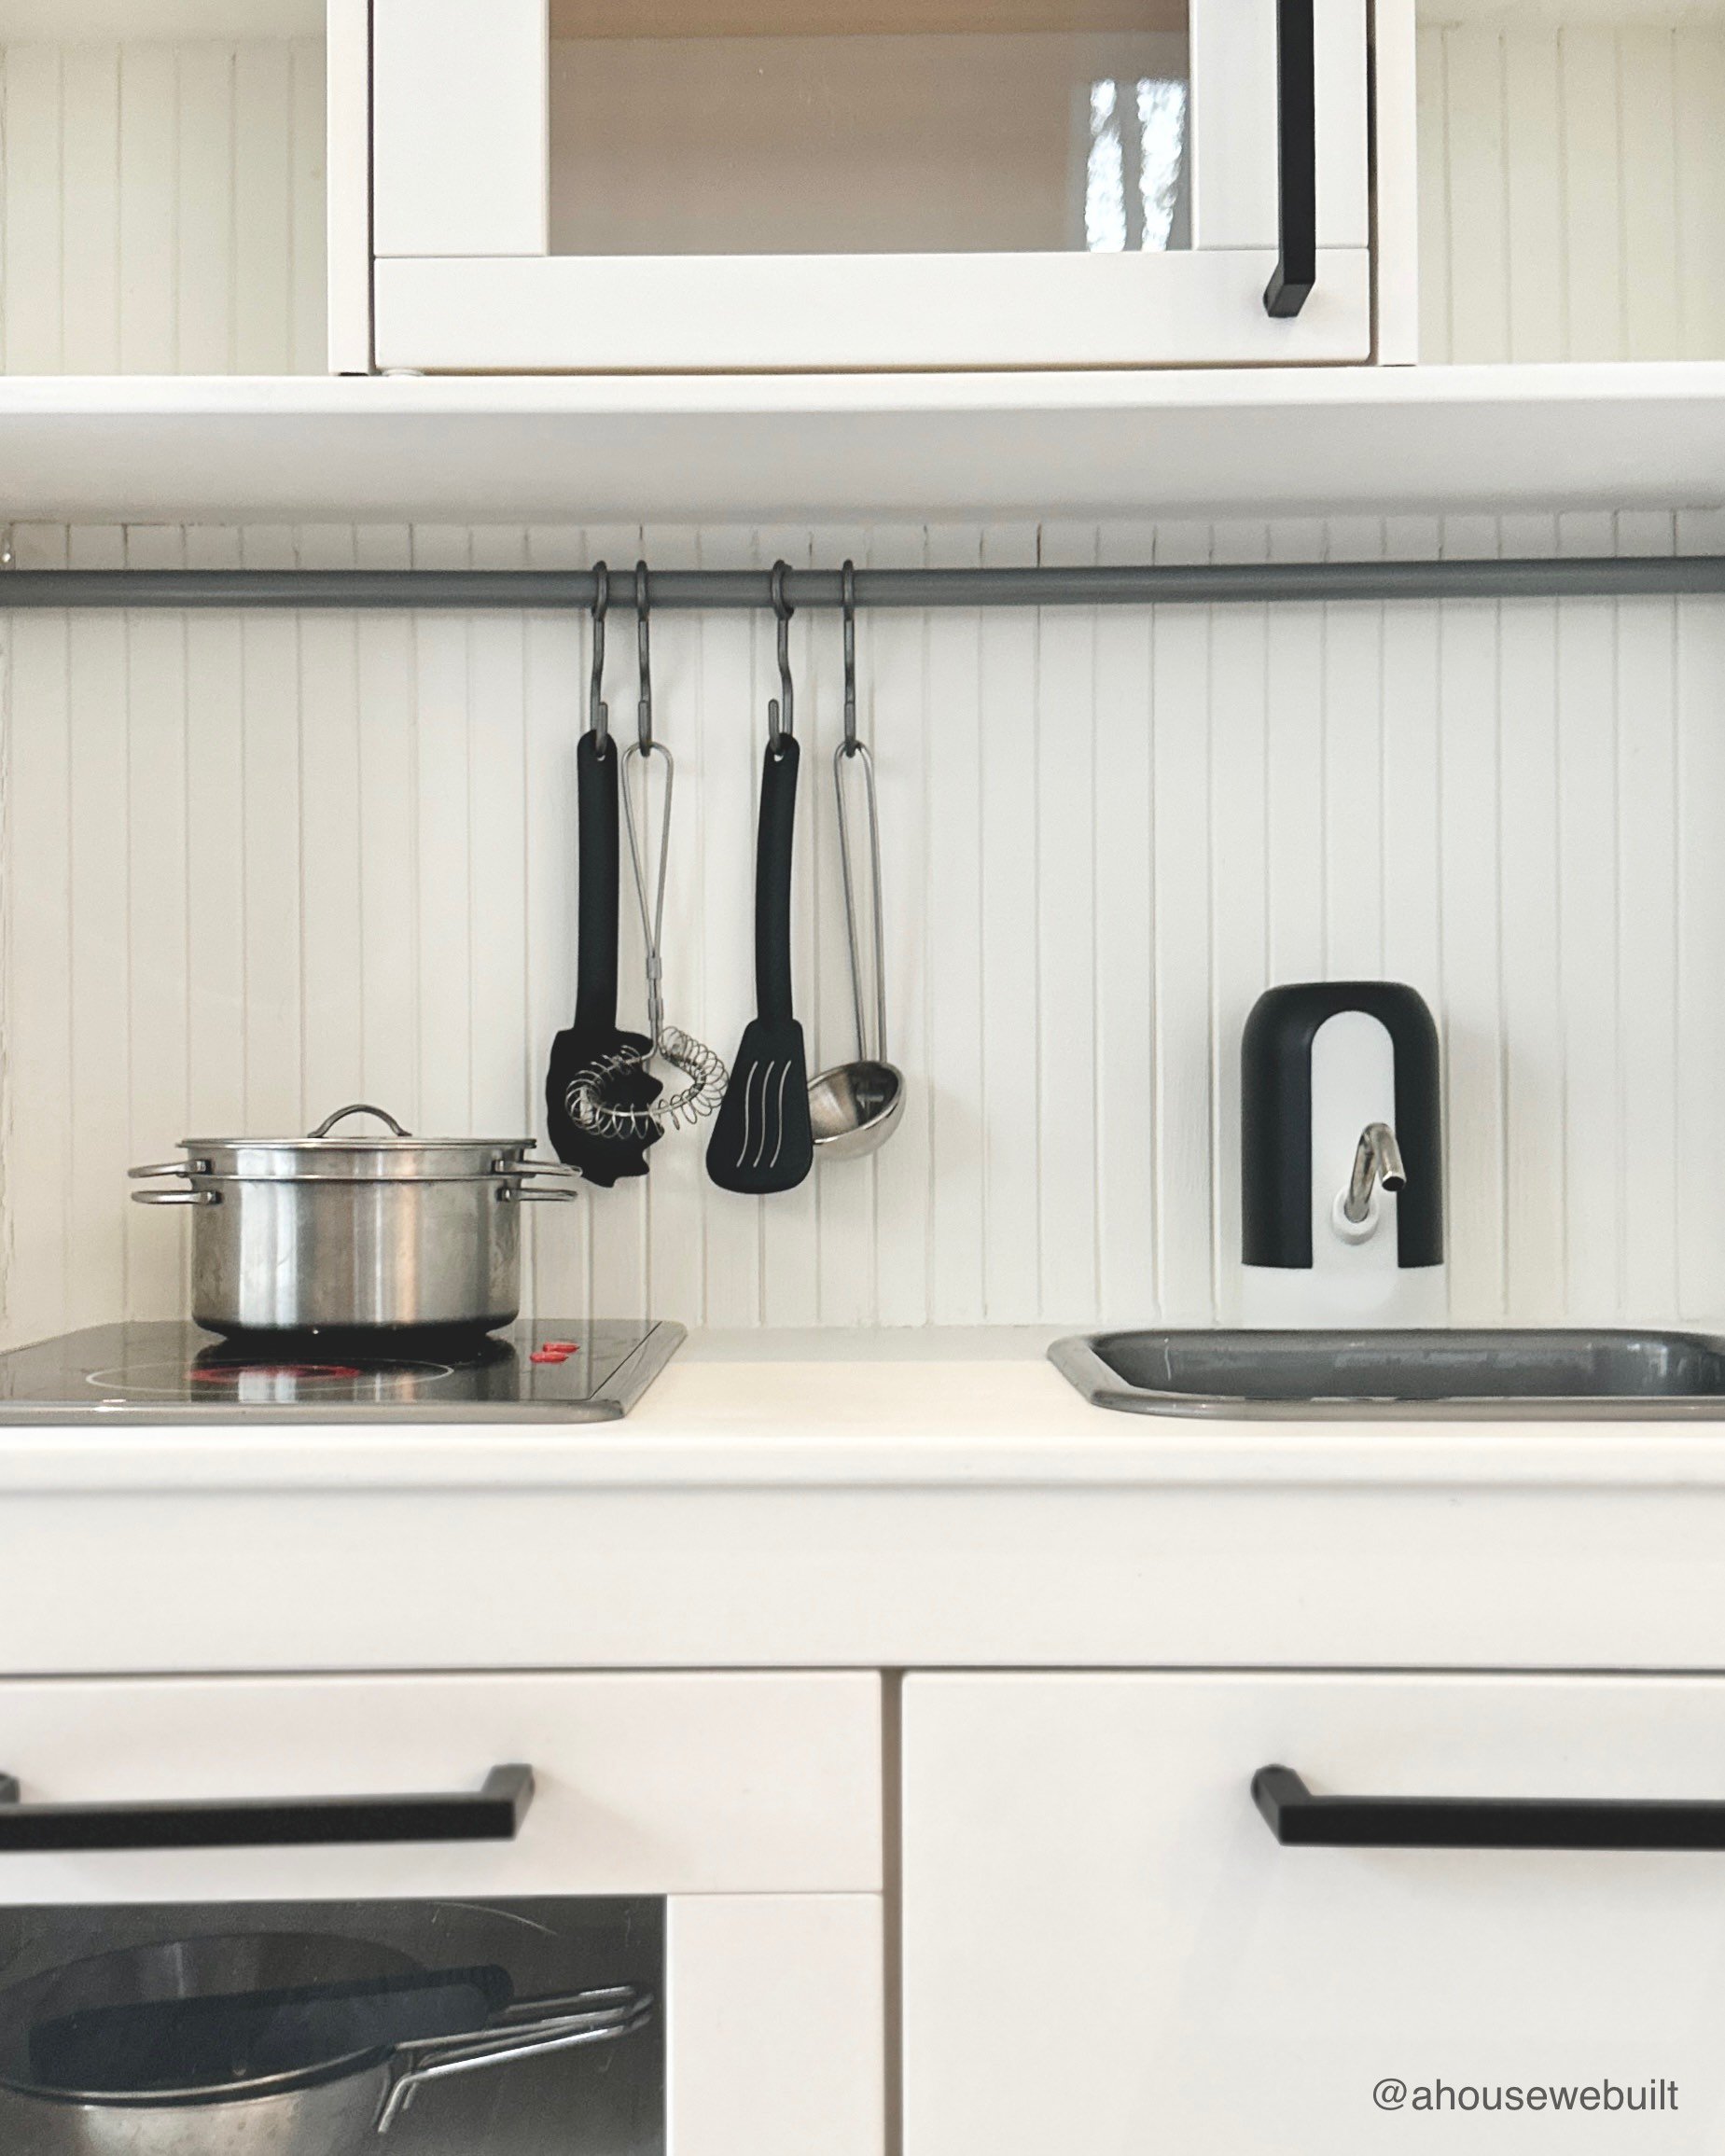
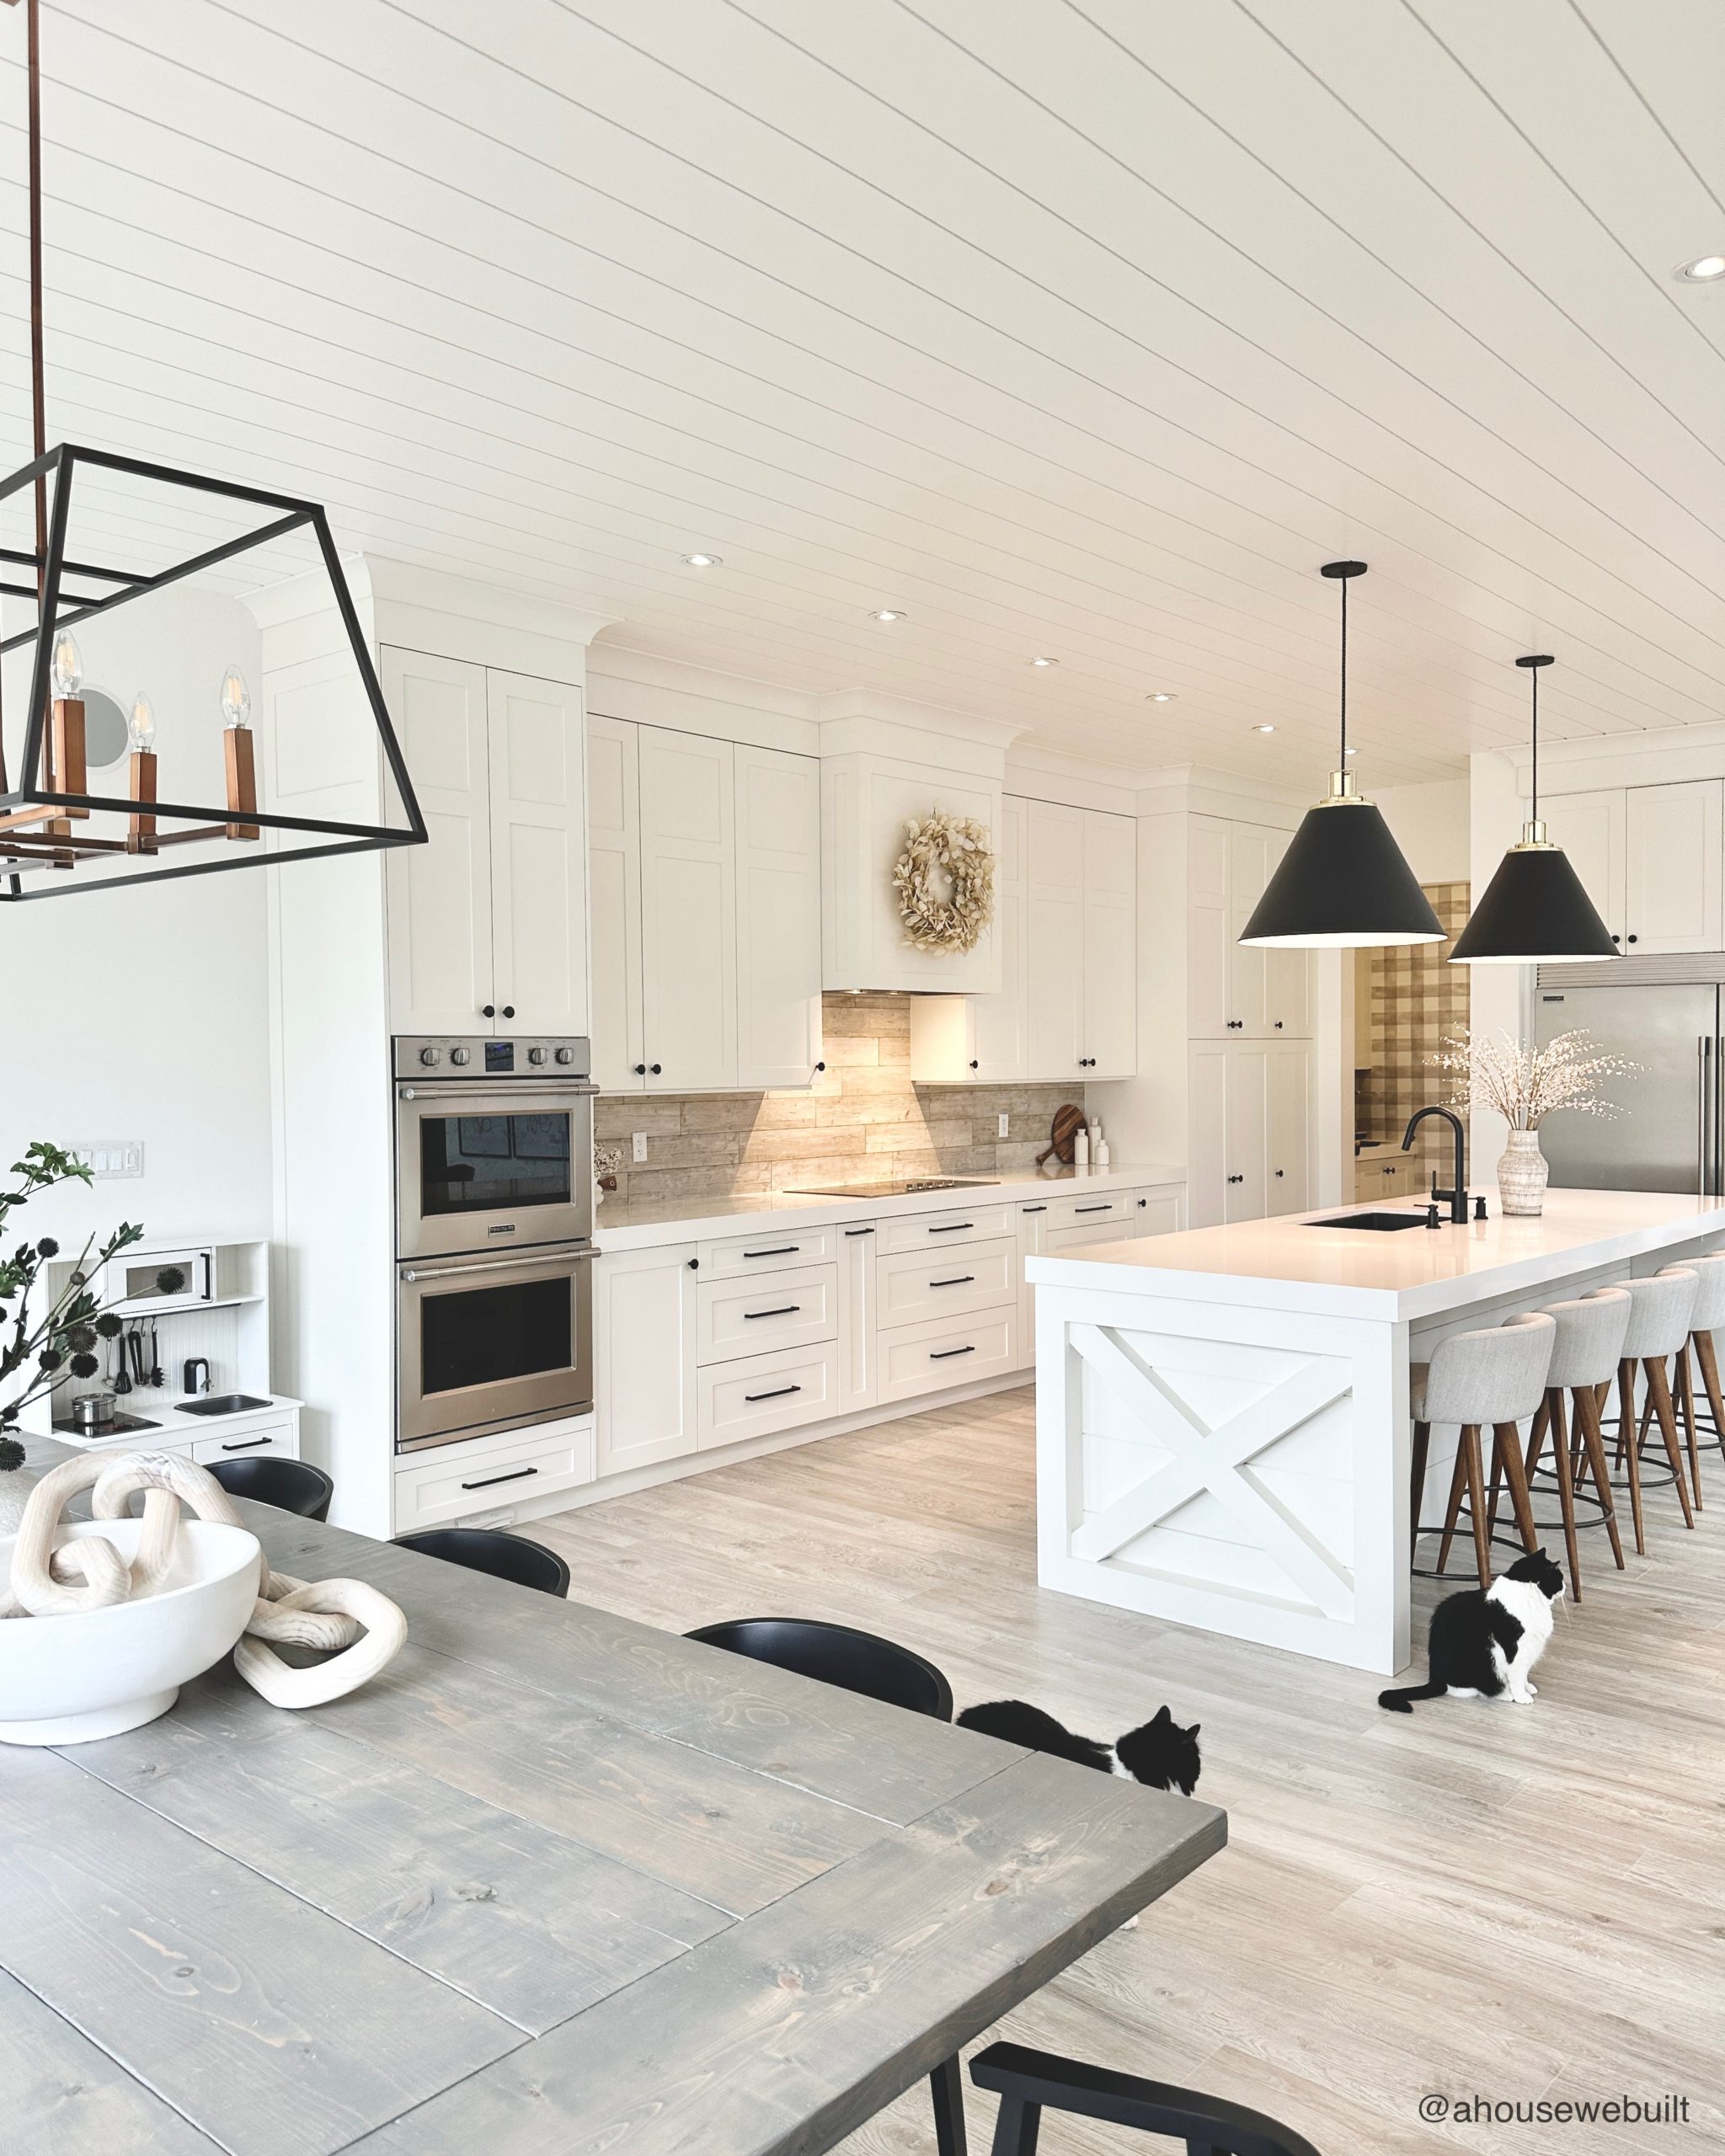
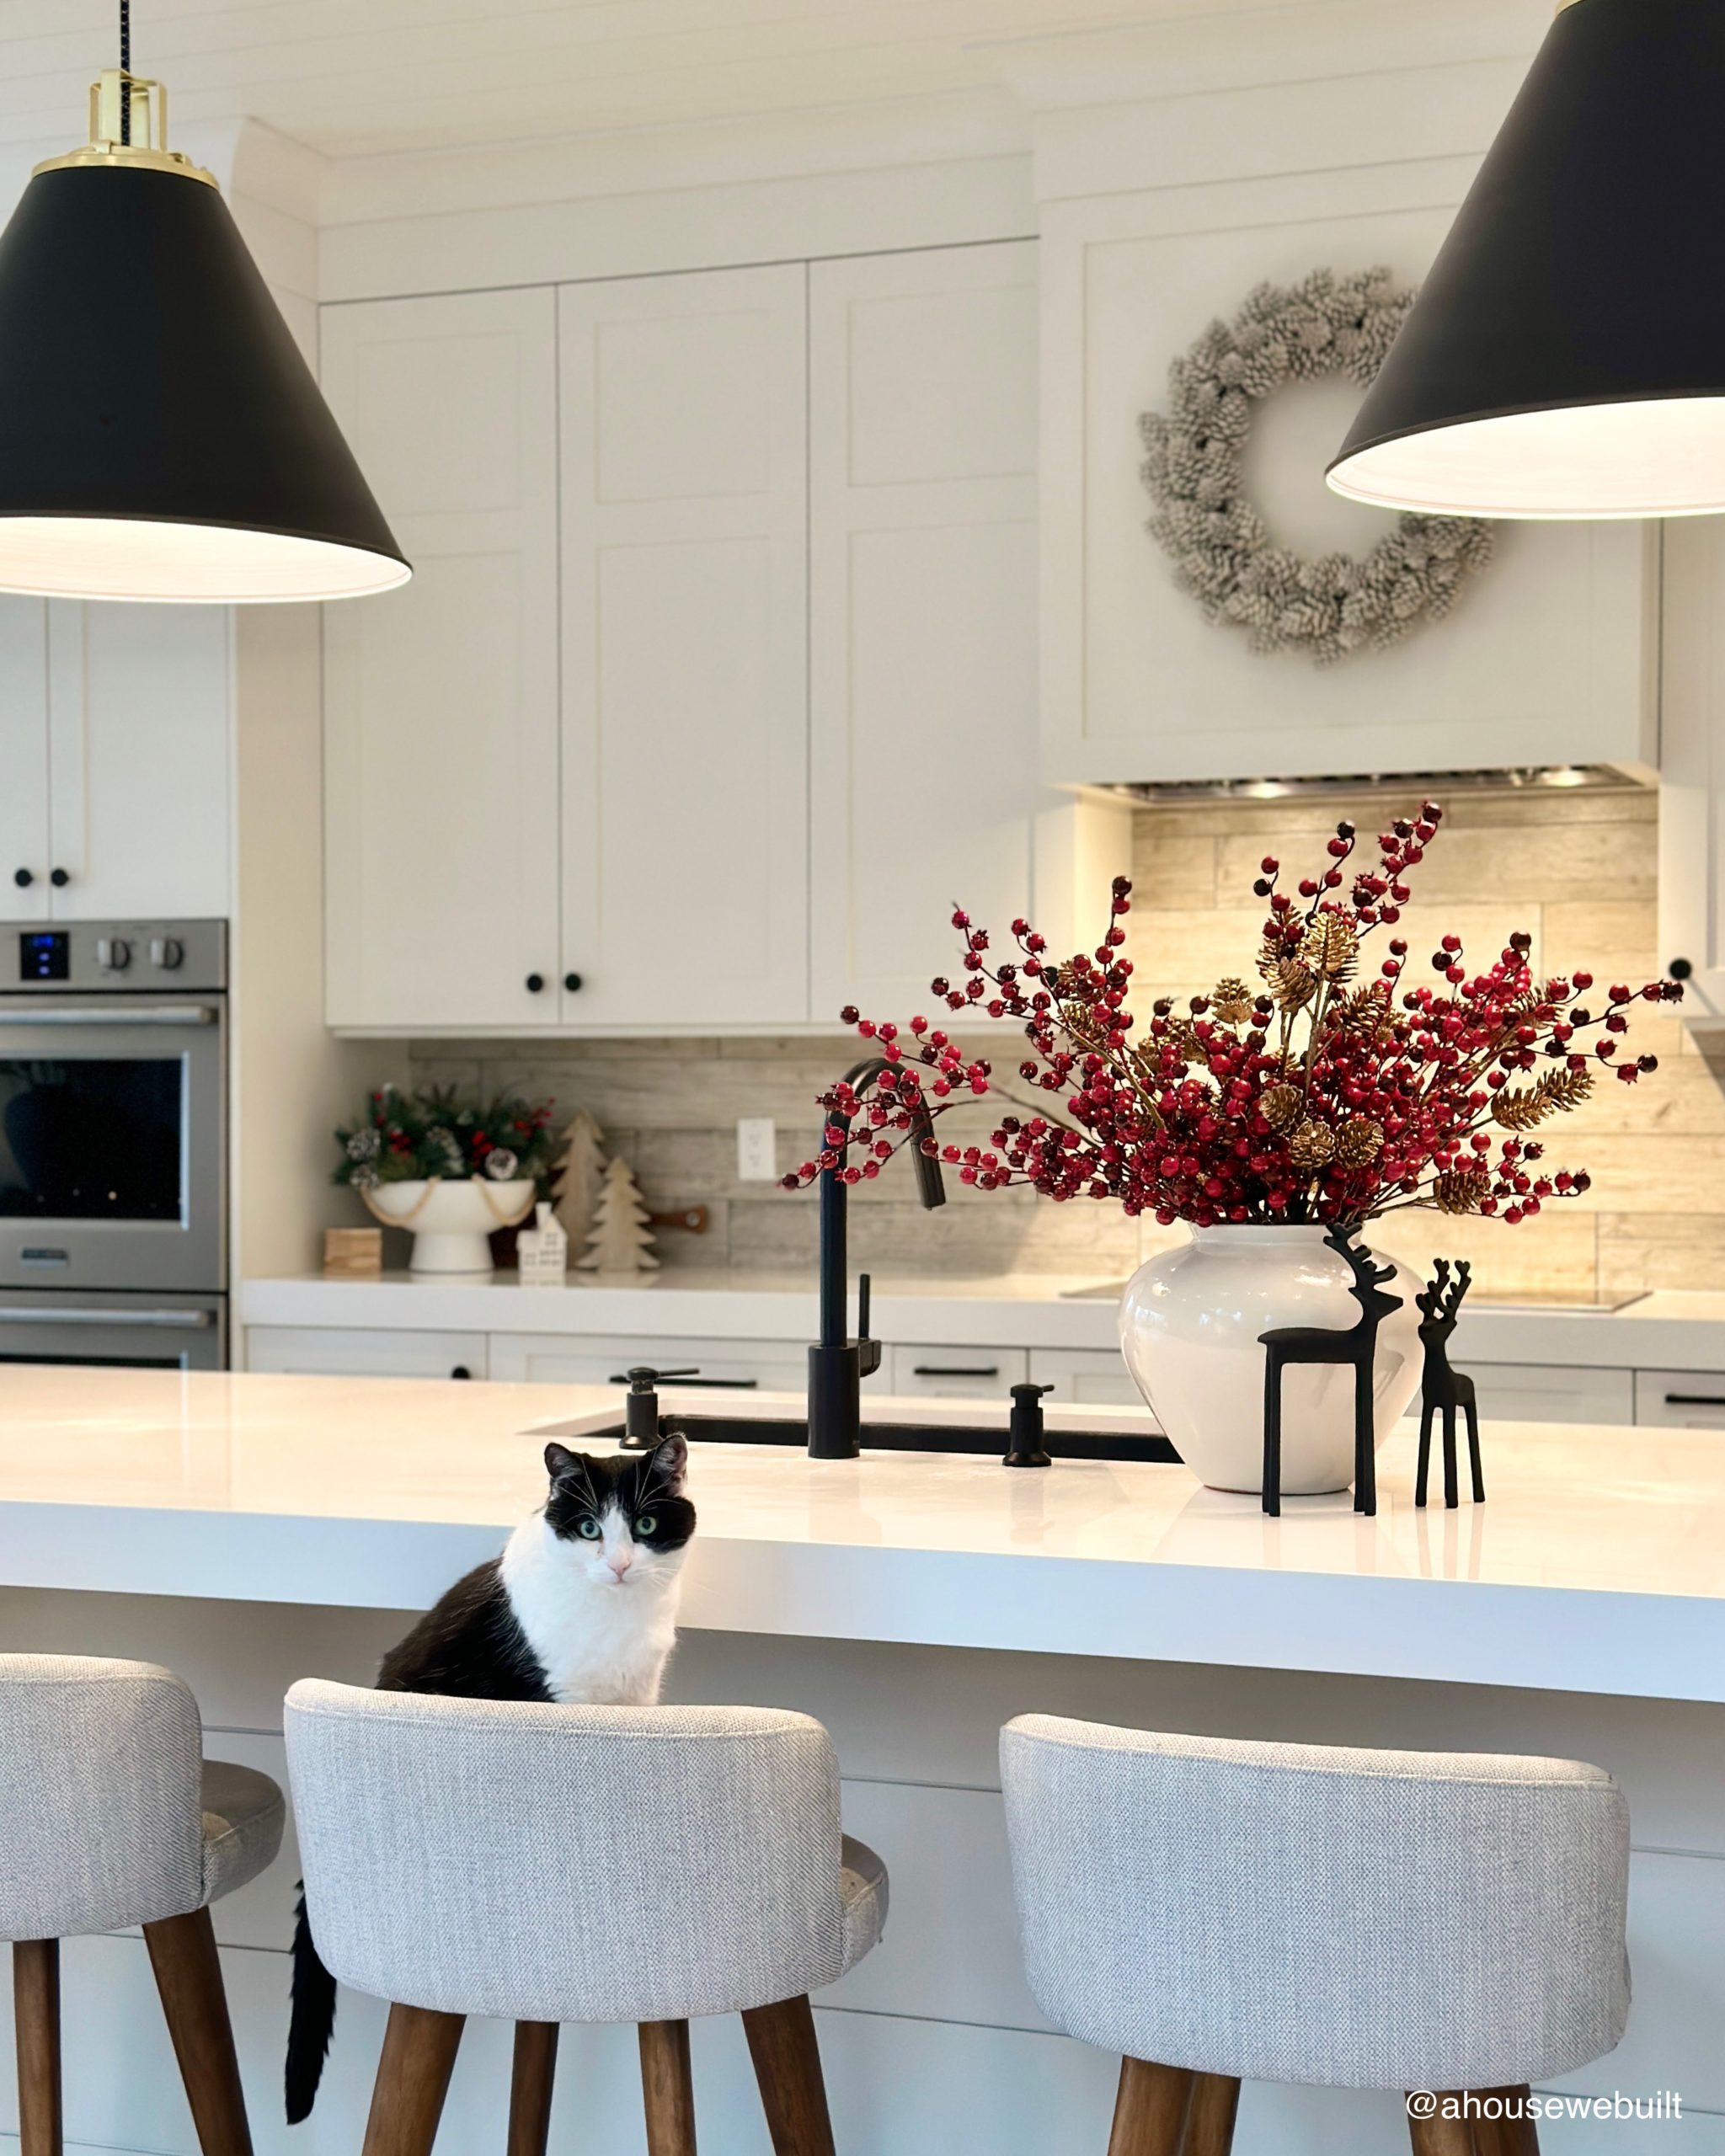
Kitchen
- CHRISTMAS | Red berry wreath: DIY with Amazon + Michaels | Similar: Crate & Barrel + Michaels
- CHRISTMAS | Large bells: Pottery Barn
- CHRISTMAS | White reindeer (right side): Crate & Barrel
- CHRISTMAS | White reindeer (left side): H&M Home
- CHRISTMAS | Metal reindeer (island): Crate & Barrel
- CHRISTMAS | White vase on island: H&M Home
- CHRISTMAS | Red berry stems: Michaels
- CHRISTMAS | Pinecone stems: Pottery Barn
- CHRISTMAS | Ceramic trees: Crate & Barrel
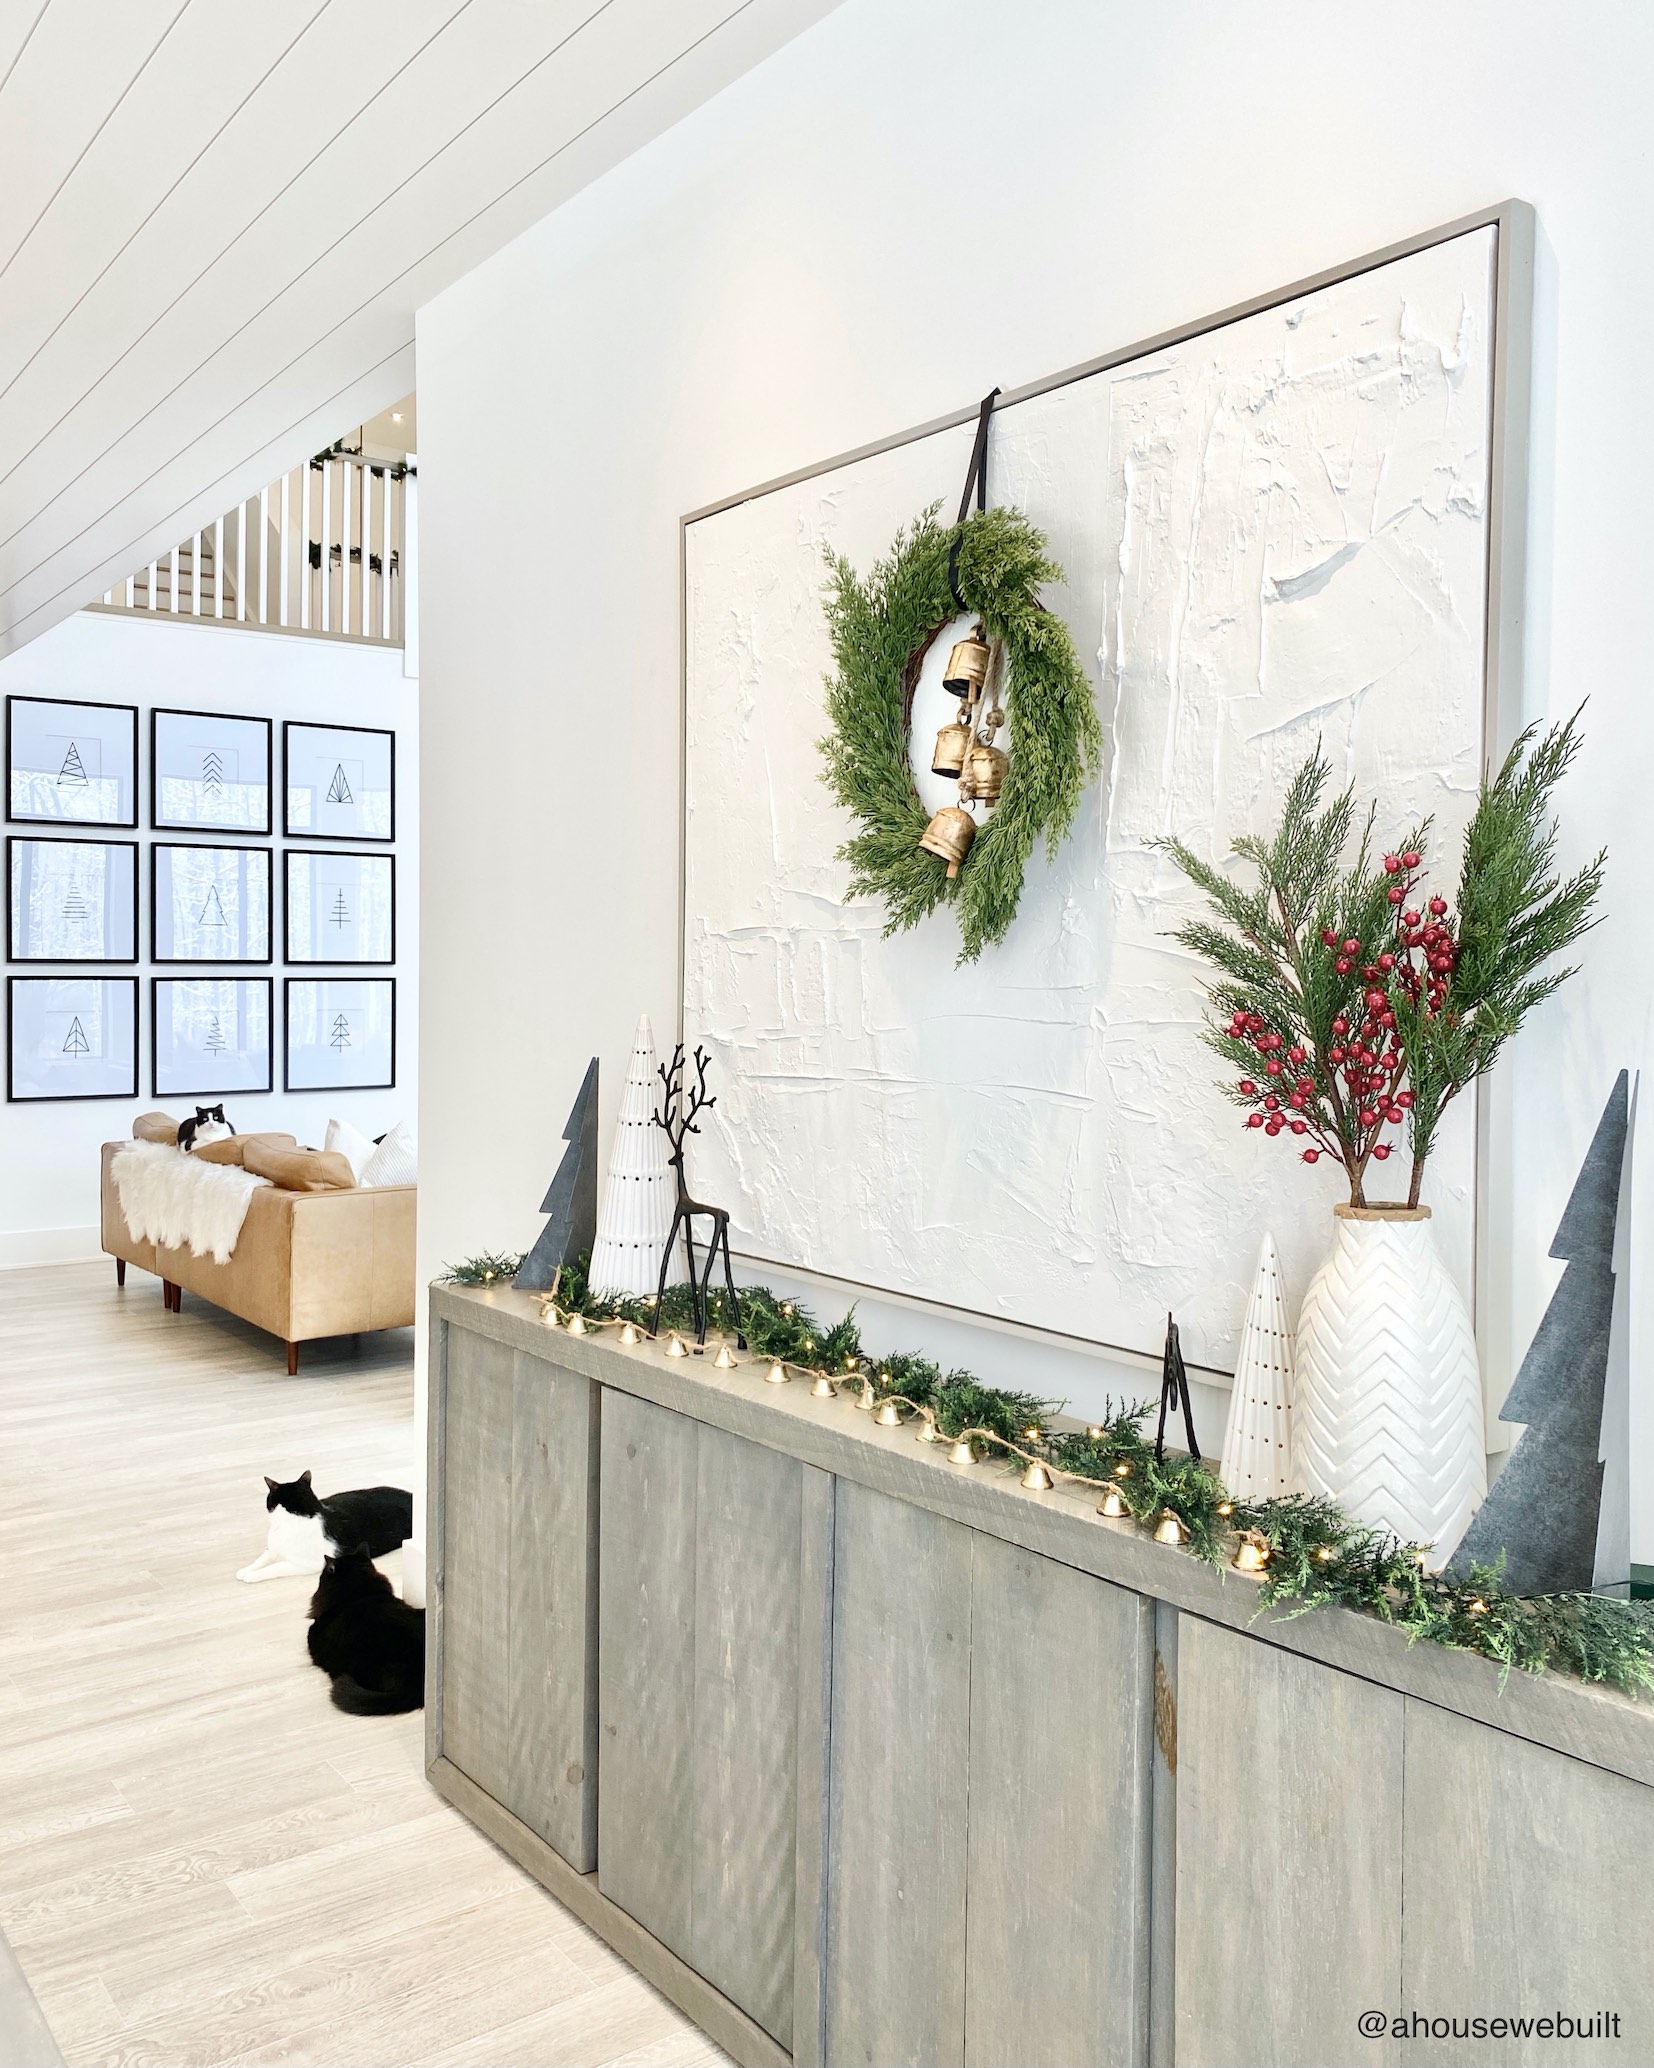
Entry
- CHRISTMAS | Garland above doorway: Pottery Barn
- CHRISTMAS | Hanging bells: Amazon
- CHRISTMAS | Velvet ribbon: Amazon
- CHRISTMAS | Twinkling pre lit tree: Similar @ Pottery Barn
- CHRISTMAS | Pinecone stems: Afloral
- CHRISTMAS | Cedar stems: Crate & Barrel
- CHRISTMAS | Red berry stems: Crate & Barrel | Michaels
Mudroom
- CHRISTMAS | Garlands: Afloral | Kirklands | Amazon
- CHRISTMAS | Twinkling pre lit tree: Similar @ Pottery Barn
- CHRISTMAS | Hanging bells: Amazon
- CHRISTMAS | Velvet ribbon: Amazon
Pantry
- CHRISTMAS | Wreath: Home Depot
- CHRISTMAS | Olive branches: Crate & Barrel
- CHRISTMAS | Red berry stems: Michaels
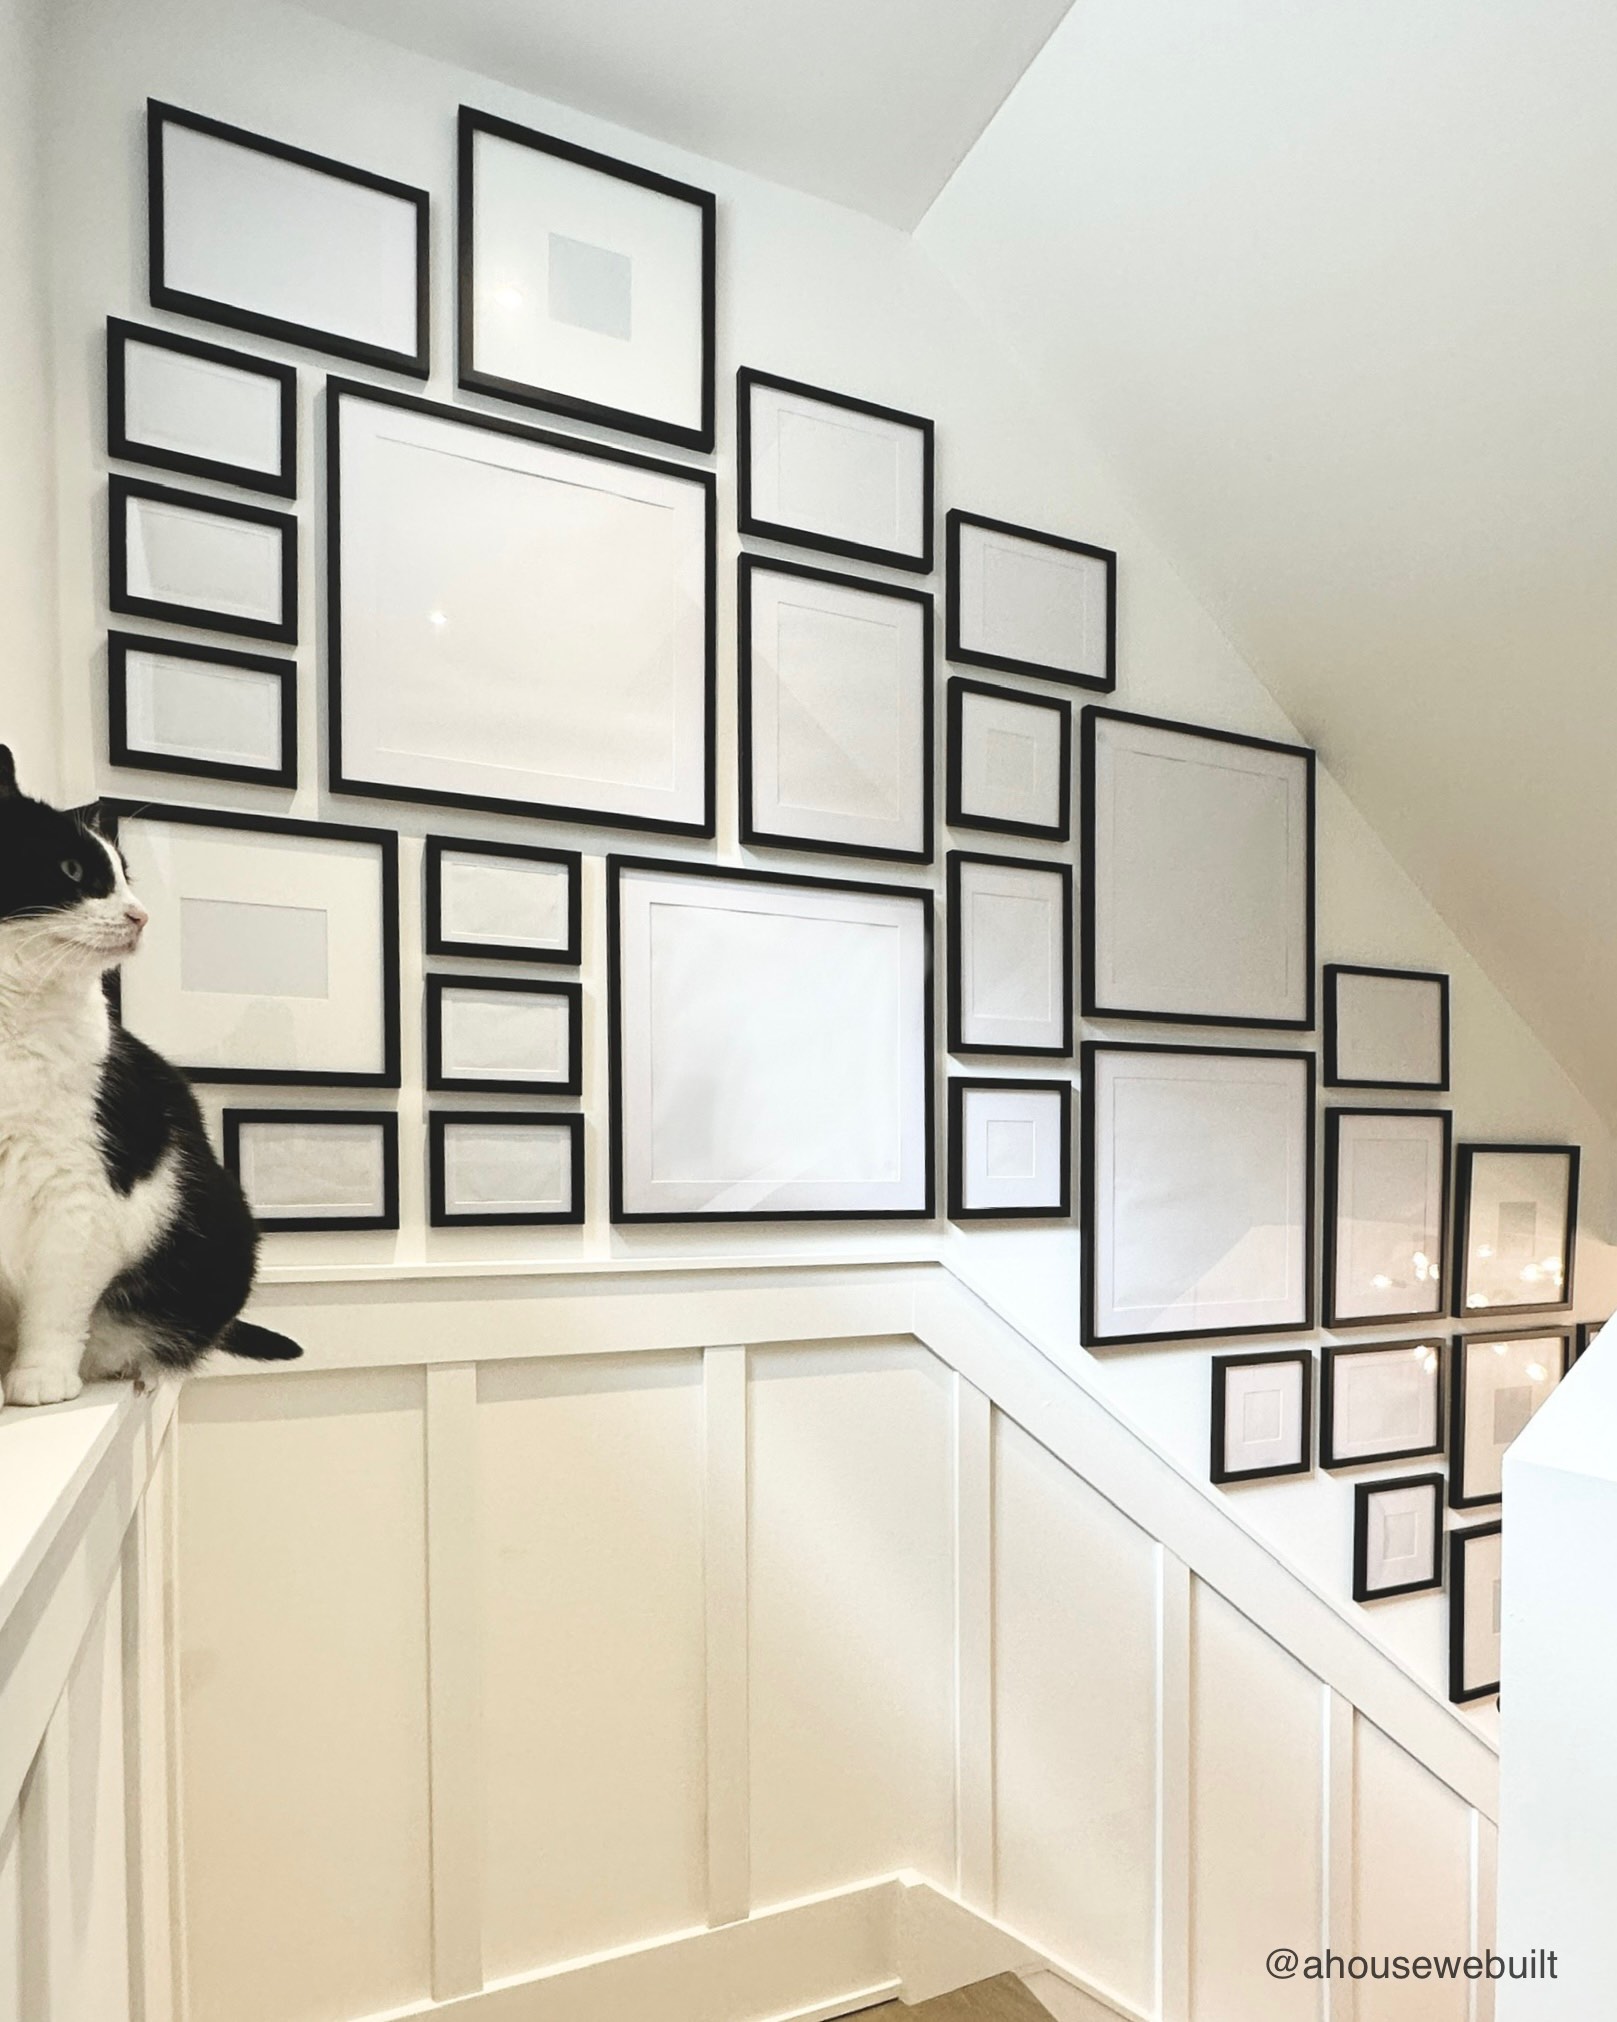
Basement stair
- CHRISTMAS | Garland: Afloral | Kirklands | Amazon
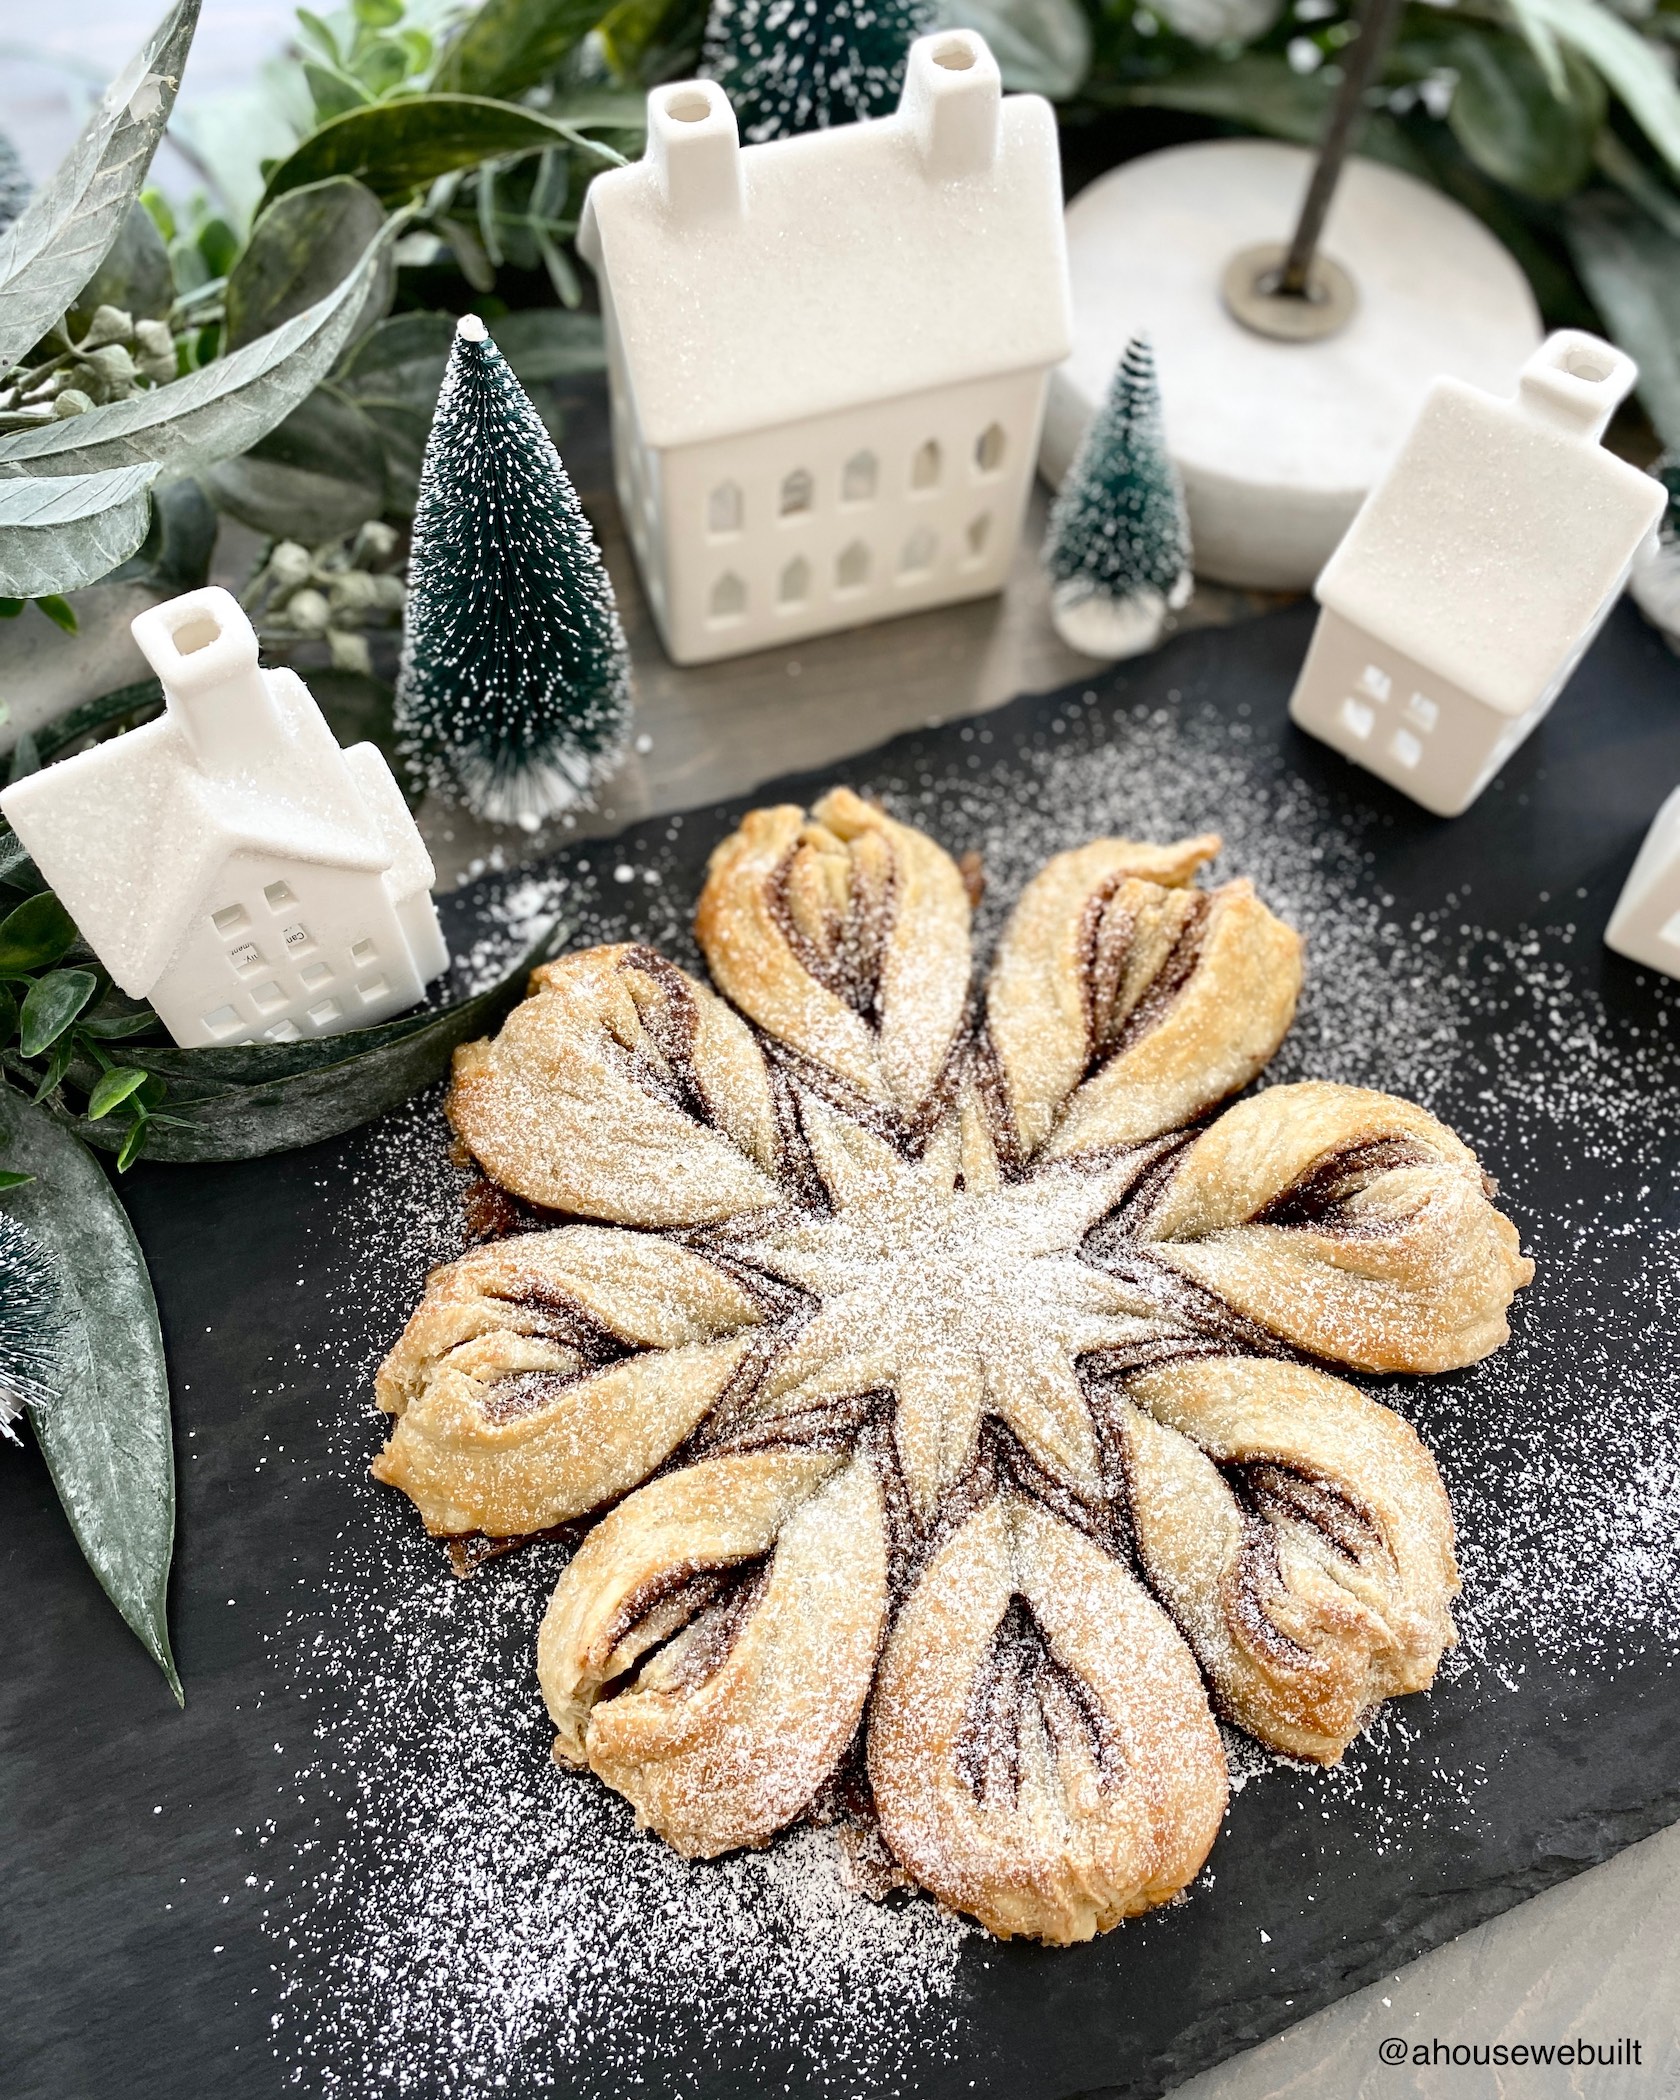
- CHRISTMAS | Christmas village: Similar @ Crate & Barrel | Target | Pottery Barn
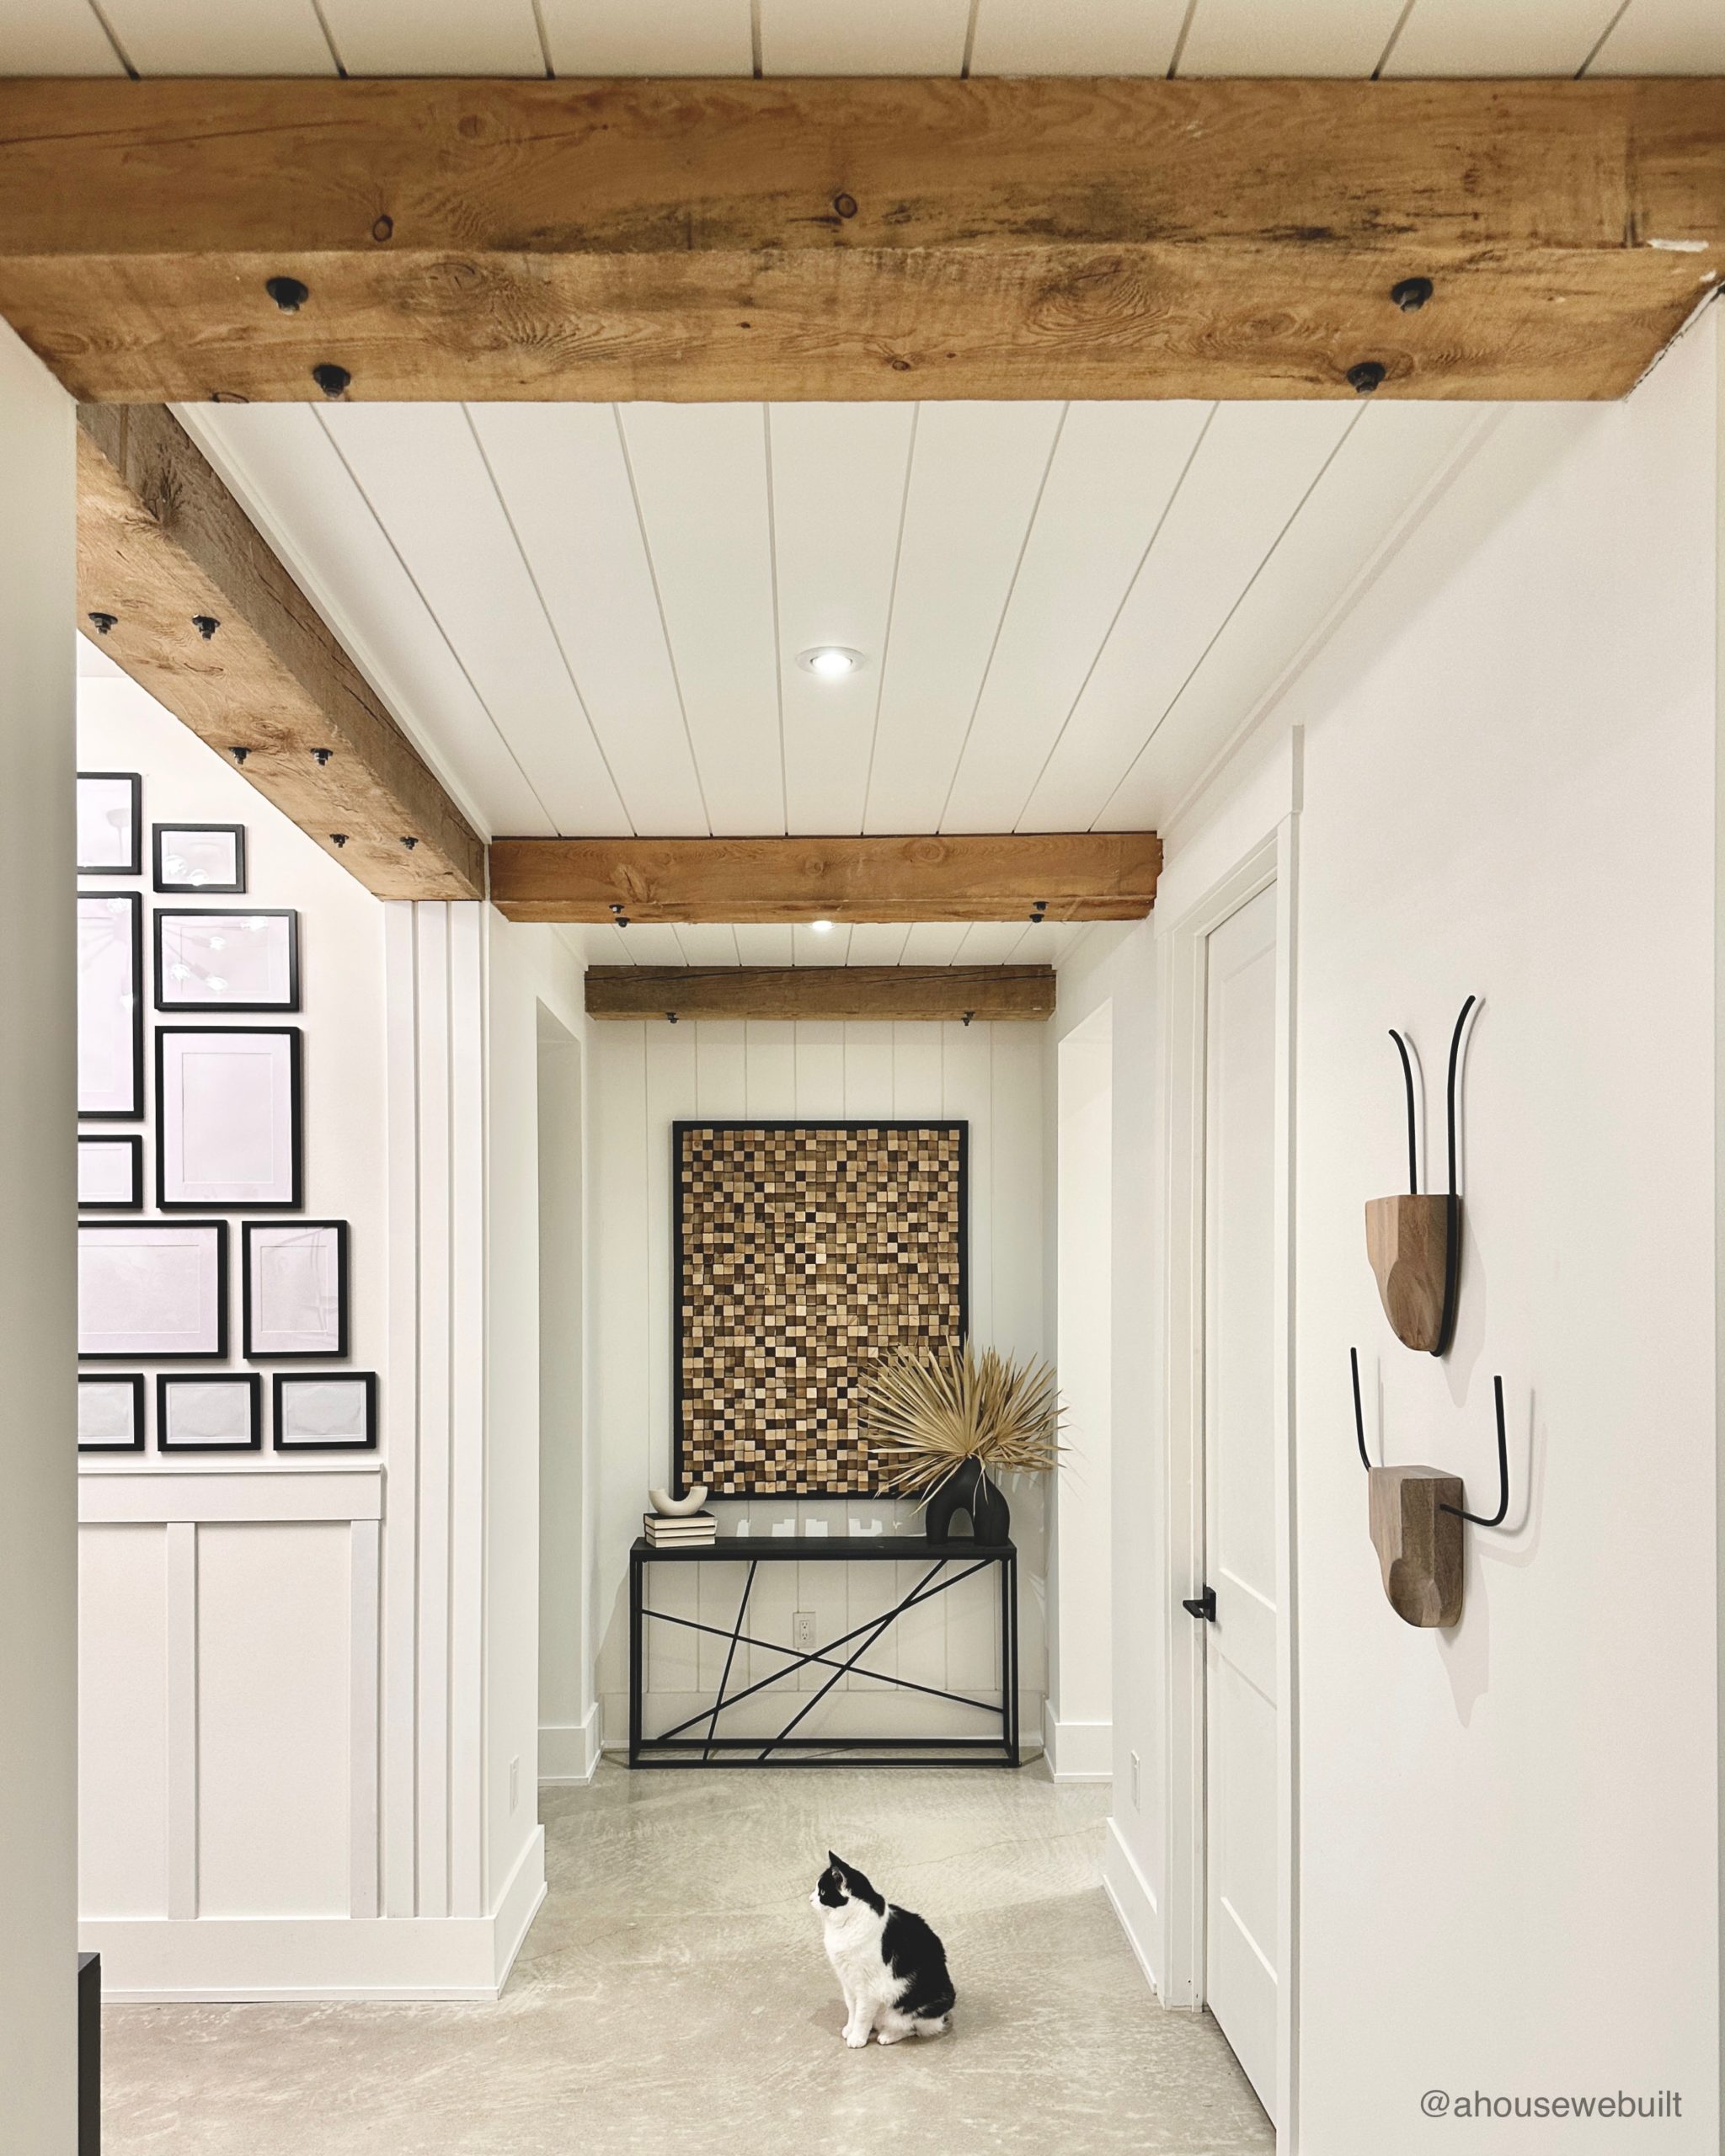
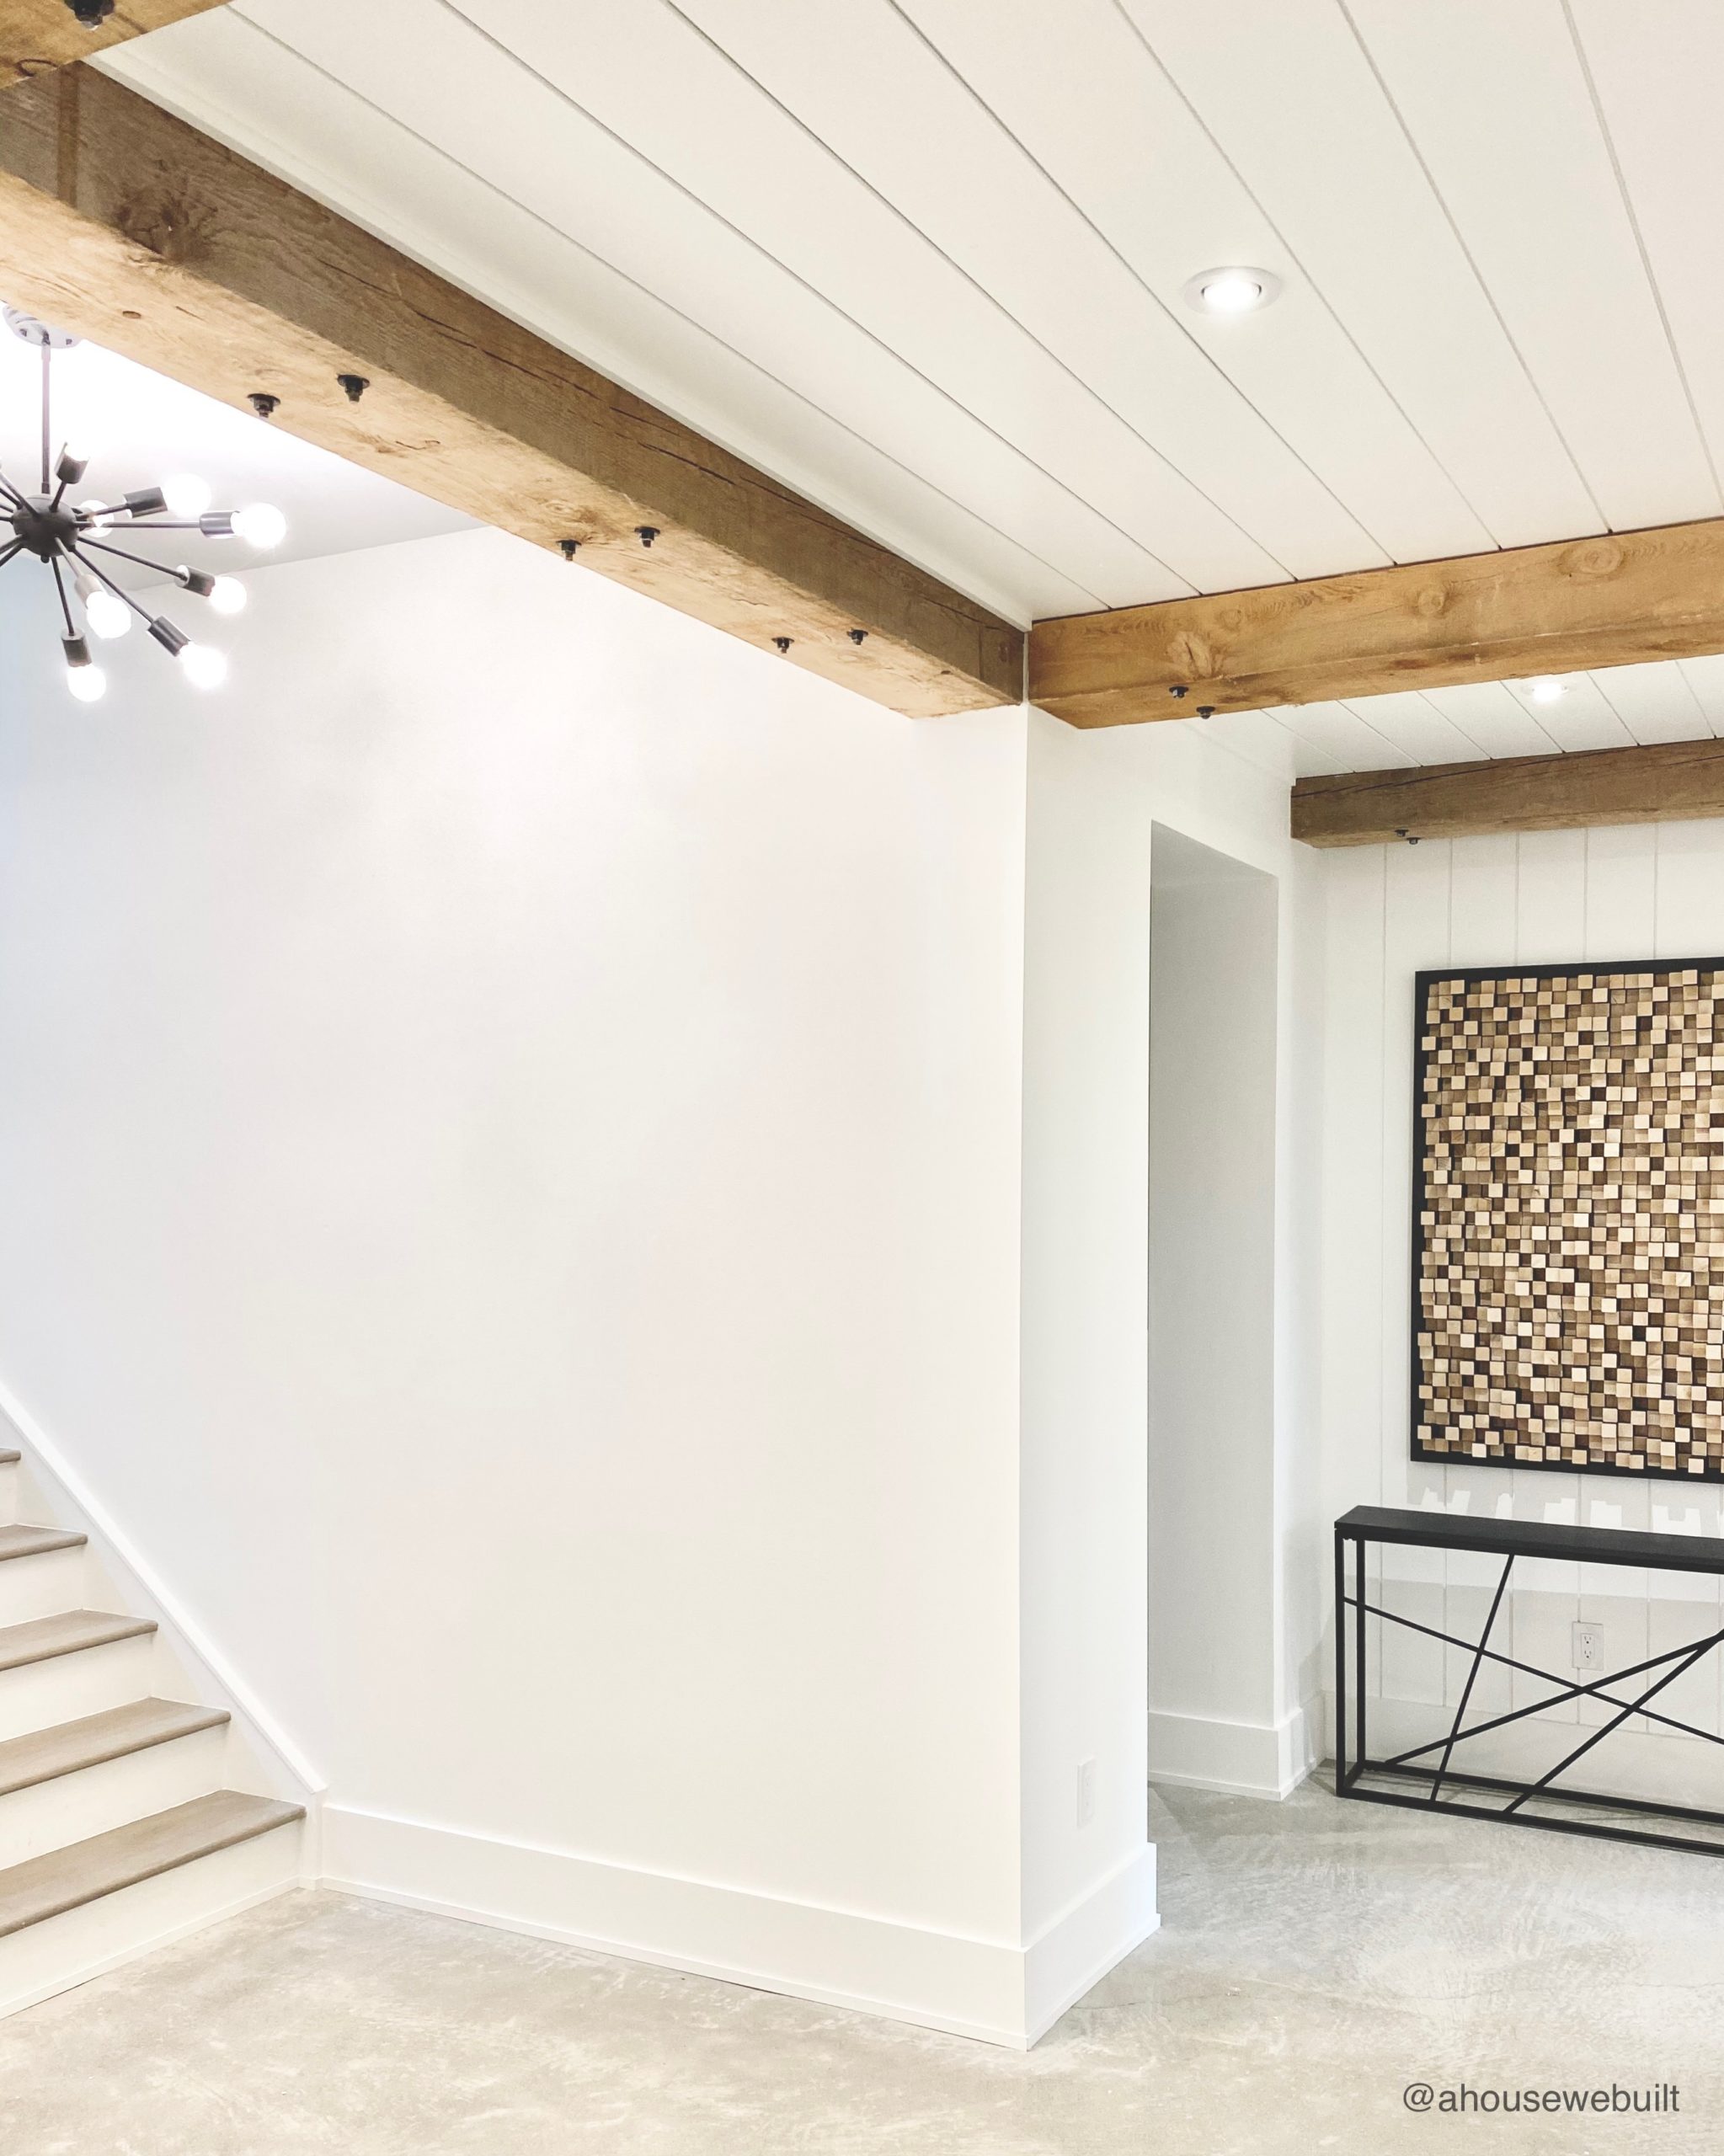
Basement hall
- CHRISTMAS | Cedar wreath: Crate & Barrel
- CHRISTMAS | Hanging bells: Amazon
- CHRISTMAS | Velvet ribbon: Amazon
- CHRISTMAS | Large bottle brush trees: West Elm
- CHRISTMAS | Paper accordion trees: H&M Home | West Elm
- CHRISTMAS | White reindeer: Crate & Barrel
Basement foyer
- CHRISTMAS | Garland: Afloral | Kirklands | Amazon
- CHRISTMAS | Swag made with: Aforal | Kirklands
- CHRISTMAS | Paper accordion trees: H&M Home | West Elm
- CHRISTMAS | Black reindeer: Crate & Barrel
- CHRISTMAS | Reddish stems: Crate & Barrel
- CHRISTMAS | Cypress/cedar stems: Crate & Barrel
Theater Room
- CHRISTMAS | Paper accordion trees: H&M Home
Powder bath
- CHRISTMAS | Wreath: Similar @ Crate & Barrel
- CHRISTMAS | Hanging bells: Amazon
- CHRISTMAS | Floral arrangement: Michaels
- CHRISTMAS | Swag made with: Aforal | Kirklands
Upstairs hallway
- CHRISTMAS | Olive branches: Crate & Barrel
- CHRISTMAS | Red berry stems: Crate & Barrel
- CHRISTMAS | Large black reindeer: Crate & Barrel
- CHRISTMAS | Large brass bell: Pottery Barn
Laundry room
- CHRISTMAS | Paper accordion trees: H&M Home | West Elm
- CHRISTMAS | White berry stems: Crate & Barrel
- CHRISTMAS | White vase: H&M Home
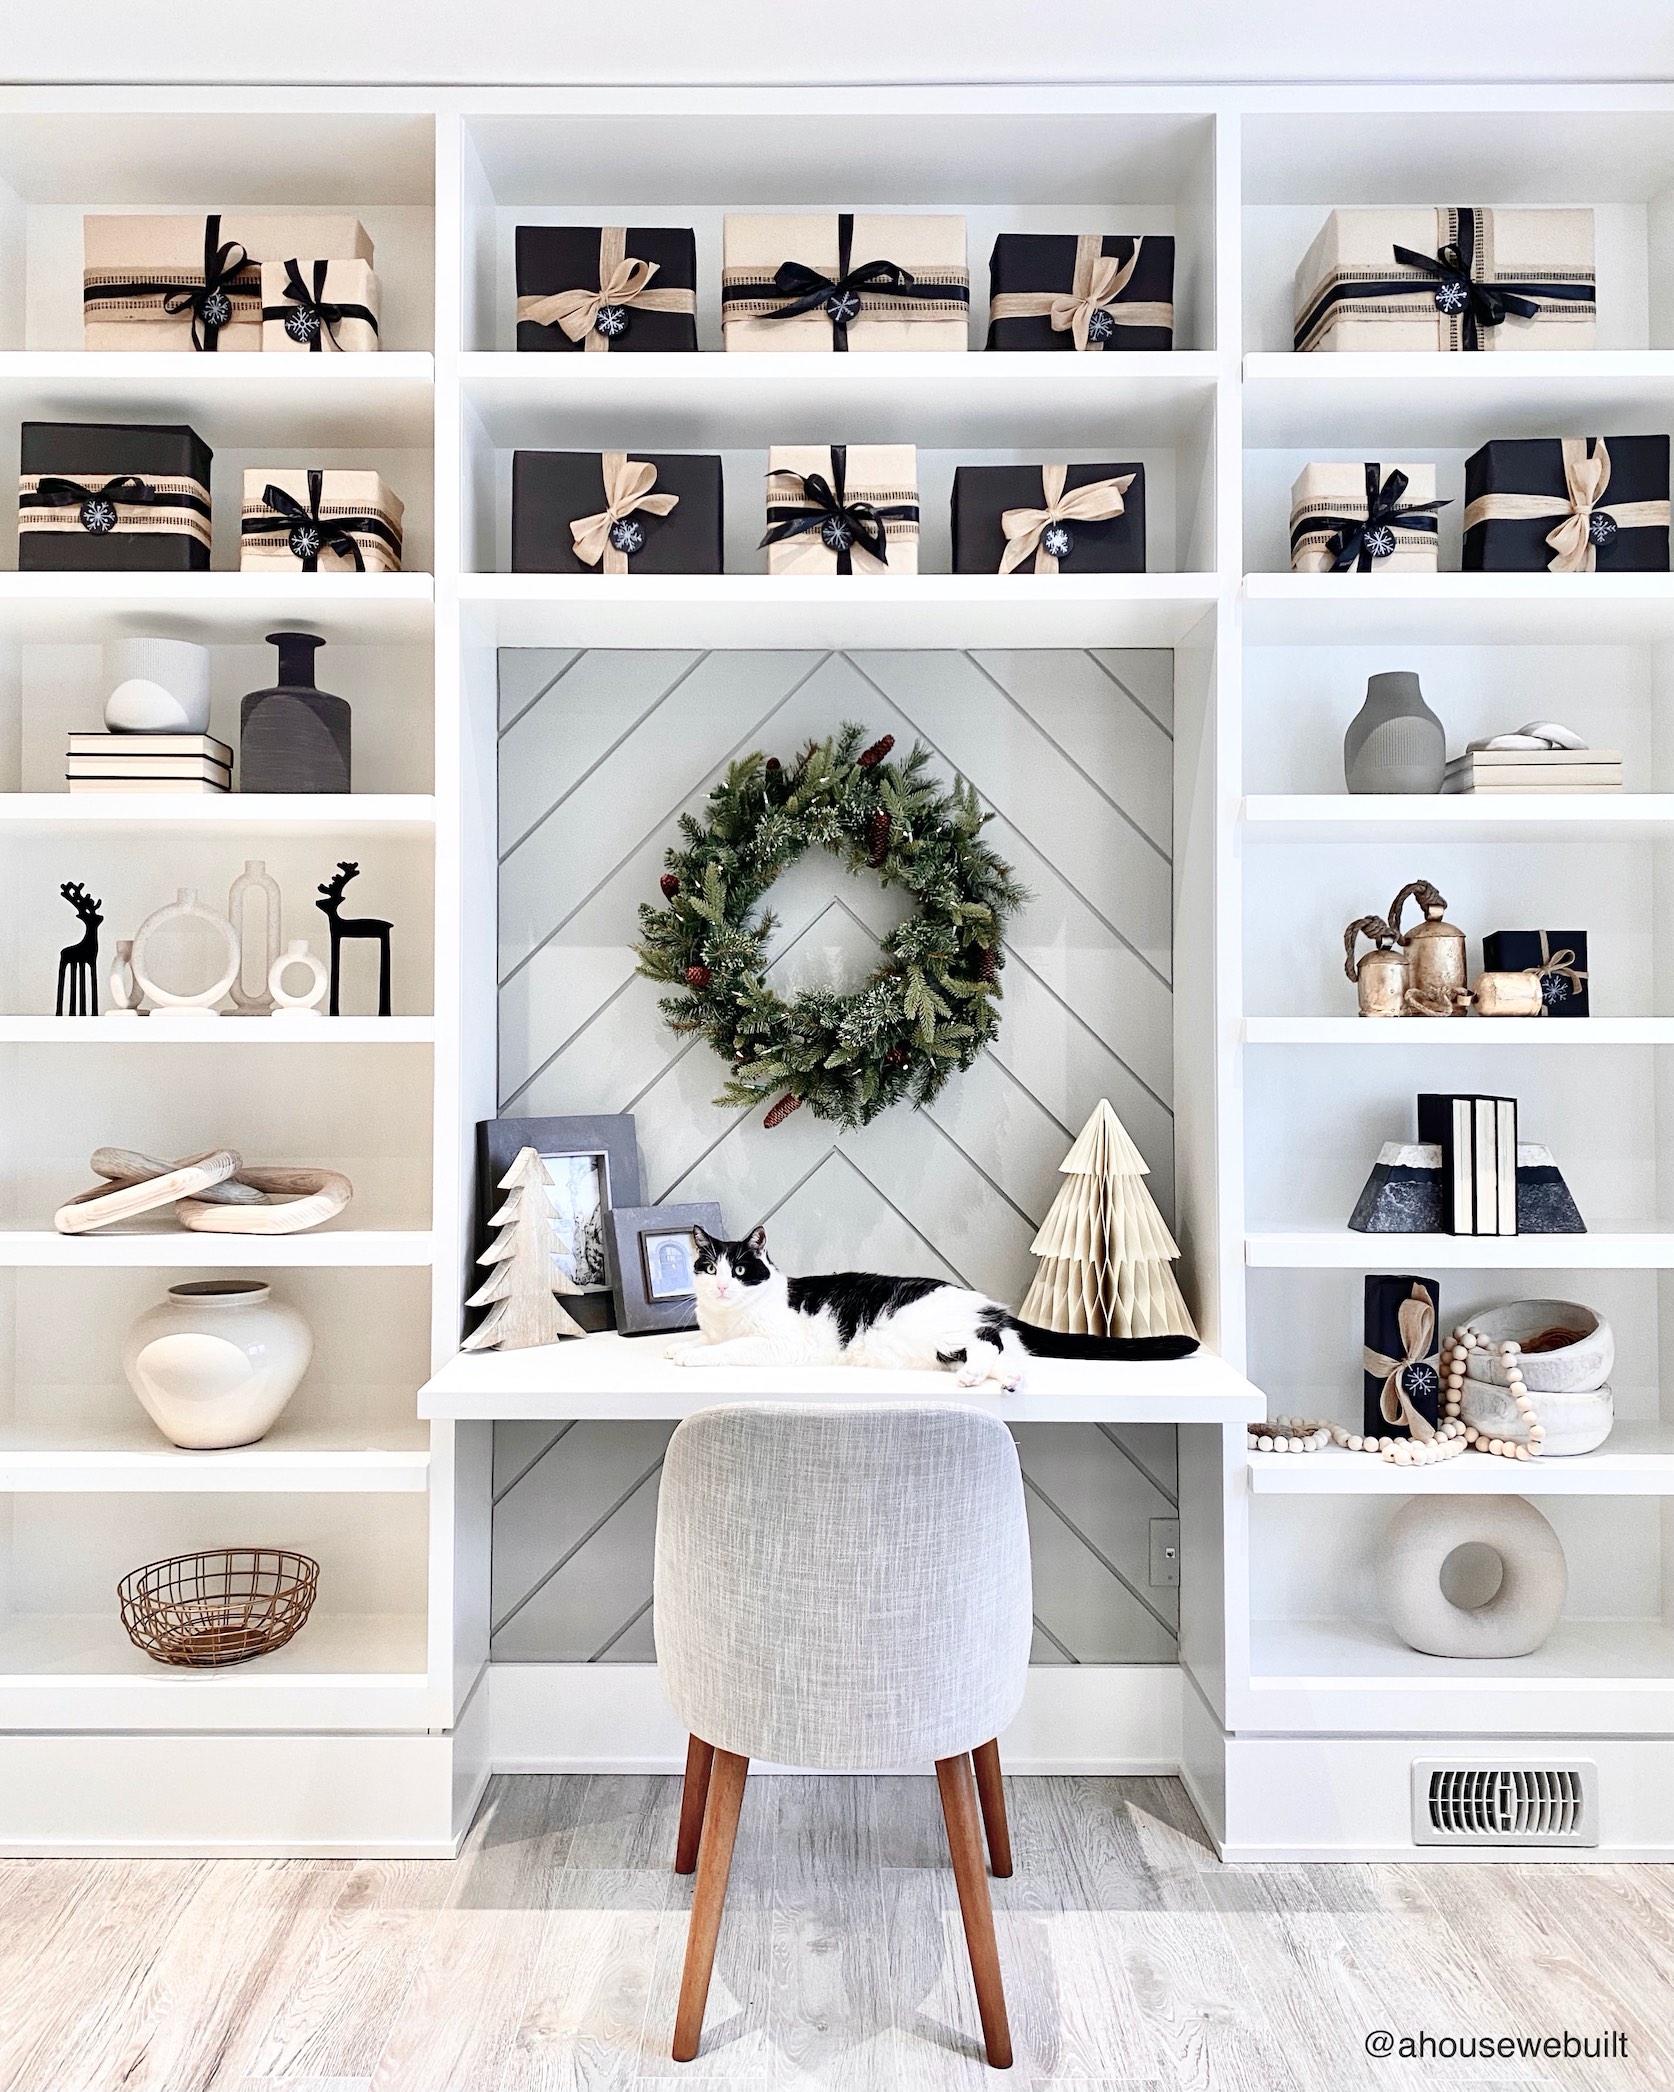
Office
- CHRISTMAS | Garland: Afloral | Kirklands | Amazon
- CHRISTMAS | Swag made with: Aforal | Kirklands
- CHRISTMAS | Wreath: Similar @ West Elm
- CHRISTMAS | Black reindeer: Crate & Barrel | Pottery Barn
- CHRISTMAS | Ceramic reindeer: H&M Home
- CHRISTMAS | Bells: Amazon
- CHRISTMAS | Gold metal trees: H&M Home
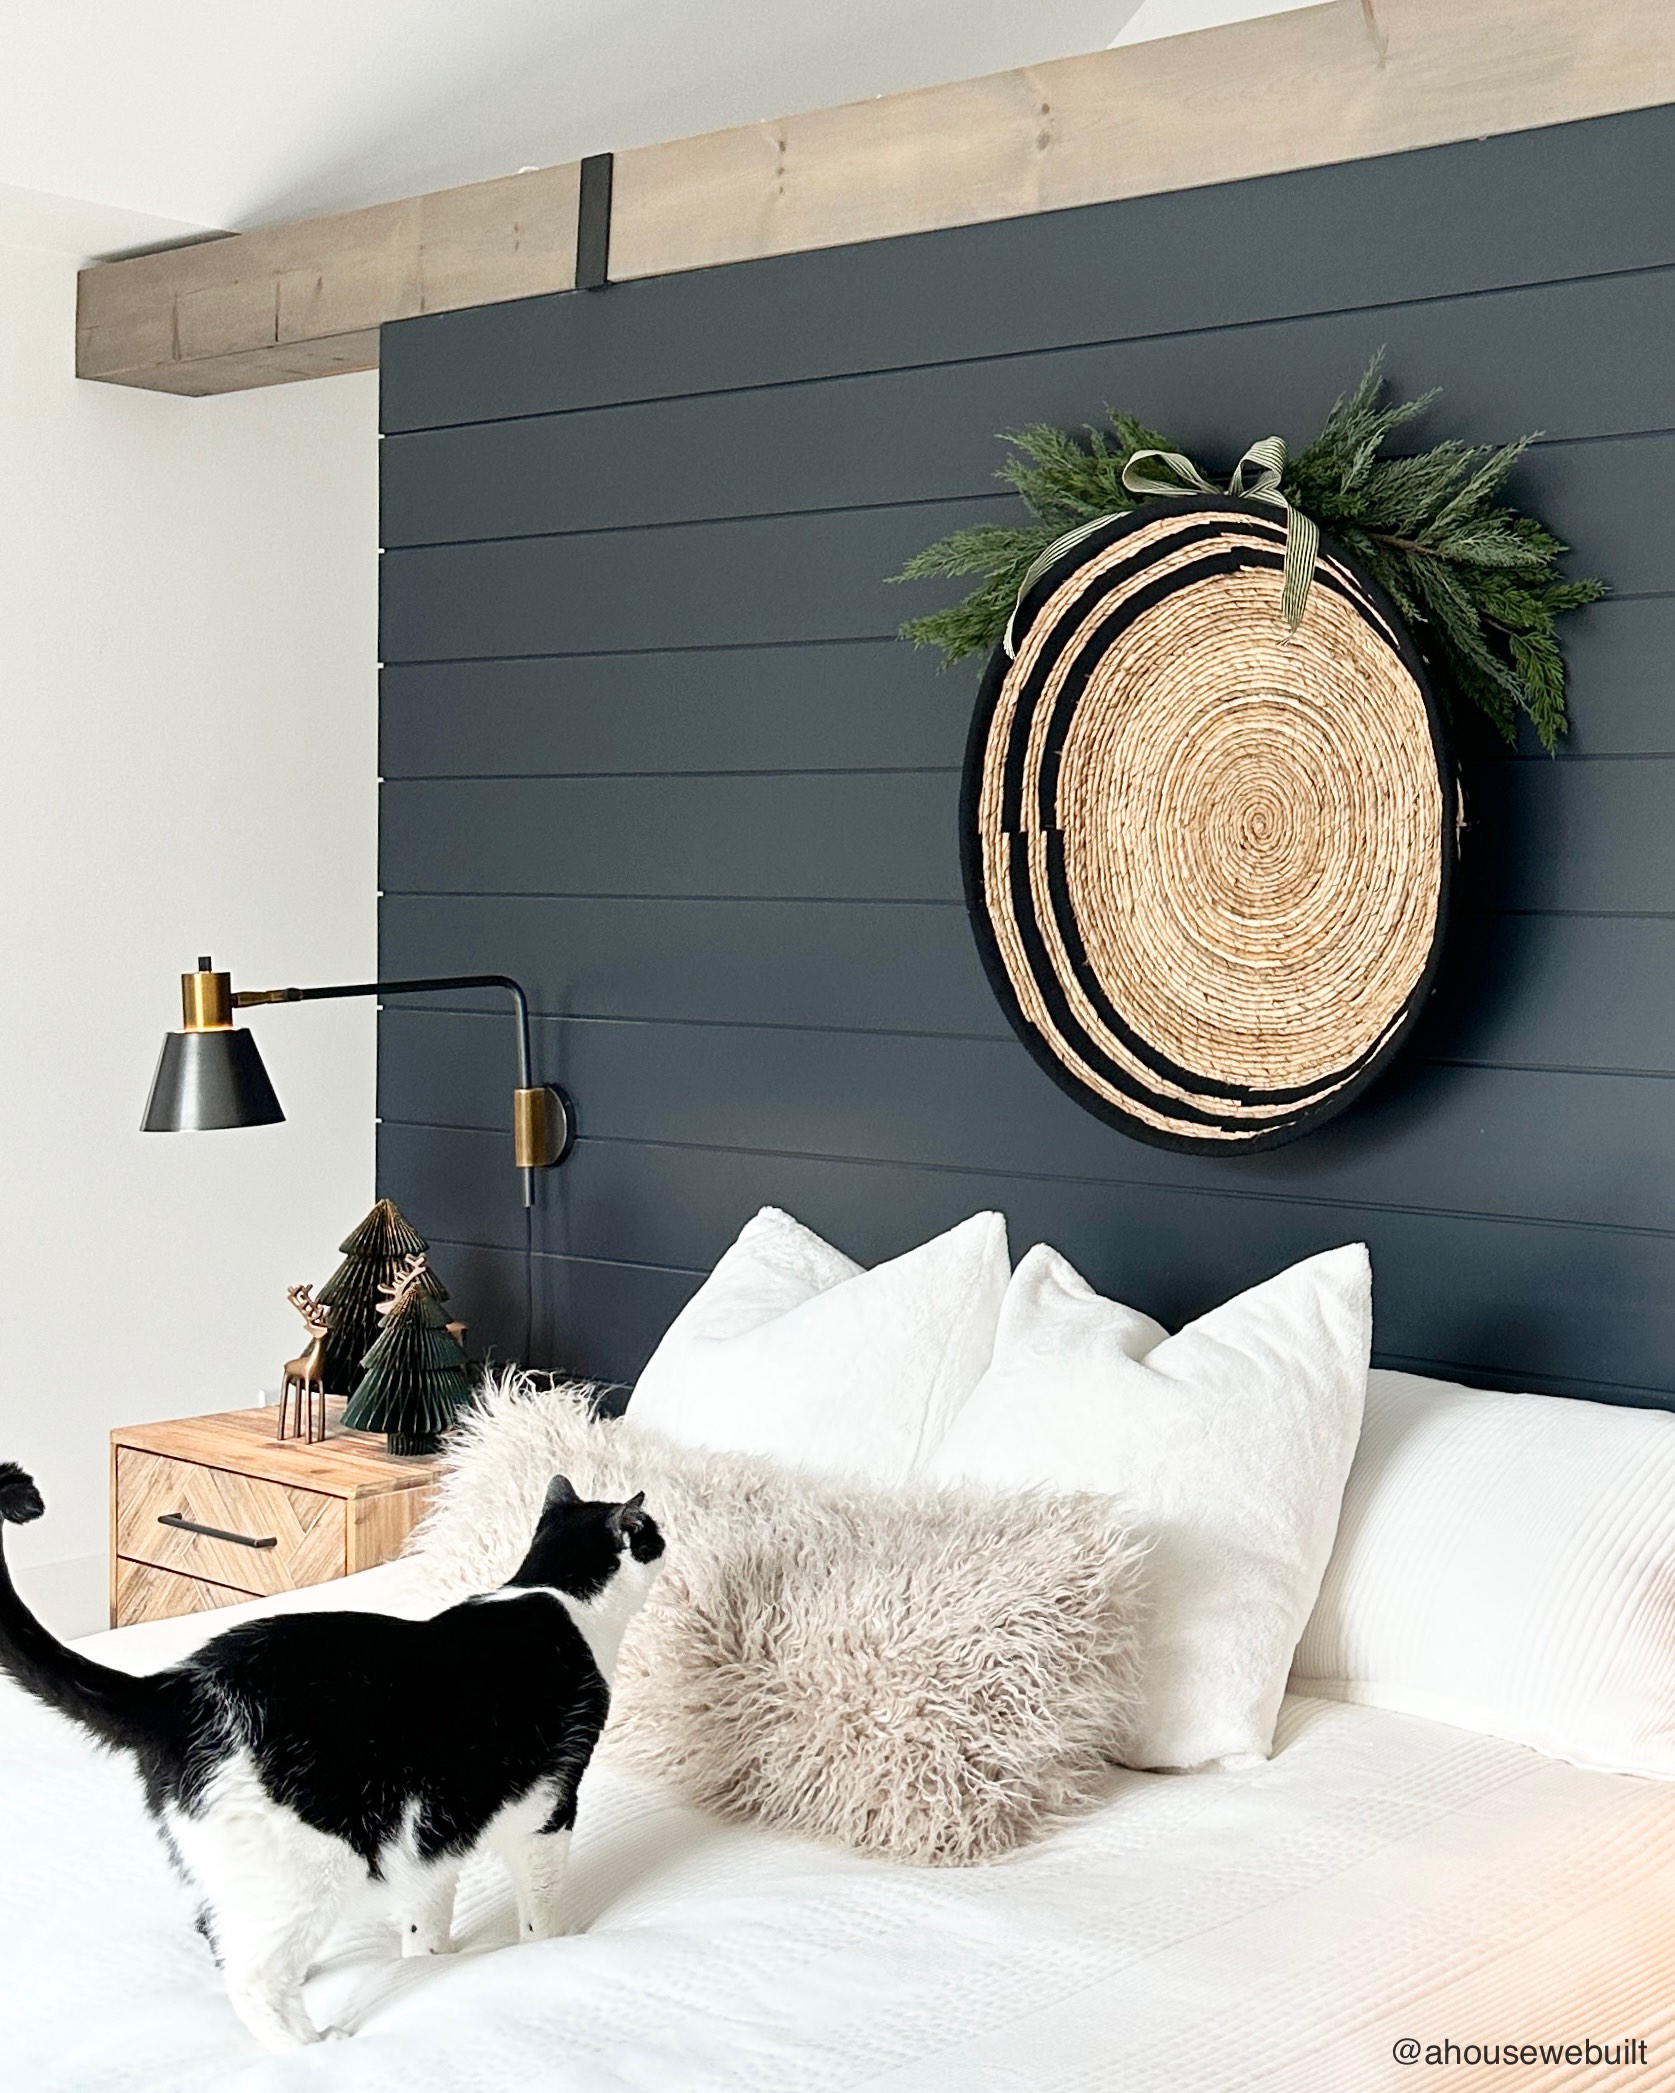
Primary bedroom
- CHRISTMAS | Brass bells: Pottery Barn | Amazon
- CHRISTMAS | Paper accordion trees: H&M Home | West Elm
Primary bathroom
- CHRISTMAS | Swag made with: Aforal | Kirklands
- CHRISTMAS | Olive branches: Crate & Barrel
- CHRISTMAS | Red berry stems: Michaels