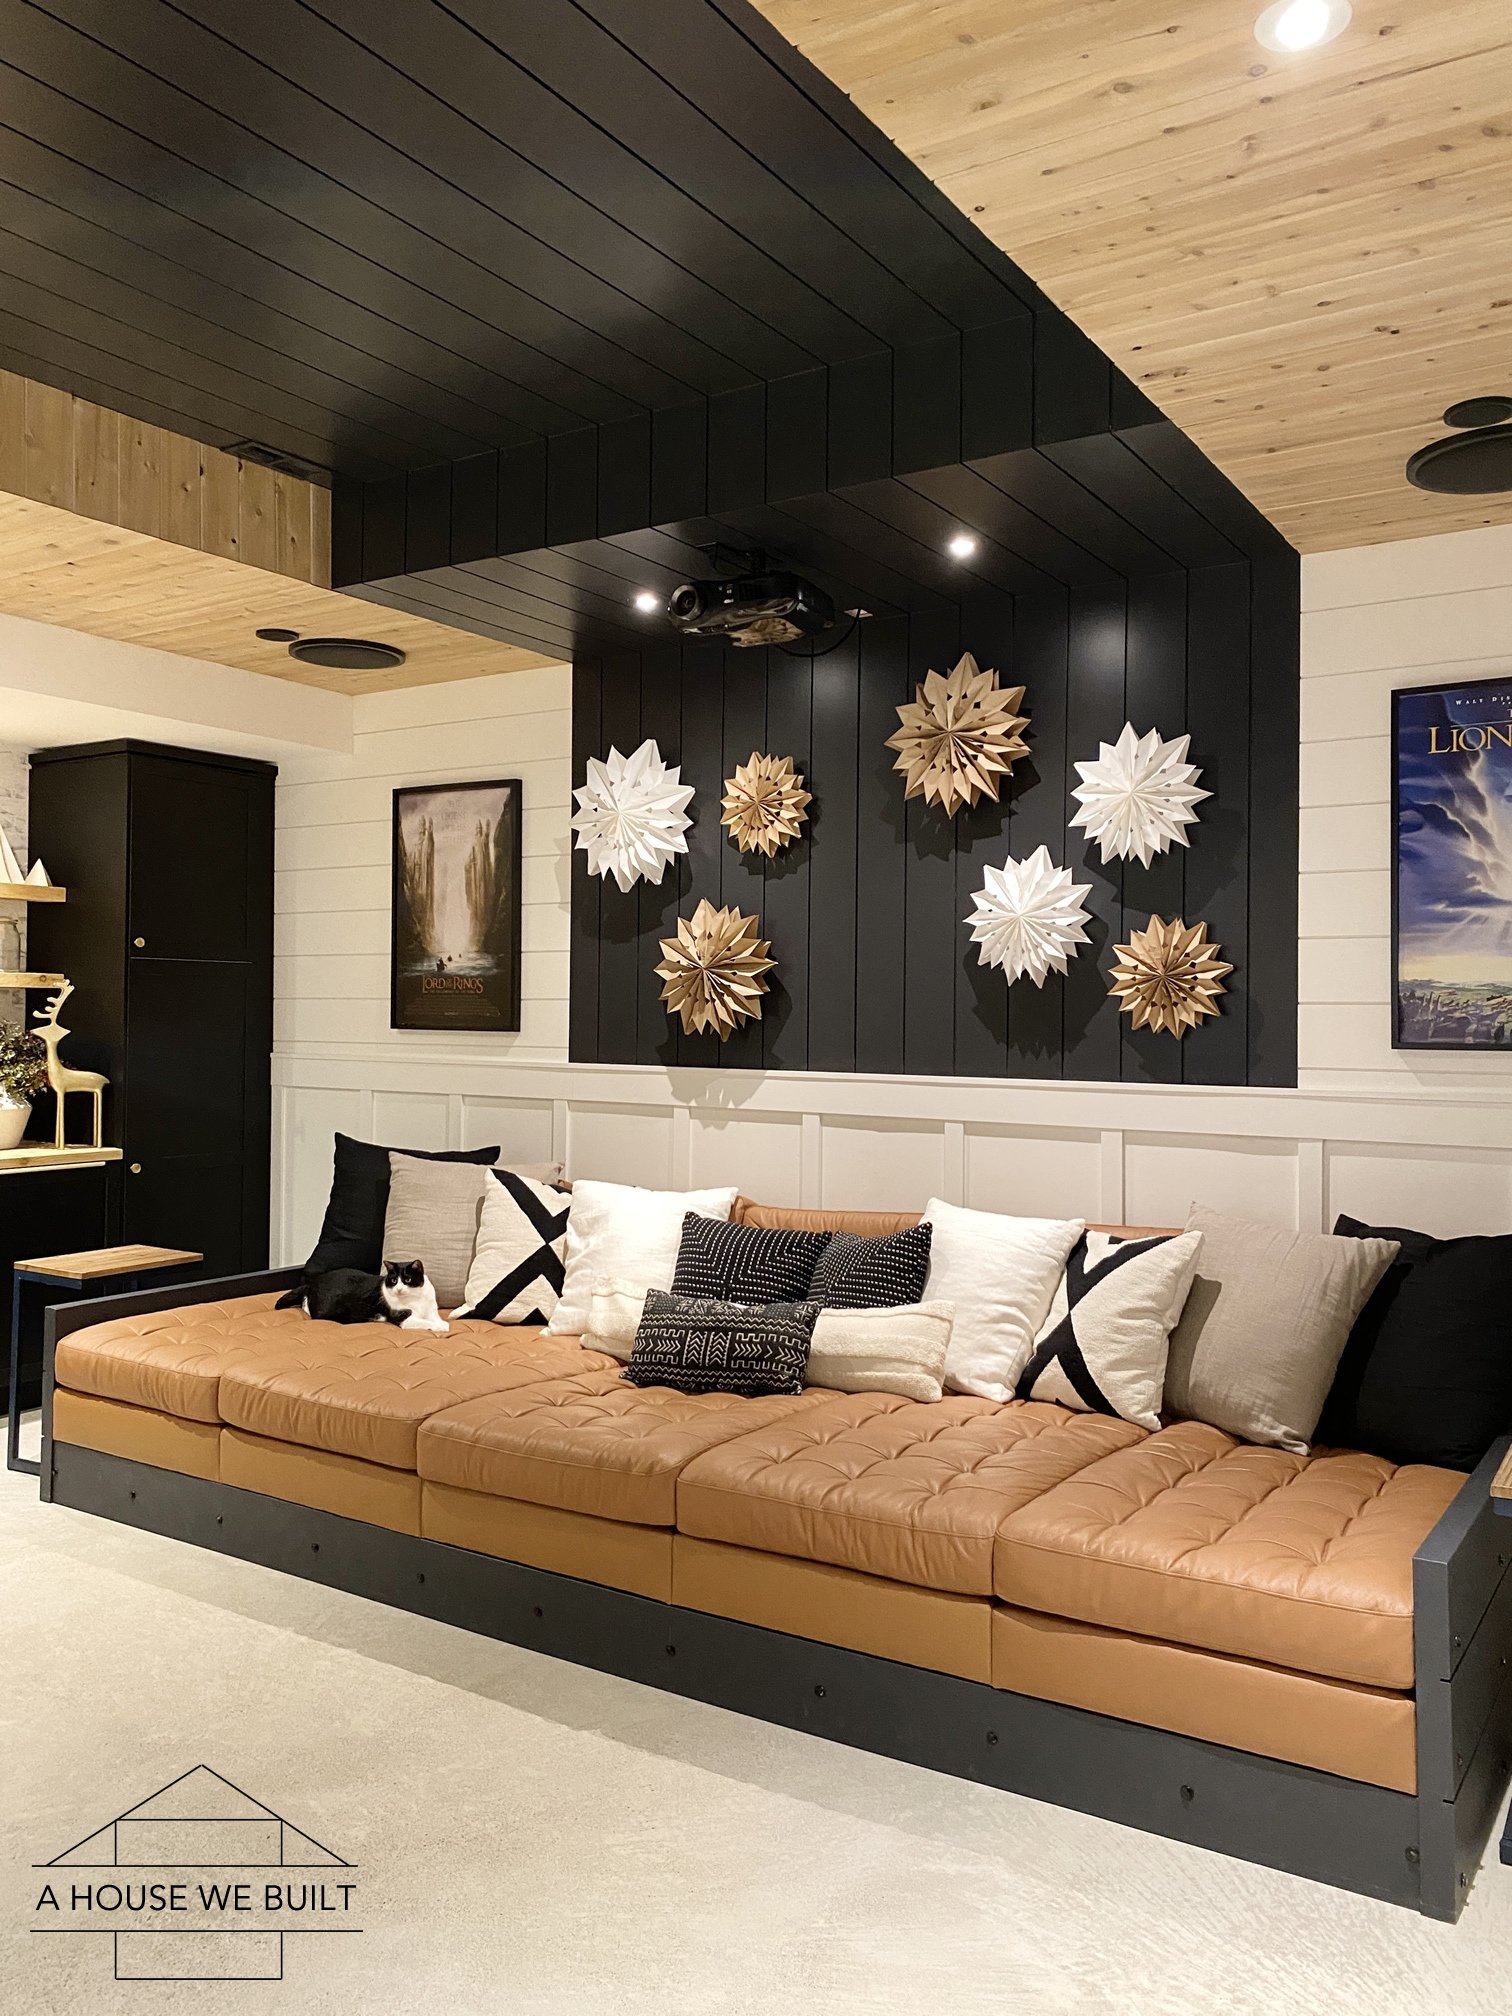
Christmas decor:
- Paper accordion trees: H&M Home
Wall decor:
- Wall baskets: Pottery Barn
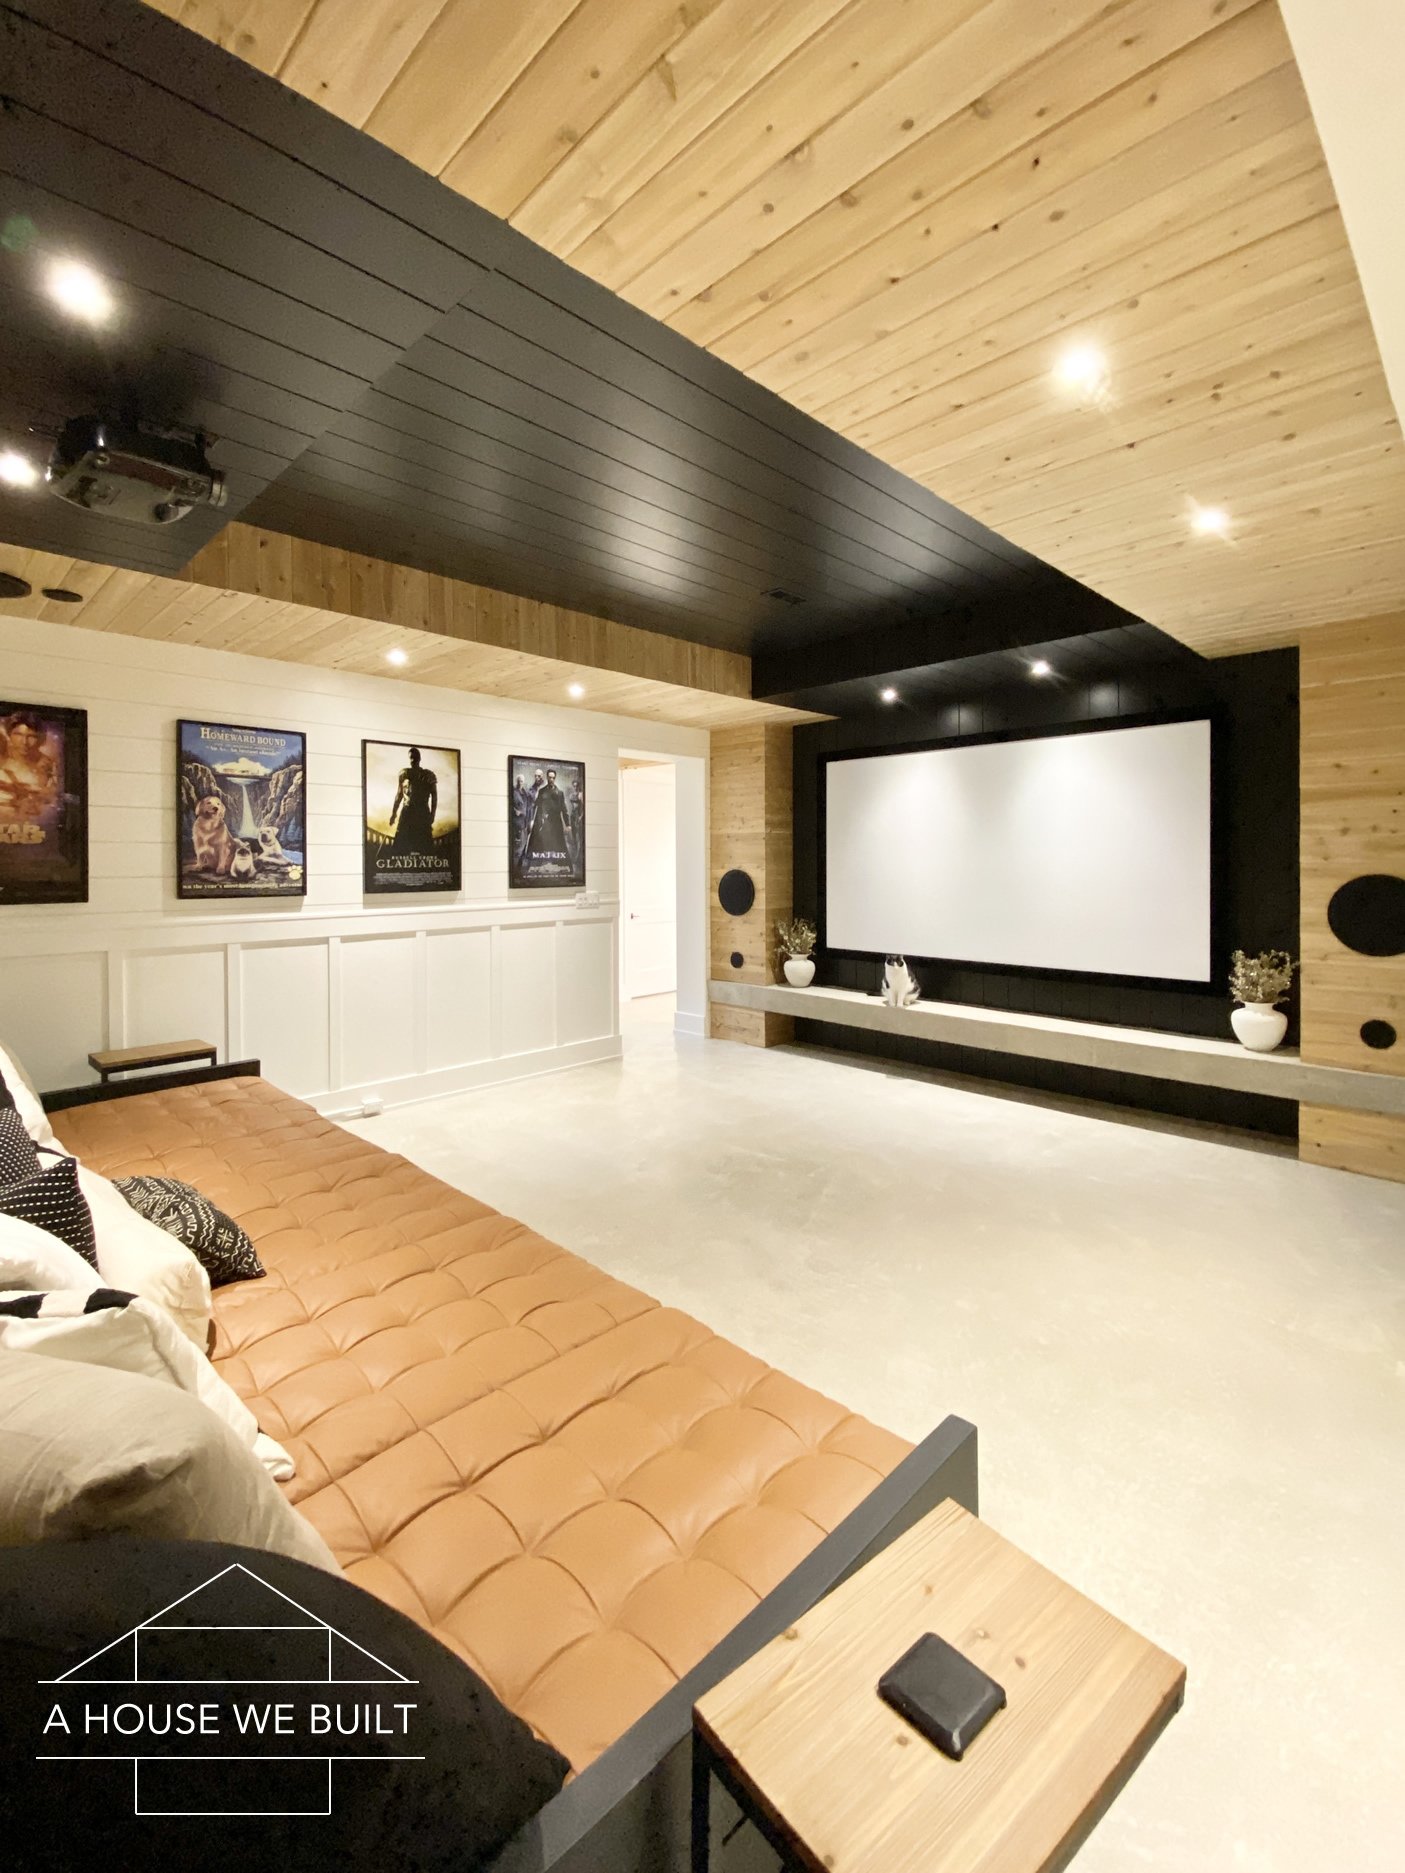
Projector equipment:
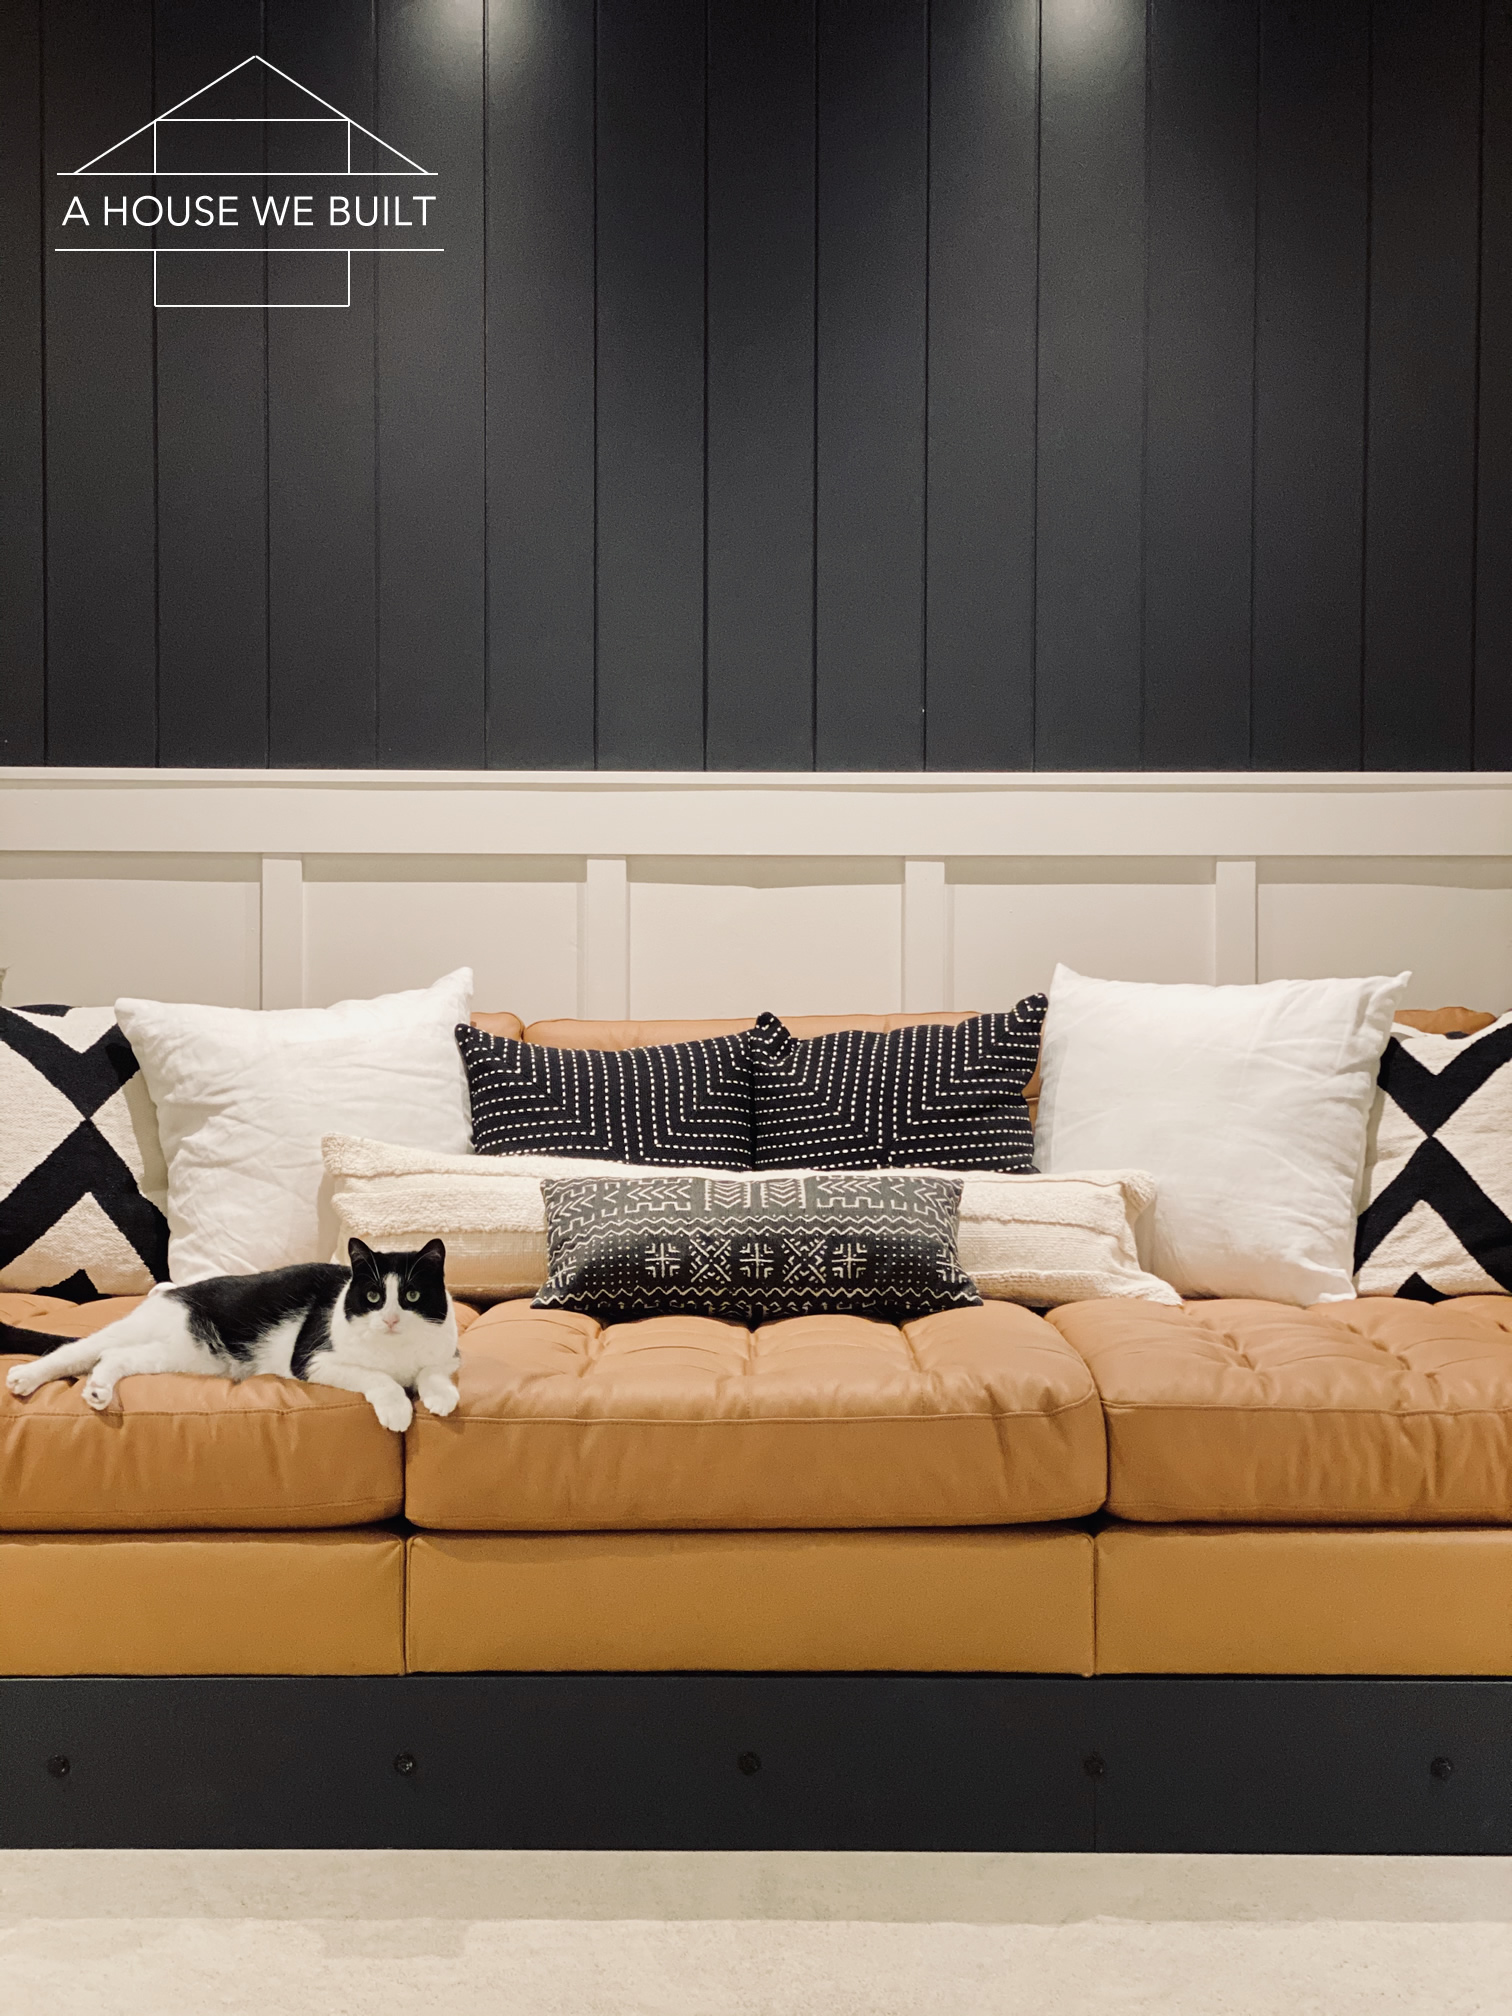
Seating & tables:
- Sofa pit: How to Make a Sofa Pit Tutorial
- Side tables: Walmart
Pillows:
- Black linen pillows: We made ours | Similar: Pottery Barn | CB2
- Gray linen pillows: We made ours | Similar: West Elm | Pottery Barn
- White linen pillows: We made ours | Similar: West Elm
- Black & white X-stitch pillows: CB2 | Similar: Rejuvenation
- Black & white X-block pillows: CB2 | Similar: West Elm
- Beige lumbar pillow (similar): H&M Home | CB2
- Mudcloth lumbar pillow (similar): Amazon | Etsy
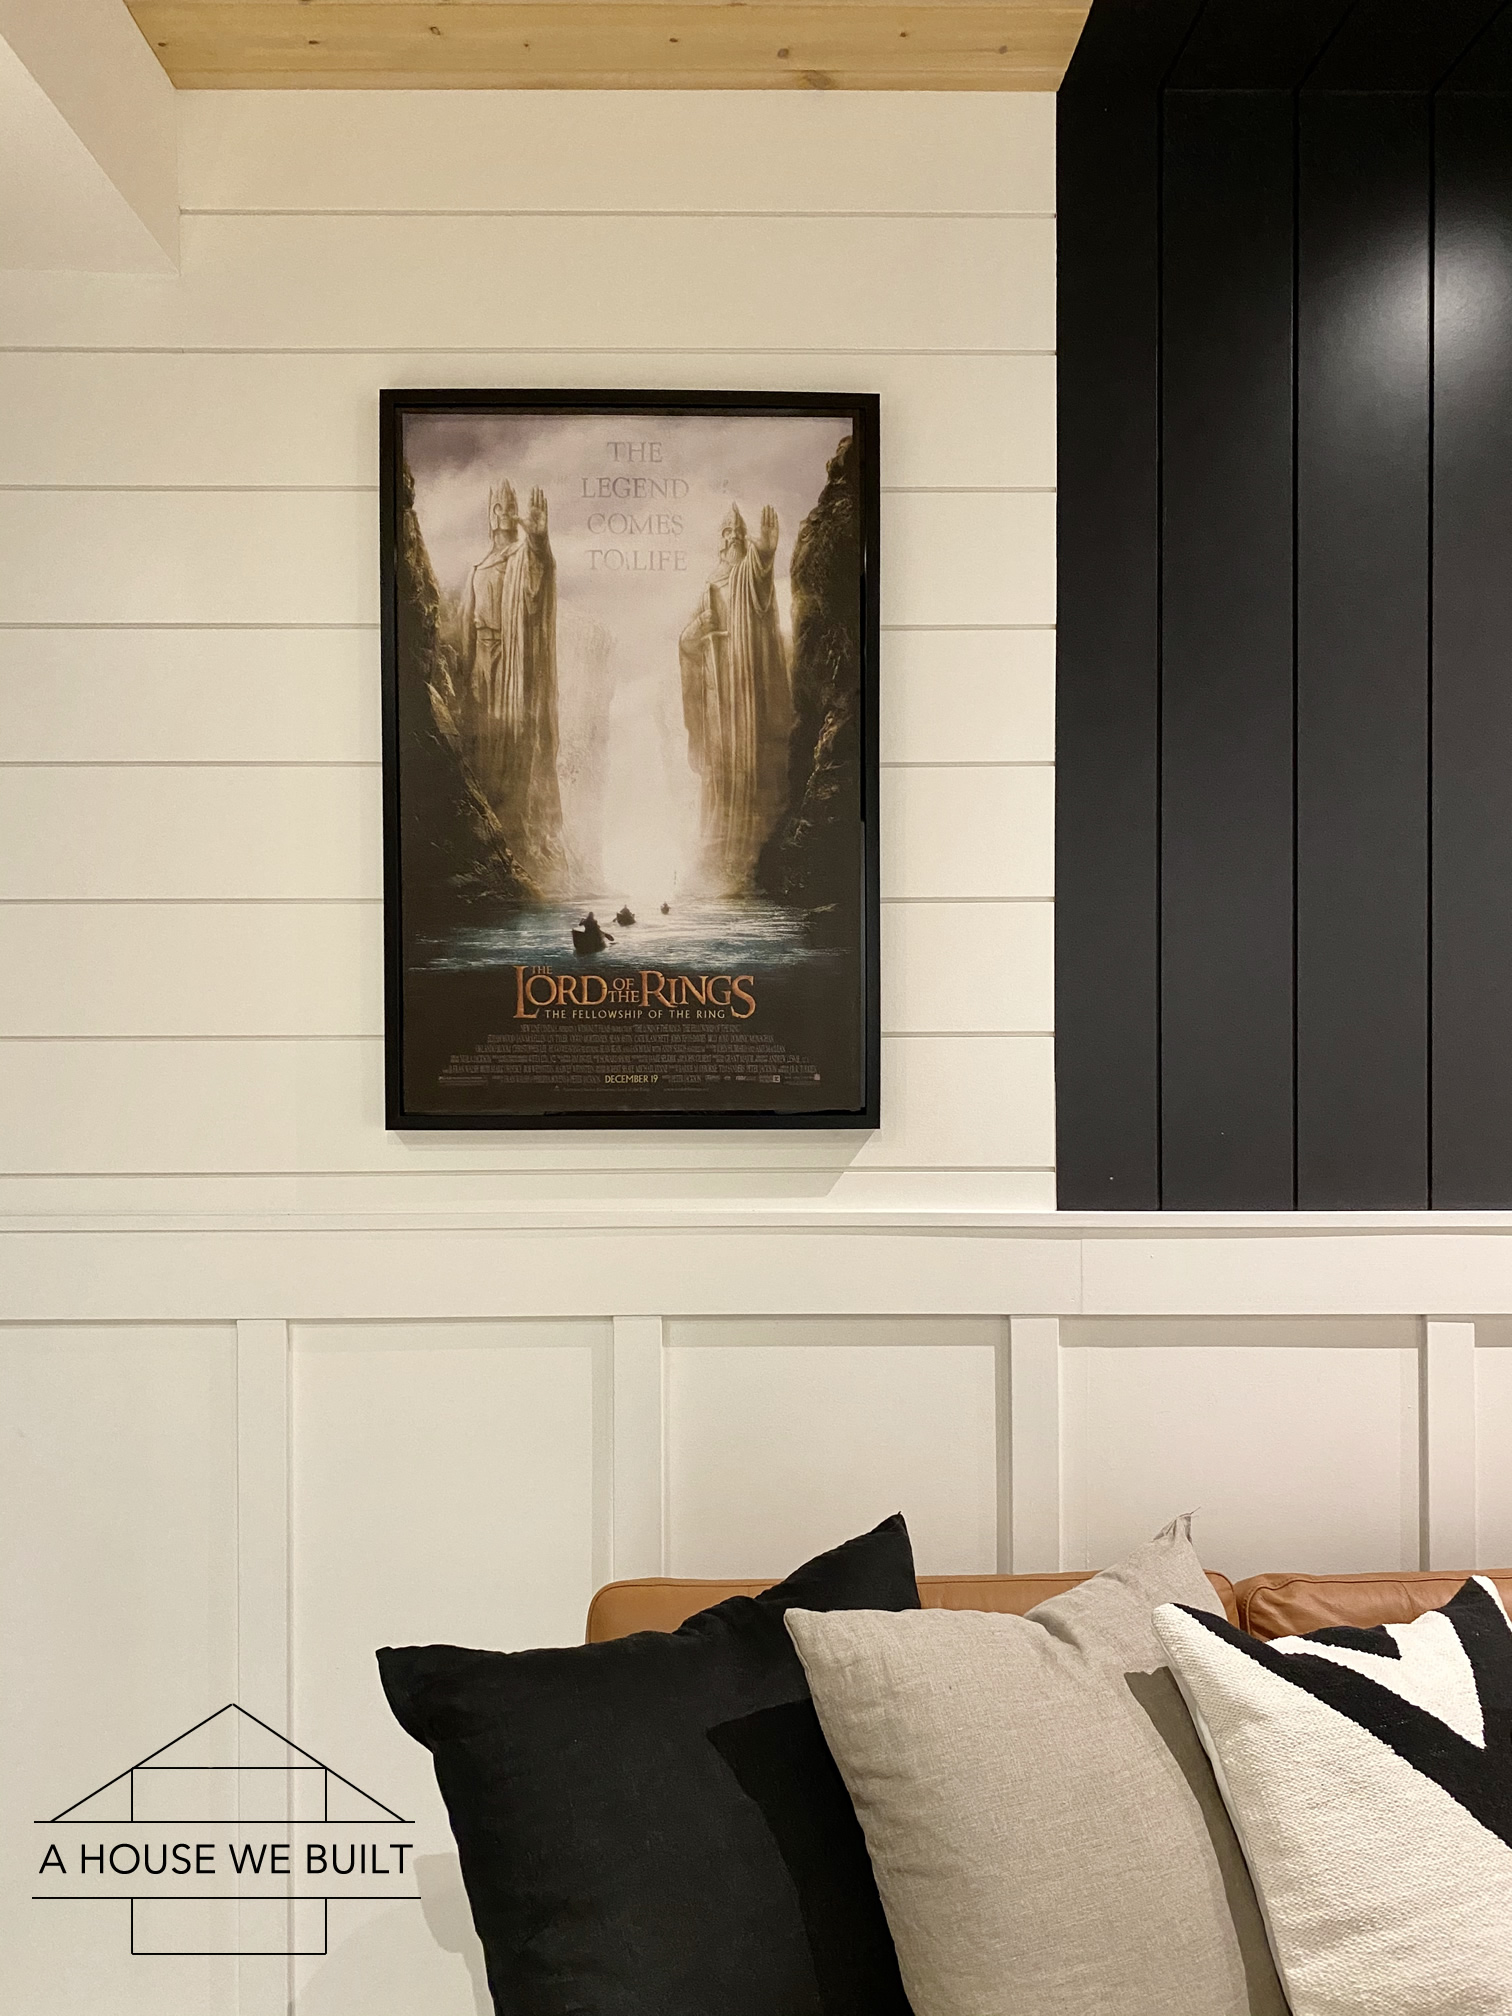
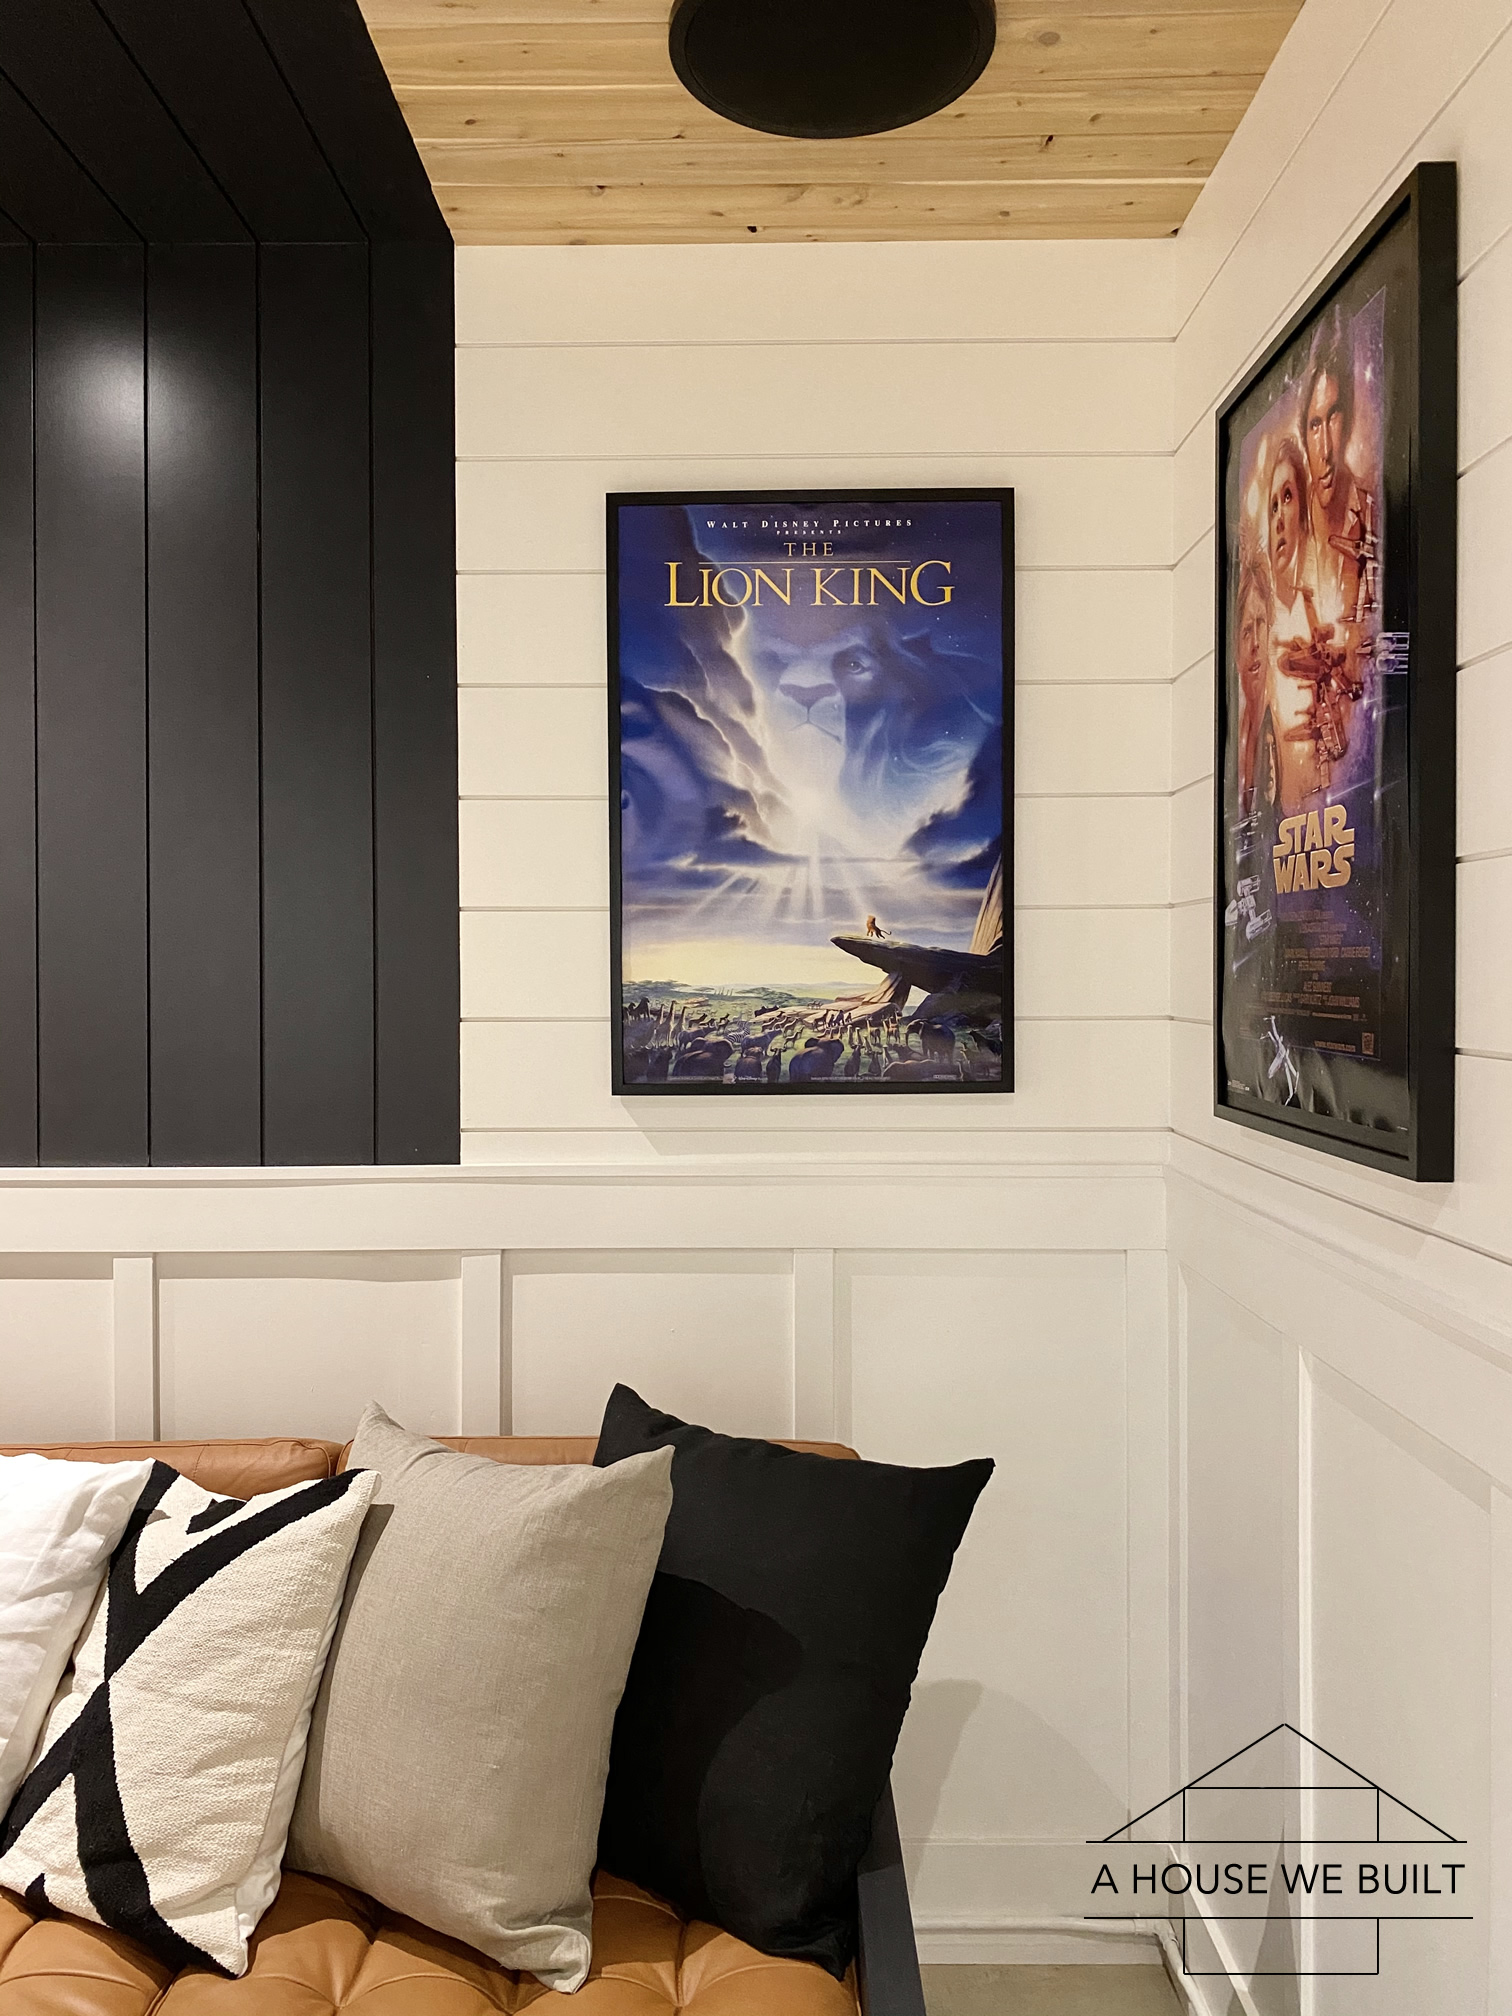
Movie posters (I’ve been planning this gallery wall for a while so I got everything for it a long time ago, but I’ve listed sources for the same sizes and/or similar styles as we have here):
- Poster frames (similar): Target | Amazon | Walmart | Pottery Barn | West Elm
- Lord of the Rings movie poster: Amazon
- The Lion King movie poster: Walmart
- Star Wars movie poster: Walmart
- Gladiator movie poster: Walmart
- The Matrix movie poster: Walmart
- Homeward Bound movie poster: Amazon
Paneling:
- Shiplap: Tutorial & Info
- Wood paneling (similar): Home Depot
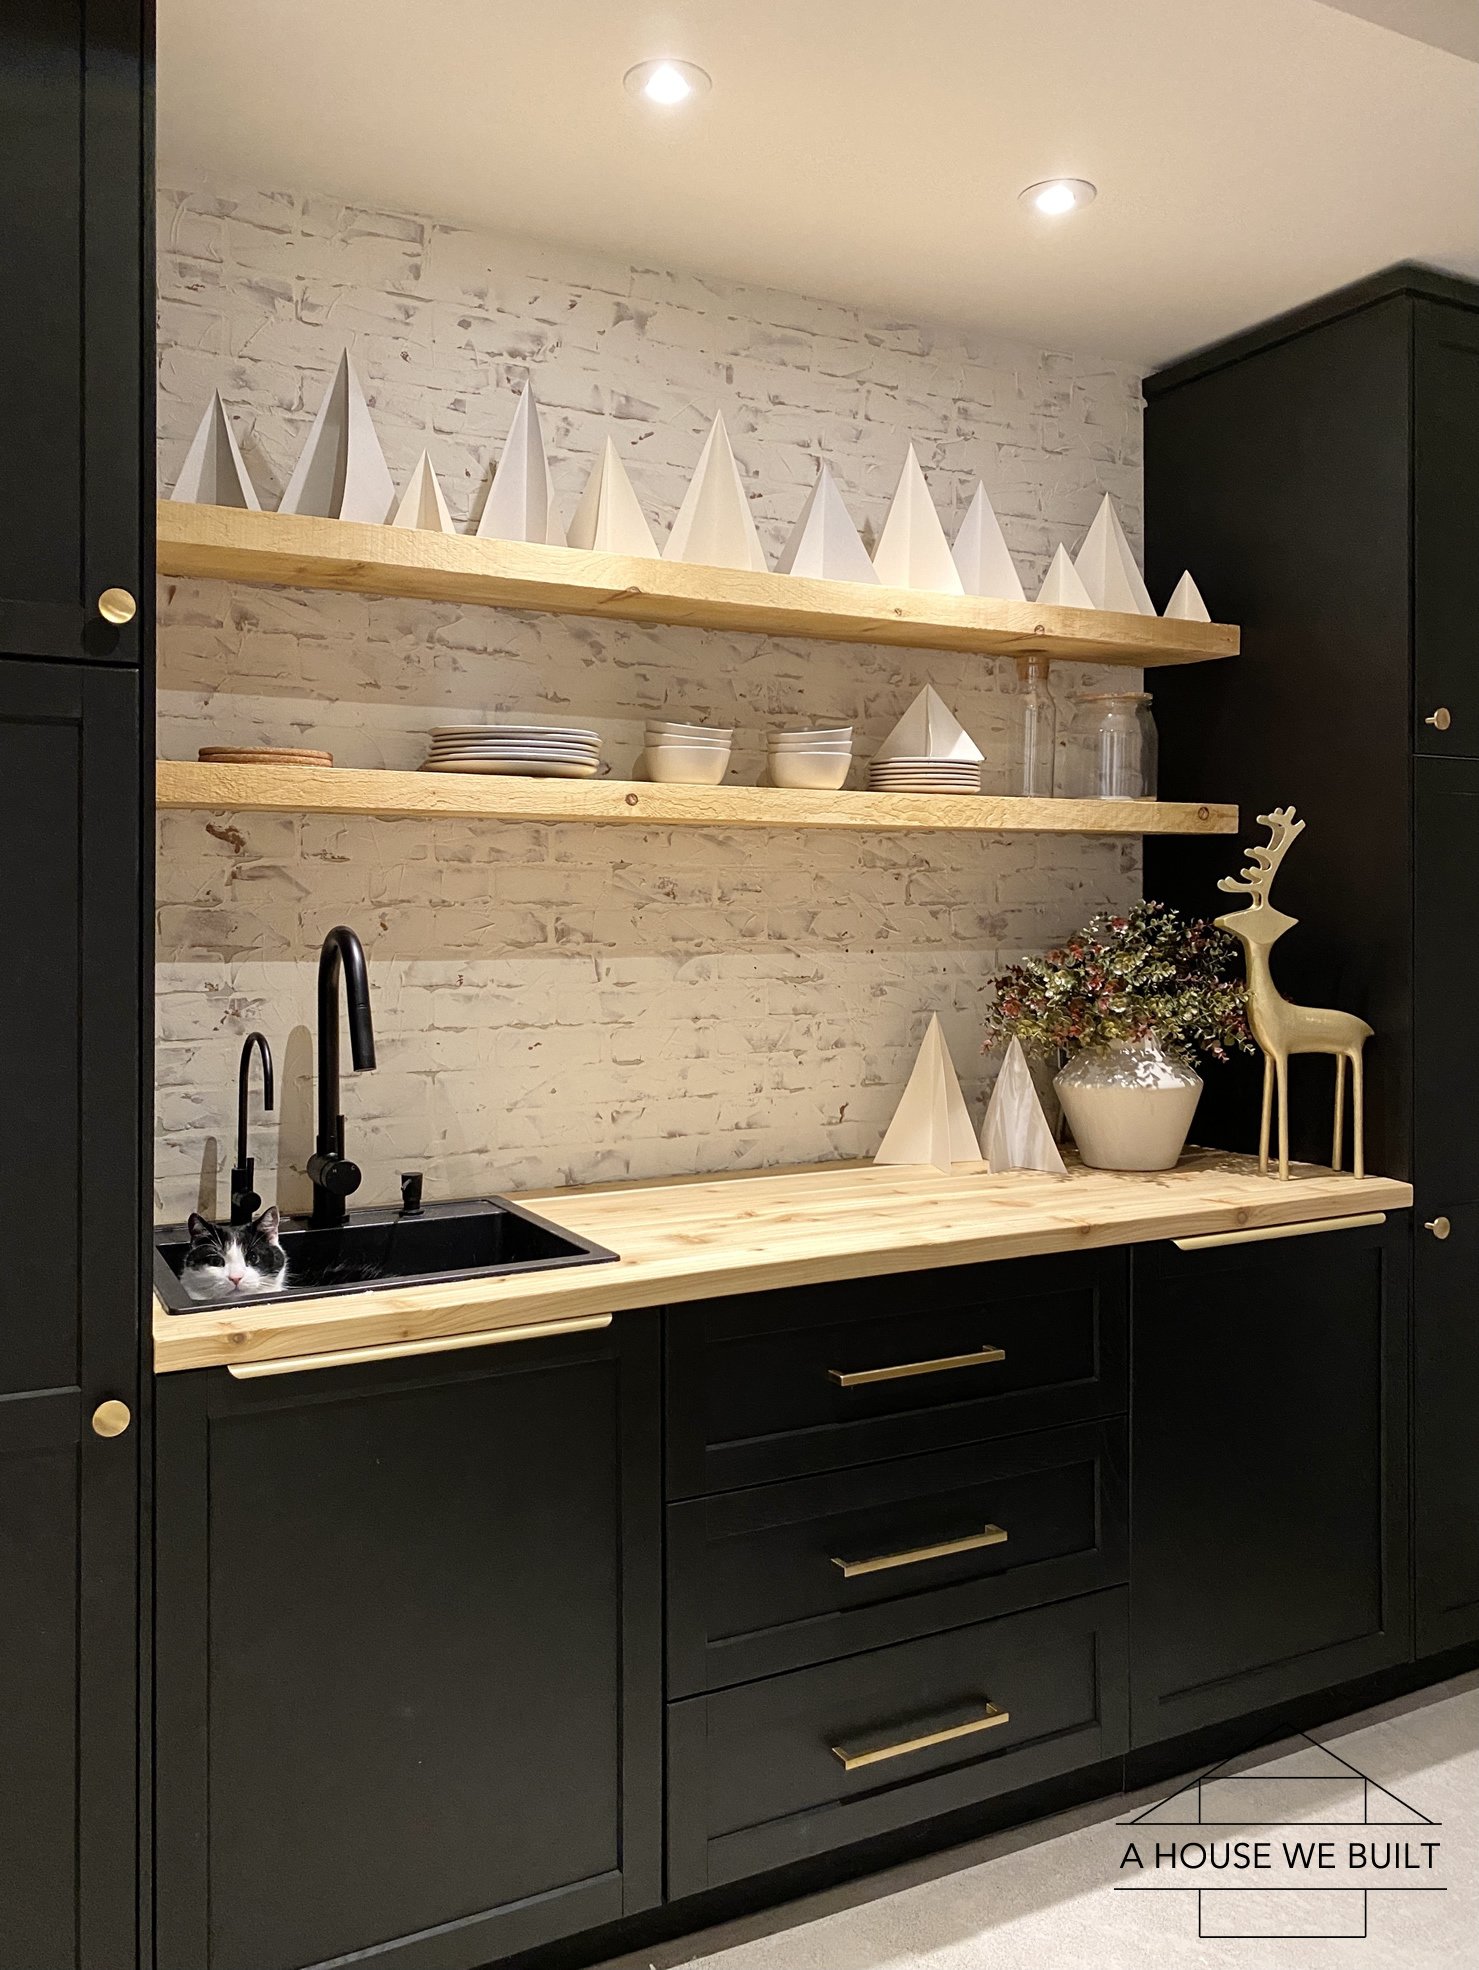
Snack bar:
- Faucet: Wayfair | Home Depot
- Drinking water faucet: Amazon | Home Depot
- Soap pump: Wayfair | Home Depot
- Gold cabinet knobs: CB2
- Gold drawer pulls: Amazon | Similar: Home Depot | Schoolhouse
- Gold finger pulls (similar): Wayfair
- Floating shelving: Tutorial
- Floating shelf brackets: Amazon
- Wood countertop: Tutorial
- Faux brick wall: Tutorial
- Brick panels: Home Depot
Bench decor:
- White vase: Tutorial | Similar: Pottery Barn | Pottery Barn
- Gold stems: Michaels (no longer available)
General info:
- Paint colors: BM Black Panther + BM Simply White
- Floating bench: concrete (tutorial coming)
- Ceiling: 10-ft
- Speakers: we made our own tower speakers by buying drivers and building the boxes so that we could incorporate/build them into our room design. We have a 5.1 system (we intentionally left the center speaker out but wired for it, and the sub is concealed in cabinetry).
- Flooring: polished concrete. We did the work ourselves and polished it until it was smooth but not glossy. We chose to leave the imperfections and markings as we liked their organic, natural look, but you can totally polish concrete until it’s flawlessly perfect and glossy if that’s a look you prefer. Our concrete has no stain or color treatment, but we did put on (clear) hardeners and sealers. The products we used had no effect on the color or look and are purely there to strengthen and protect the concrete. Basically, what our floor looks like was a personal, intentional choice based on how far we wanted to grind the surface down but there are many different possible polished concrete looks. A very general overview of the polishing process we did was to start with a heavier grind, then apply the hardener, then do a medium grind, then the sealer, then finish off with a final soft grind/buff. Our floor is also heated though we’ve never actually had need to turn it on because we insulated our slab really well so it doesn’t get all that cold even in winter. We’re not concrete experts though so I don’t want to give any advice on this topic further to this information. We just googled the process and researched heavily before starting. I’ll be honest though, this was THE most miserable construction project we’ve ever done (and that’s coming from someone who has done almost every construction task myself so I have some perspective). It’s slow (the grinder literally moved at a snail’s pace and when you’re doing 2000sf that can feel eternal), tedious, and SO dusty. You must have proper PPE or exposure to the concrete dust can be very dangerous. Also, the necessary PPE is much harder to source these days than it was back when we did this project so that’s a big factor too. But we saved a lot of $$ doing this work ourselves, plus we learned a new skill (that I sincerely hope I will never ever ever ever ever have to use again lol). — On the plus side, these floors are low maintenance, easy to clean, and we love the look! Because they’re sealed, most spills just wipe right off them, and day-today, we just vacuum them. So there are pros and cons to this type of flooring, but we have no regrets about our decision to do them.
To explore other rooms in our home, click here for our website roadmap.
To follow our daily progress and house projects, follow us on Instagram @ahousewebuilt.
Leave a Reply
You must be logged in to post a comment.