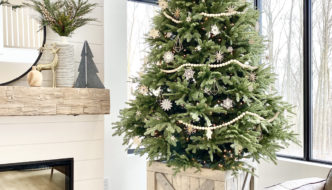
How to Cat-Proof Christmas Trees & Decor
At Christmas, many cat lovers struggle with keeping their cat away from their tree and decor so here are some tips that have worked for ... Read More
Custom House Designed by Husband & Wife Team | Modern Farmhouse Inspired