• Skip to primary navigation
  • Skip to main content
  • Skip to primary sidebar
  • Skip to footer

A House We Built

Custom House Designed by Husband & Wife Team | Modern Farmhouse Inspired

  • Shop Our Home
  • Sources by Room
    • All Sources & FAQs
    • Kitchen Sources
    • Pantry Sources
    • Living Room Sources
    • Dining Room Sources
    • Home Office Sources
    • Laundry Room Sources
    • Entryway Sources
    • Mudroom Sources
    • Gallery Wall Sources
    • Reading Room Sources
    • Theater Room Sources
    • Game Room Sources
    • Guest Bedroom Sources
    • Primary Bedroom Sources
    • Primary Closet Sources
    • Primary Bathroom Sources
    • Powder Bathroom Sources
    • Buffalo Check Bathroom Sources
    • Basement Bathroom Sources
    • Basement Sources
    • Stairs, Landings & Hallways
    • Paint Colors and Stain Recap
    • Cleaning Sources & Routines
  • Tutorials
    • How to Make a Staircase Gallery Wall
    • How to Make Textured Canvas Art
    • How to Install Shiplap
    • How to Build a Slat Wall
    • How to Paint an Ikea Dresser
    • How to Build Bypass Barn Doors
    • How to Build a Farmhouse Table and Benches
    • How to Build a Rustic Sideboard
    • How to Build a Slat Sideboard
    • How to Make a Sofa Pit
    • How to DIY a Faux Brick Wall
    • How to Build a Window Seat
    • How to Build a Paneled Accent Wall
    • How to DIY a Functional Play Kitchen
    • How to Stencil a Wall
    • How to Build a Round Table
    • How to Build a Console Table
    • How to Make Paper Stars
    • How to Make Paper Mache Bowls
    • How to Make Clay Links
    • How to Texture Bowls & Vases
    • How to Install Open Shelves
    • How to Make Wood Block Art
    • How to Make a Wood Bead Garland
    • How to Build Cabinet Doors
    • How to Build a Wood Countertop
    • How to DIY a Nightstand Charging Drawer
    • How to Make a Wheat Wreath
    • How to Hang Gallery Wall Frames
    • How to Stain Stairs and Paint Risers
    • How to Make Industrial Stair Railings
    • How to Build a Window Seat Cushion
    • How to Make Salt Dough Ornaments
    • How to DIY a Modern Mantel Christmas Tree
    • How to DIY a Wooden Christmas Village
    • How to Build a Wood Christmas Tree Collar Box
    • How to Make Paper Christmas Trees
  • Cats
    • Cat Room Tour & Litterboxes
    • Cat-Related Sources & Cleaning Tips
    • How to Cat-Proof Christmas Trees & Decor
    • How to Stop Cats from Scratching Furniture
    • How to Stop Cats from Playing with Decor
    • How to Train Cats and Kittens
    • How to Cope with Cat Allergies
    • How to Introduce New Kittens to Older Cats
  • Christmas
    • Christmas Decor Favorites 2023
    • How to Build a Wood Christmas Tree Collar Box
    • Neutral Christmas Present Wrapping
    • How to Make Paper Christmas Stars
    • How to Make Paper Christmas Trees
    • How to Make Salt Dough Ornaments
    • DIY Holiday Art Ideas
    • How to Cat-Proof Christmas Trees & Decor
    • How to Make Modern Tabletop Trees
    • How to Make a Wooden Christmas Village
    • Holiday Cheese & Snack Boards
    • Christmas Decor 2021
    • Christmas Decor 2020
    • Christmas Decor 2019
    • Gingerbread House & Cookies Recipe
    • Puff Tastry Christmas Tree Recipe
    • Christmas Decor 2018
  • Cleaning
    • Cleaning Sources & Routines
    • Minimalism: How To Get Started
    • Cat-Related Cleaning Tips
  • Recipes
    • Apple Turnovers Recipe
    • Baked Pumpkin Donuts Recipe
    • Banana Chocolate Chip Bread Recipe
    • Blueberry Lemon Cake Recipe
    • Cheese & Cracker Snack Boards
    • Chocolate Chip Cookie Recipe
    • Christmas Crack Recipe
    • Chocolate Crinkle Cookies Recipe
    • Cinnamon Rolls Recipe
    • Cinnamon Star Pastry Recipe
    • Coconut Curry Squash Soup Recipe
    • Creamy No-Cheese Pasta Sauce Recipe
    • Crumble Recipe
    • Easy Veggie Pasta Recipe
    • Fresh Rolls Recipe
    • Garlic Flatbread Recipe
    • Gingerbread Biscotti Recipe
    • Gingerbread House & Cookies Recipe
    • Healthy Hearty Salad Recipe
    • Homemade Bread Recipe
    • Lasagna Recipe
    • Molasses Cookies Recipe
    • Oatmeal Raisin Cookies Recipe
    • Pad Thai Recipe
    • Pesto Pasta Recipe
    • Potato Curry + Naan Bread
    • Puff Pastry Christmas Tree Recipe
    • Pumpkin Donut Bites Recipe
    • Pumpkin Loaf Recipe
    • Pumpkin Oat Muffins Recipe
    • Roasted Red Pepper Pasta Recipe
    • Rocky Road Bars Recipe
    • Vegan Bolognese Pasta Sauce
    • Vegetable Soup Recipe
  • About
    • About Us
    • Website Roadmap
    • Shop Our Home
    • Minimalism: How To Get Started
    • Privacy Policy
  • Blog

admin

Paint Colors and Stain Recap

February 8, 2021 by admin 4 Comments

Here’s a list of every single paint color, finish, and stain we’ve used in our whole house. You can also always find our paint colors listed on each individual room sources page and/or all of our tutorials.

PAINT COLORS

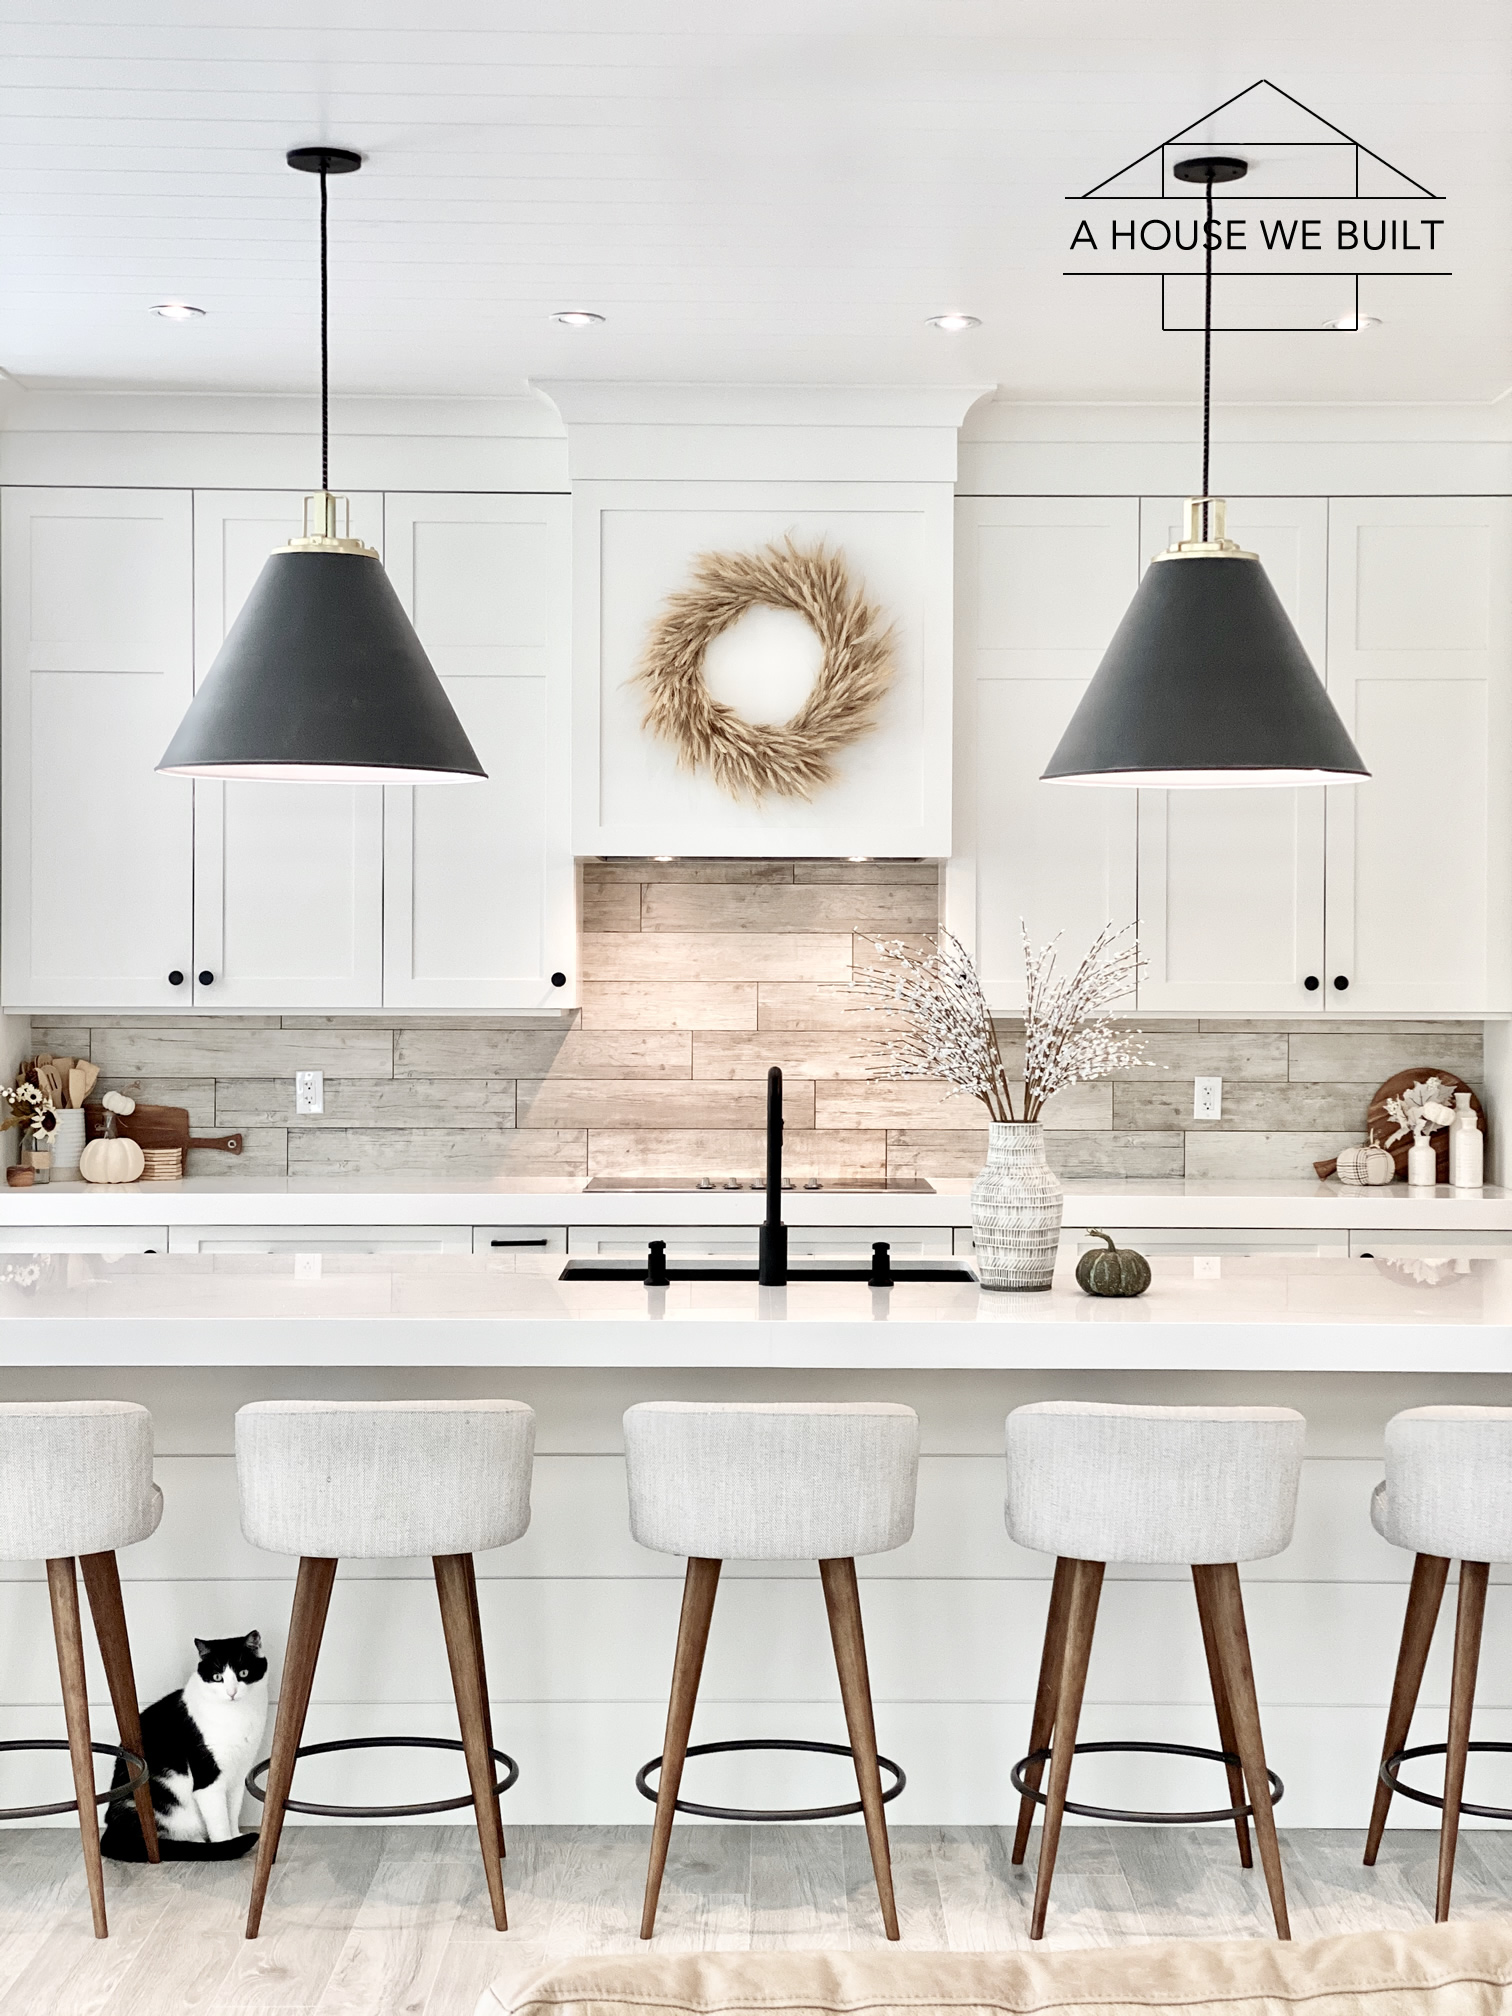
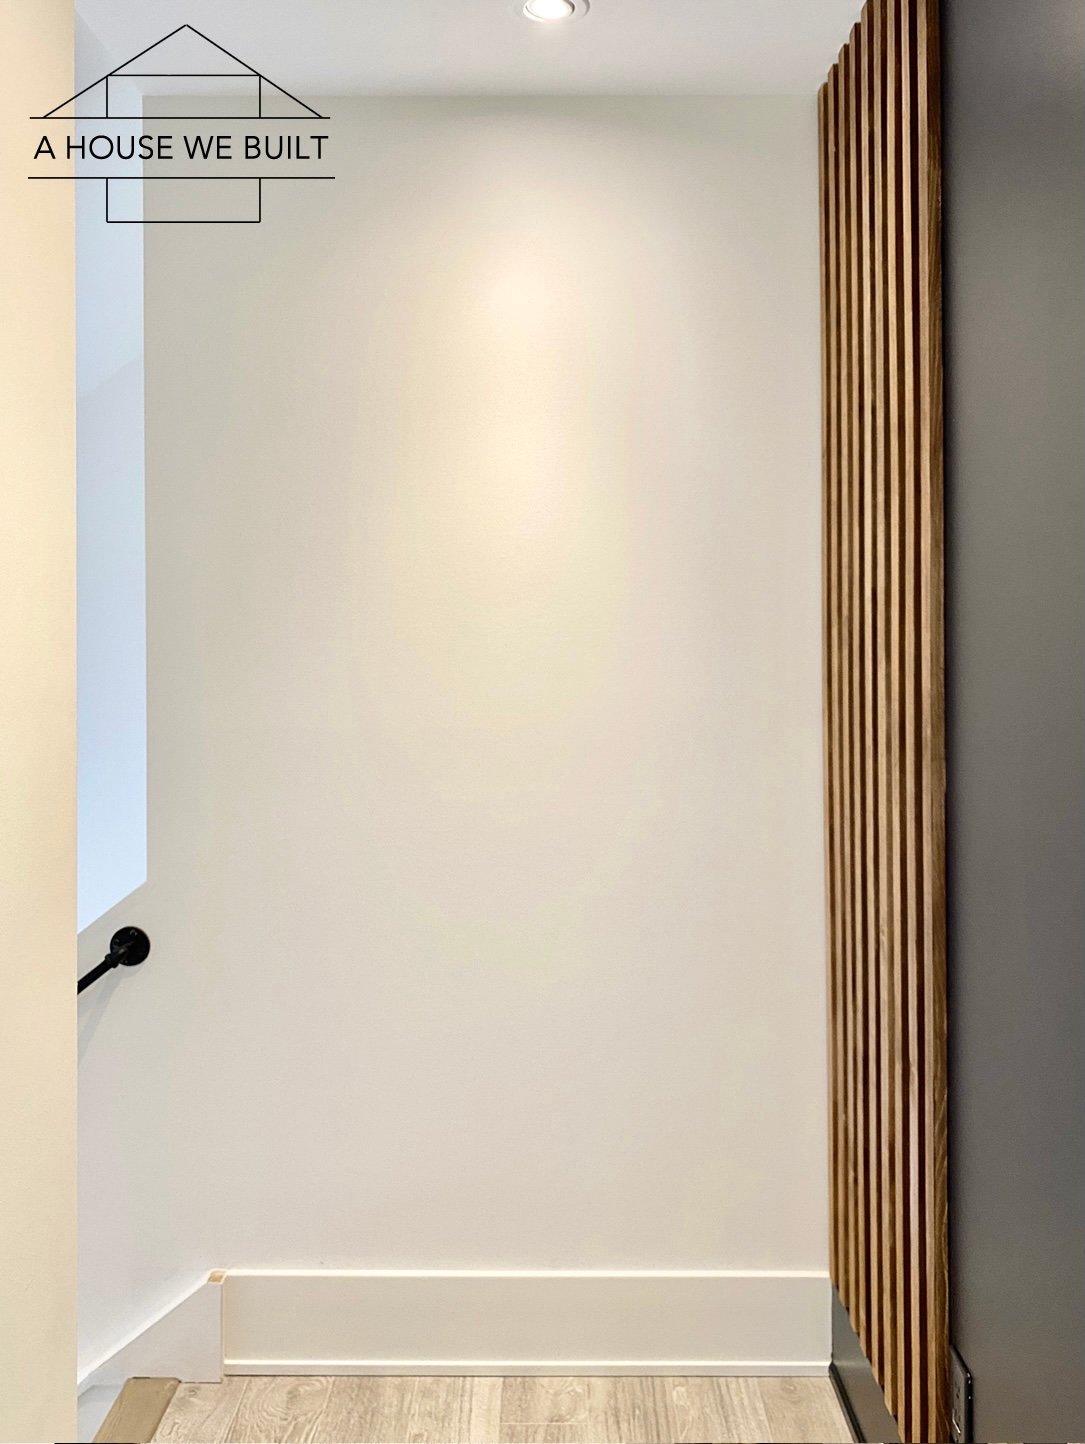
  • BM Simply White: all (yes, really all) white walls, ceilings, shiplap, trim, doors, custom cabinetry.
  • BM Classic Gray: living room ceiling, guest bedroom accent wall, basement bathroom shiplap.
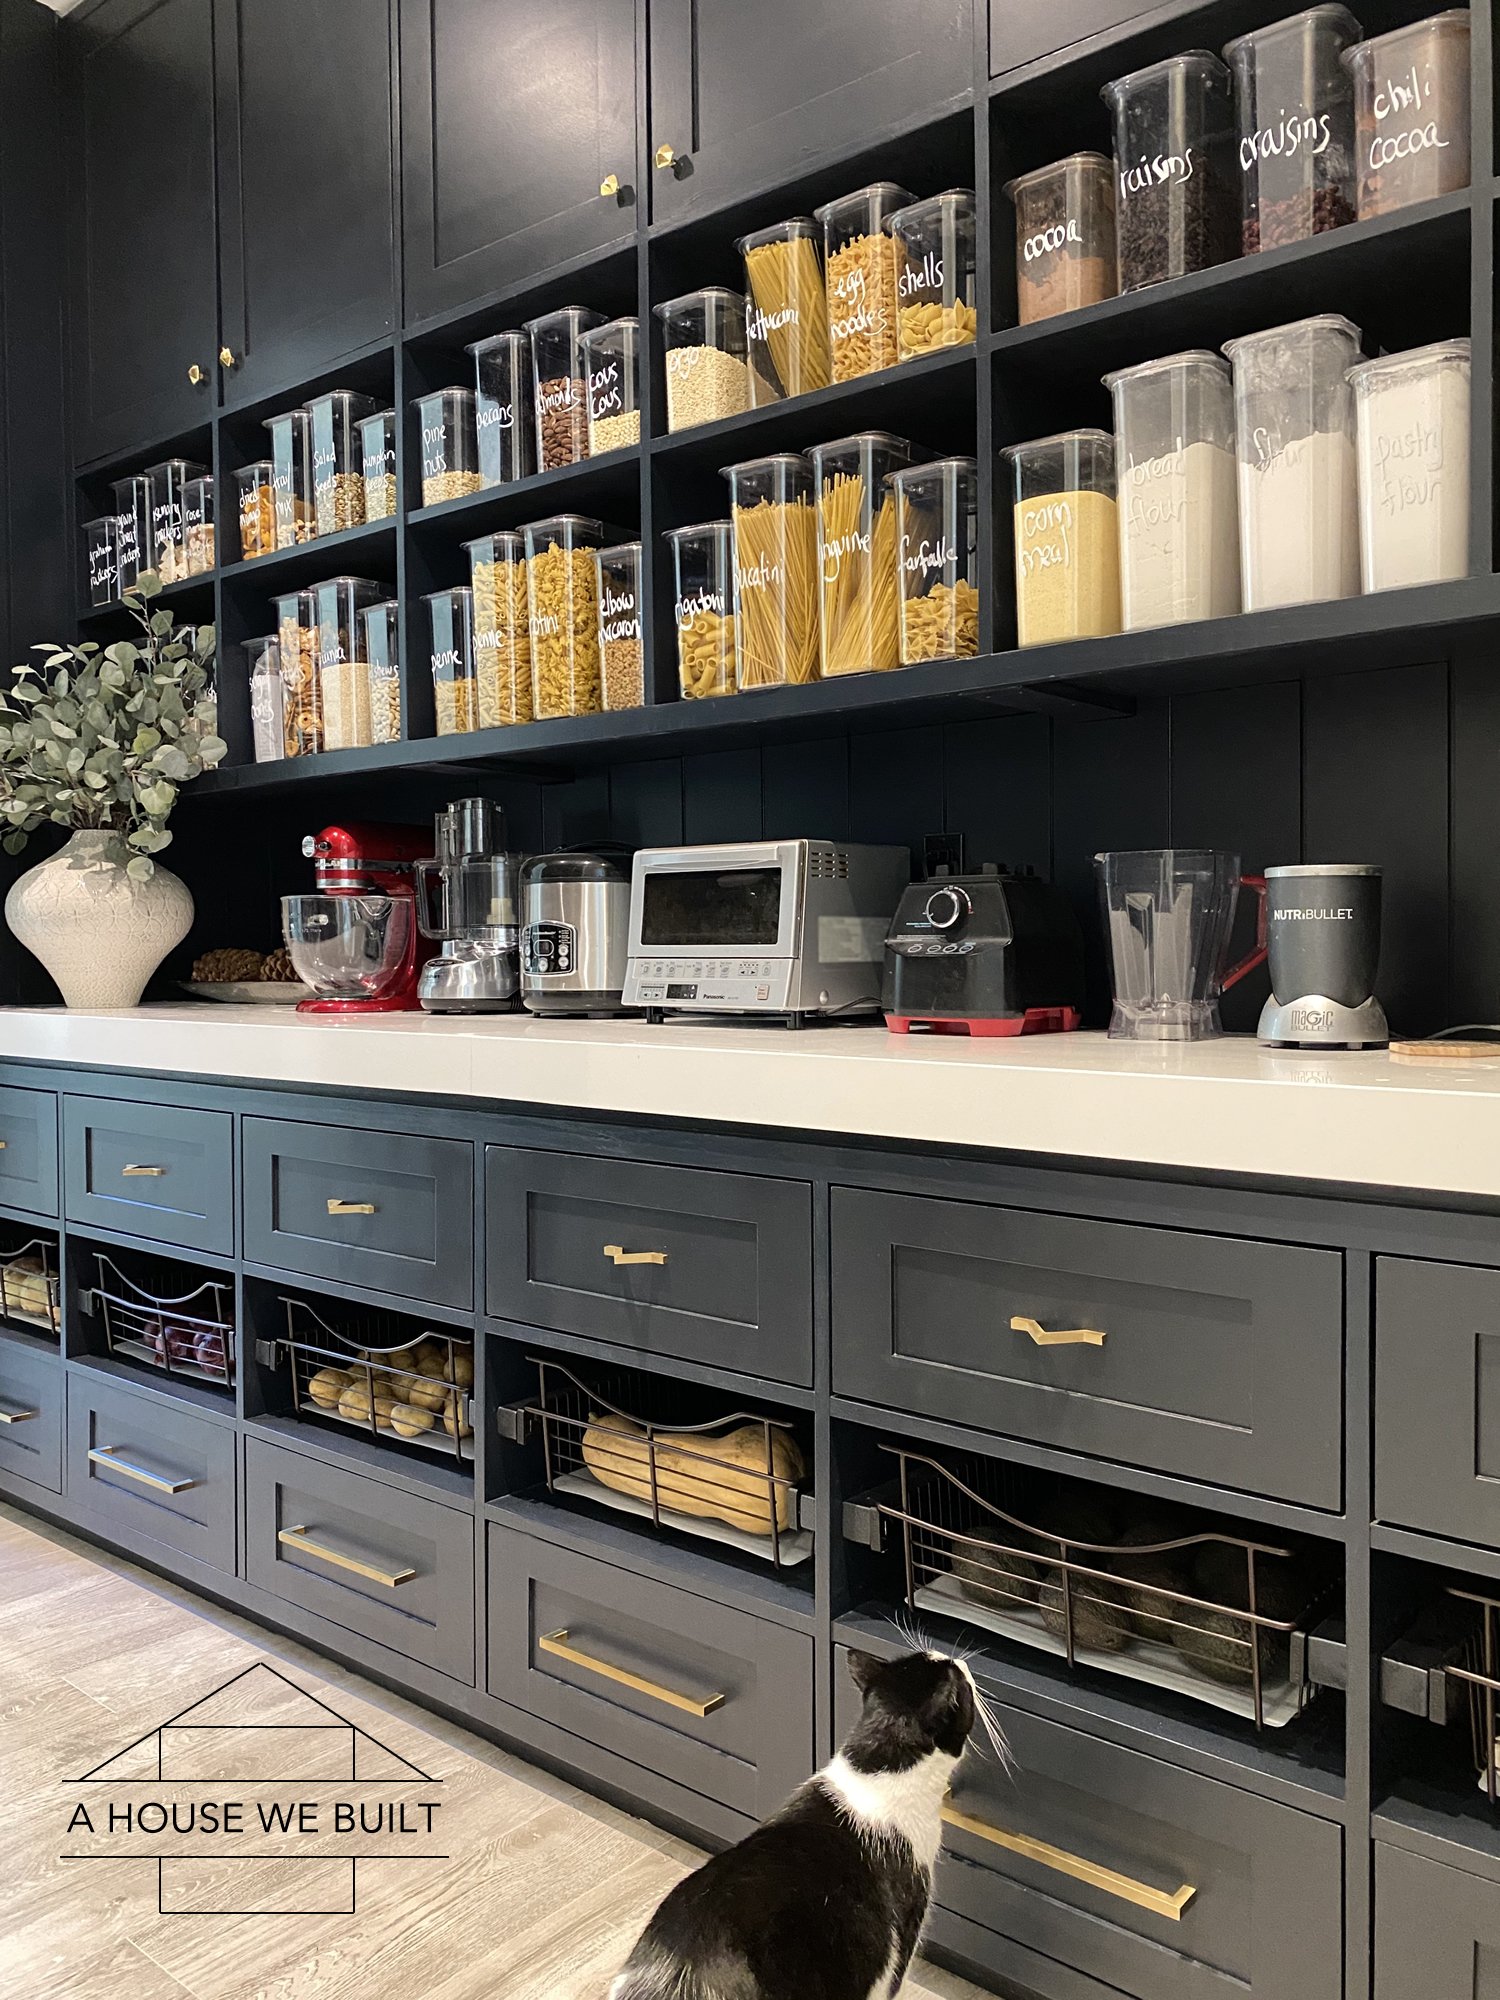
  • BM Soot: pantry cabinets, powder bath & primary bedroom shiplap, closet mirror & island.
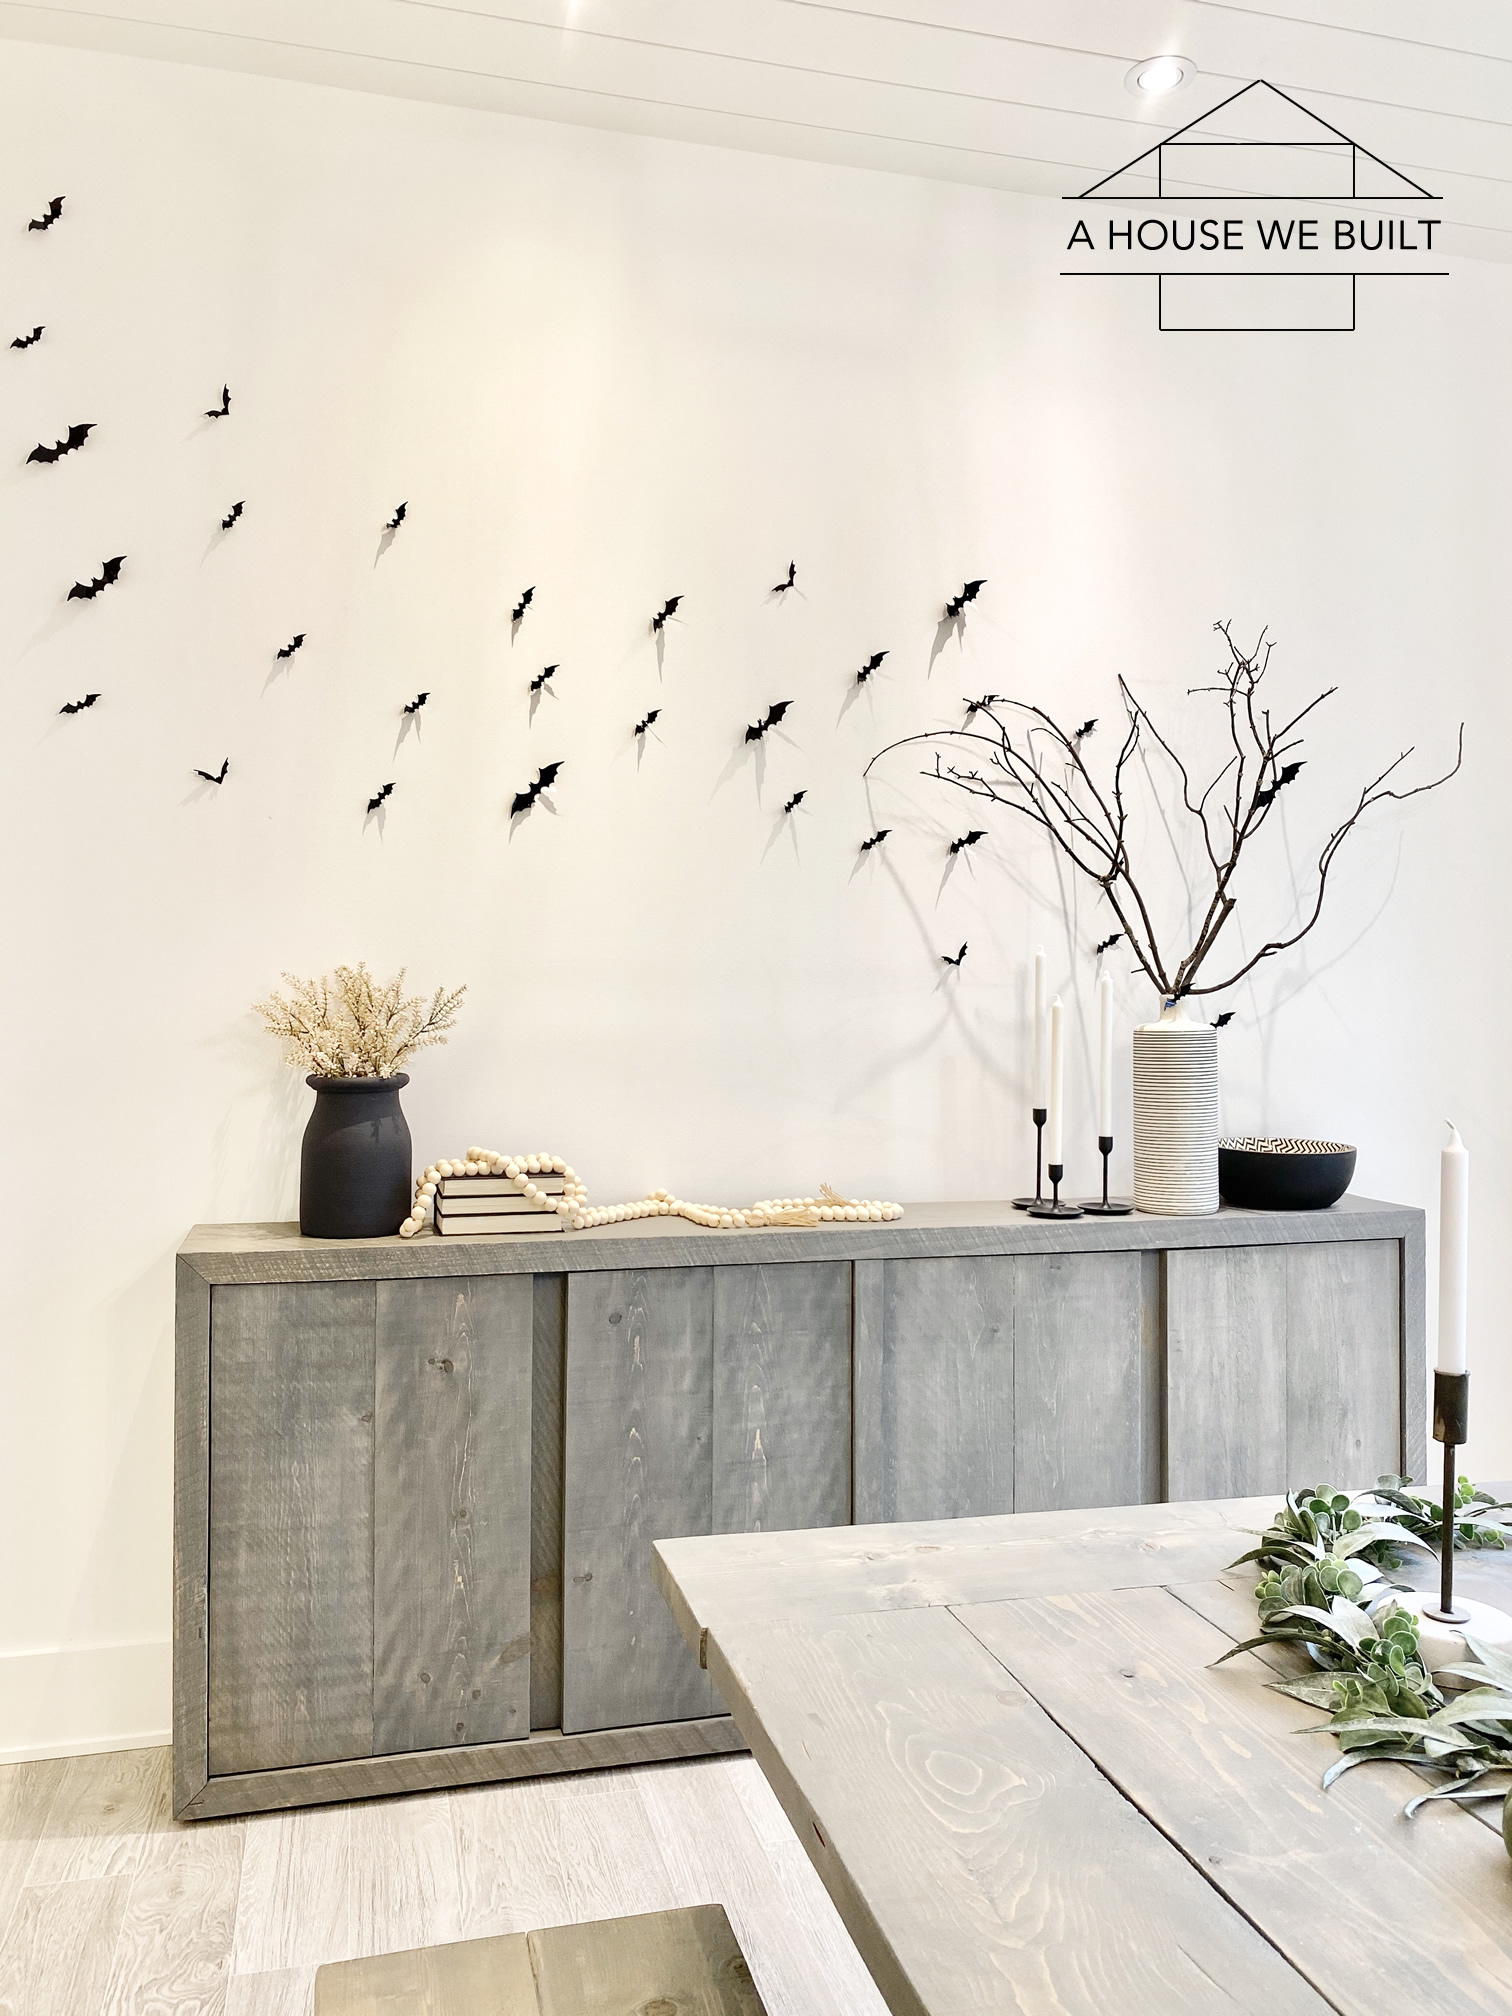
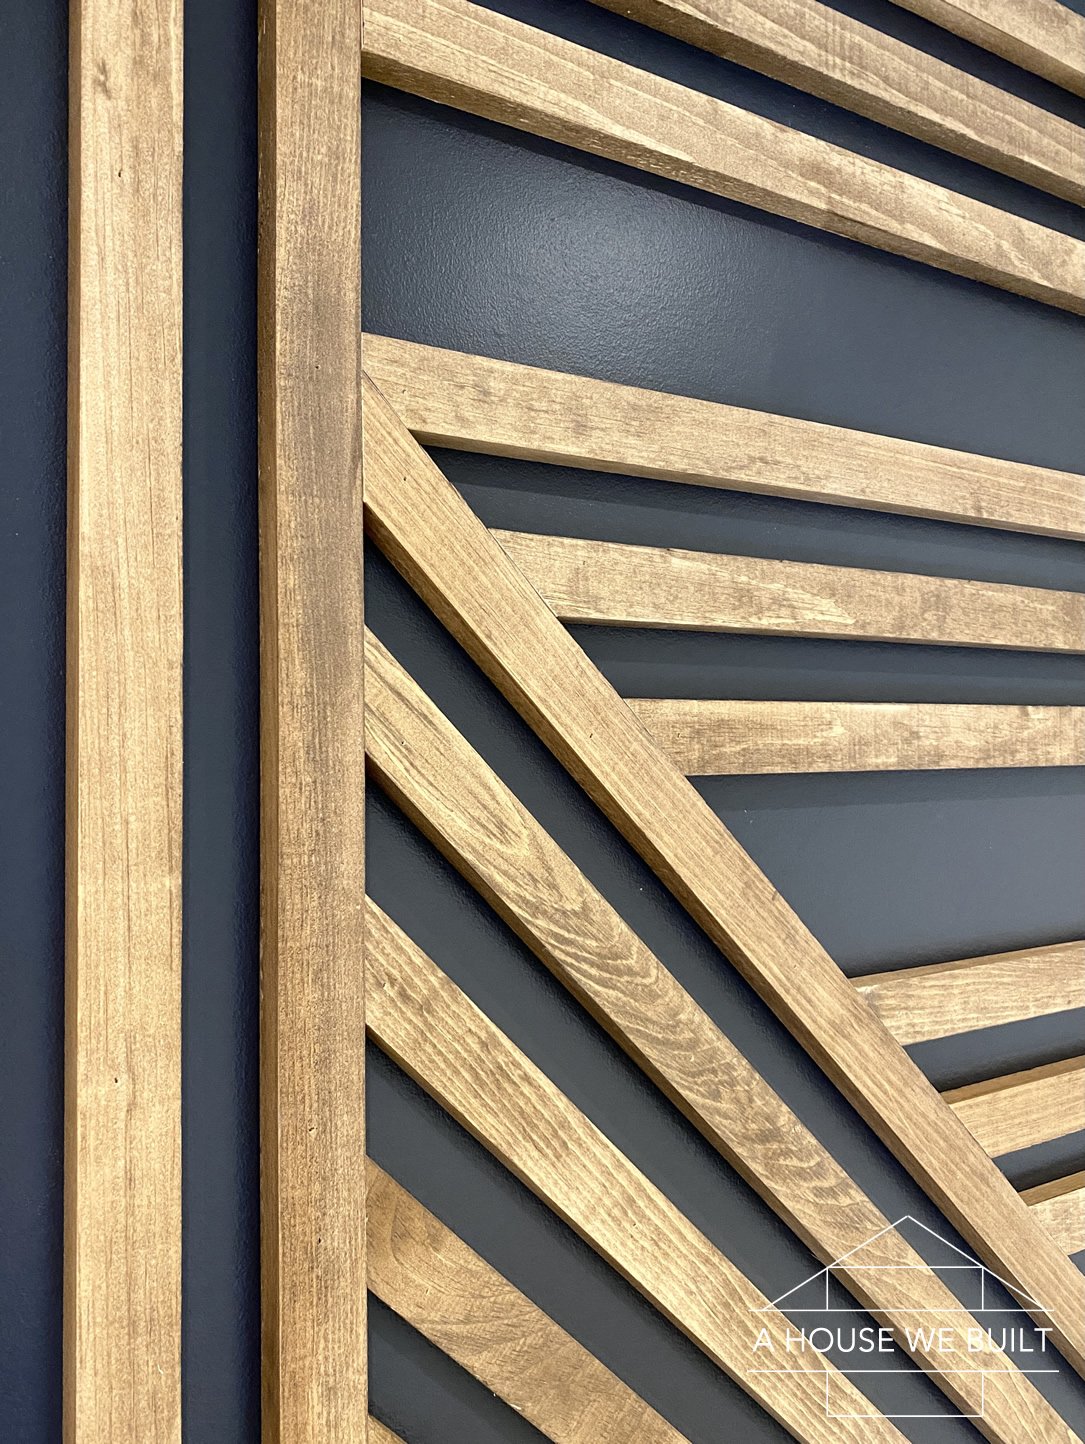
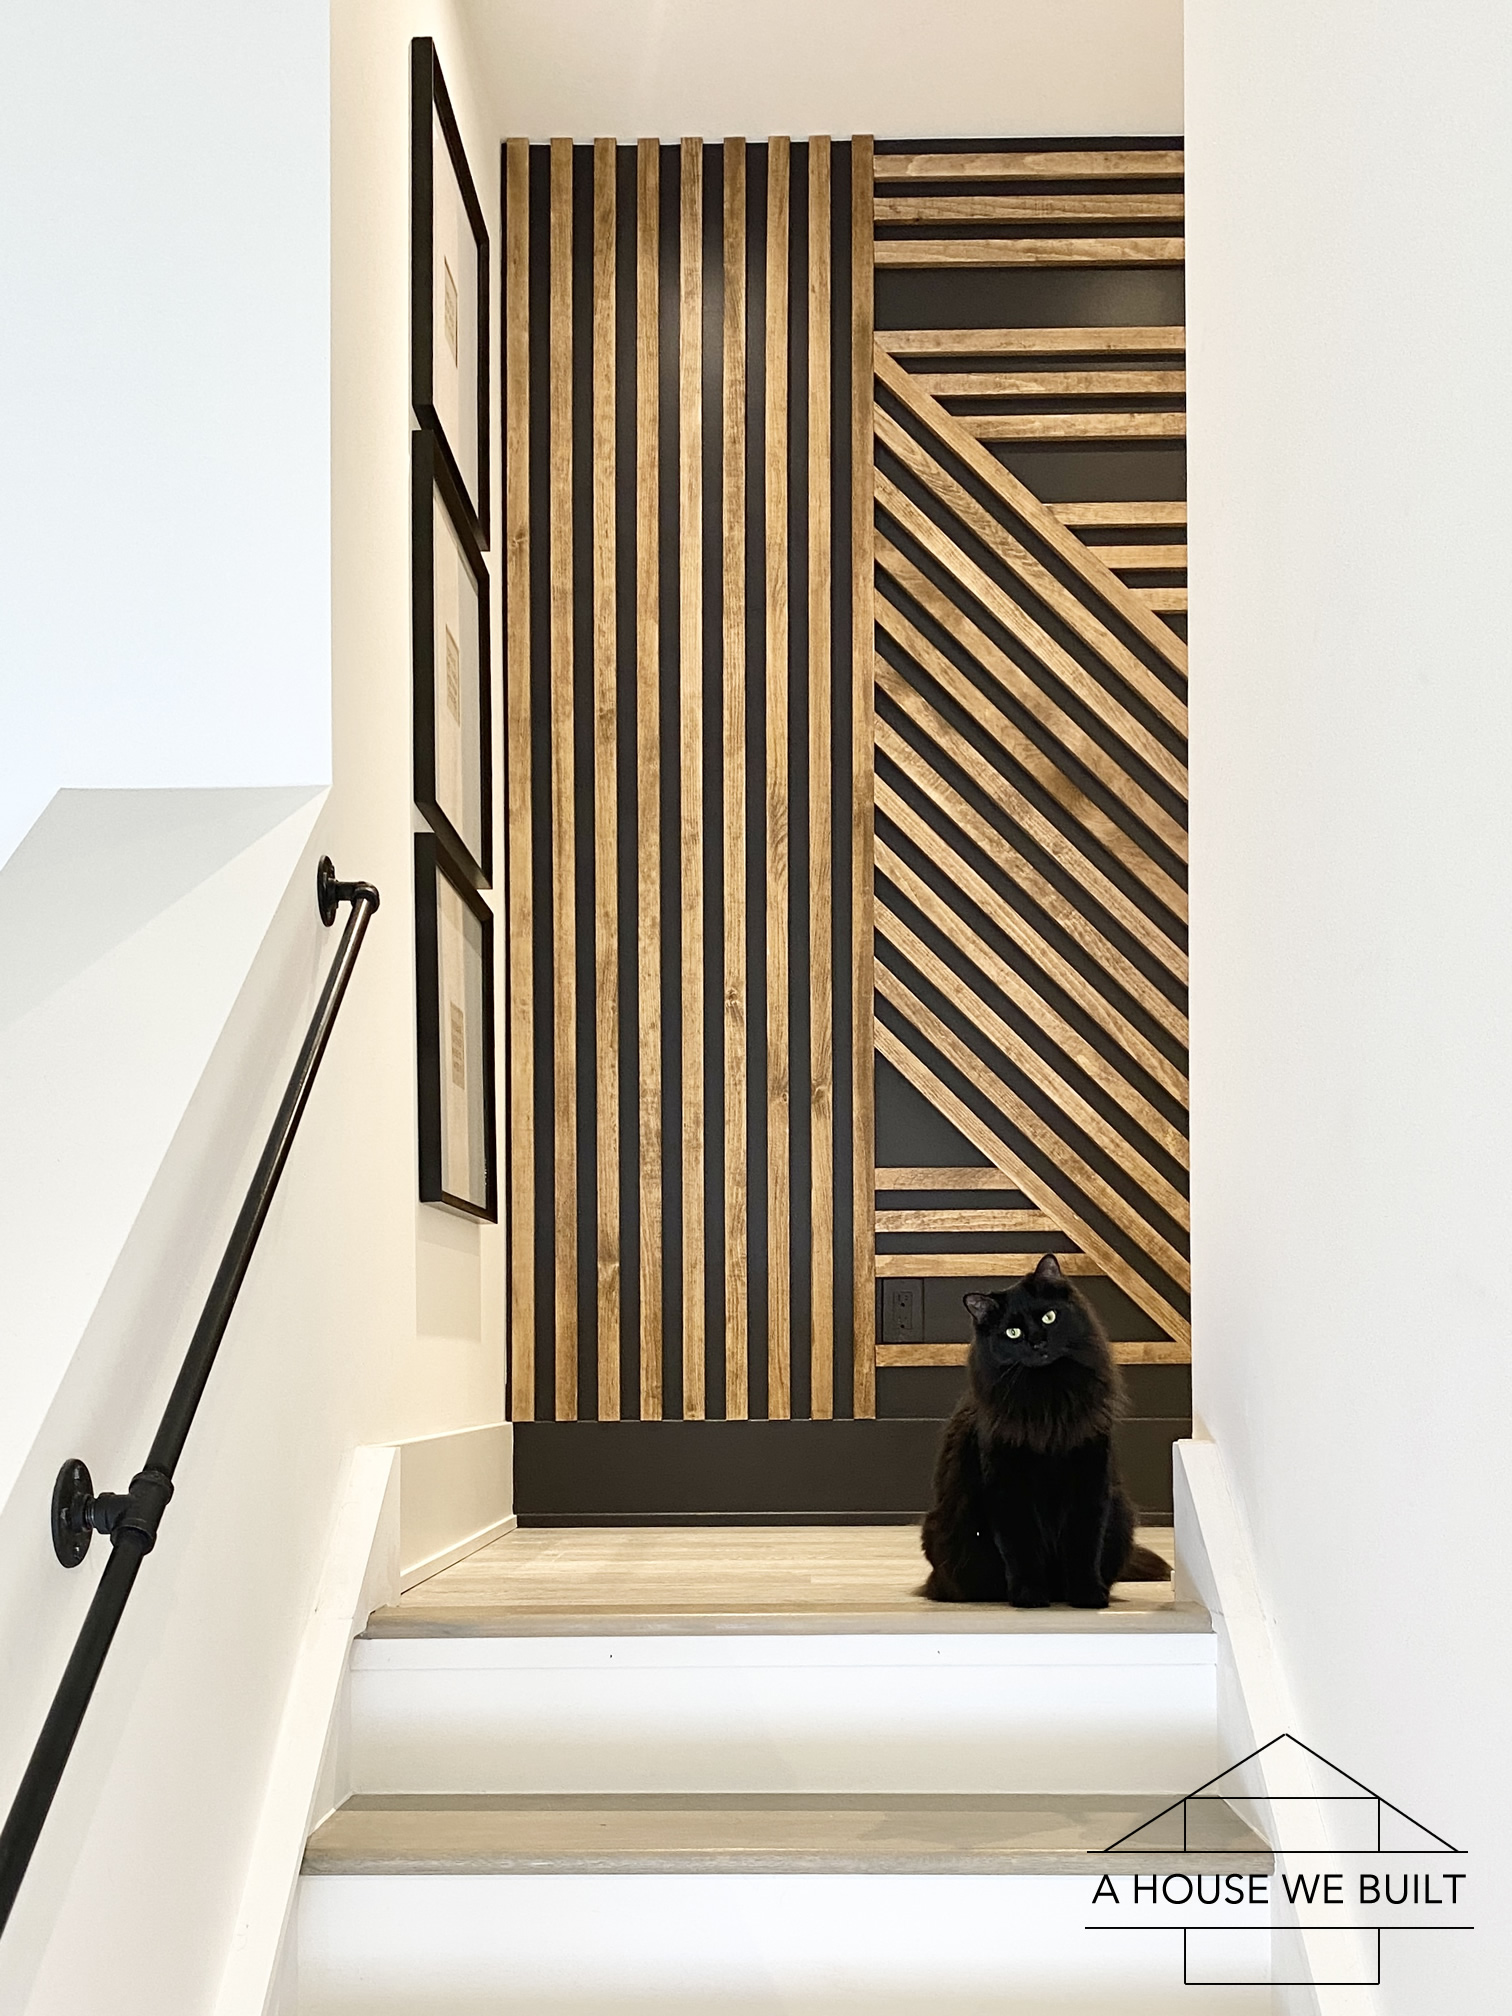
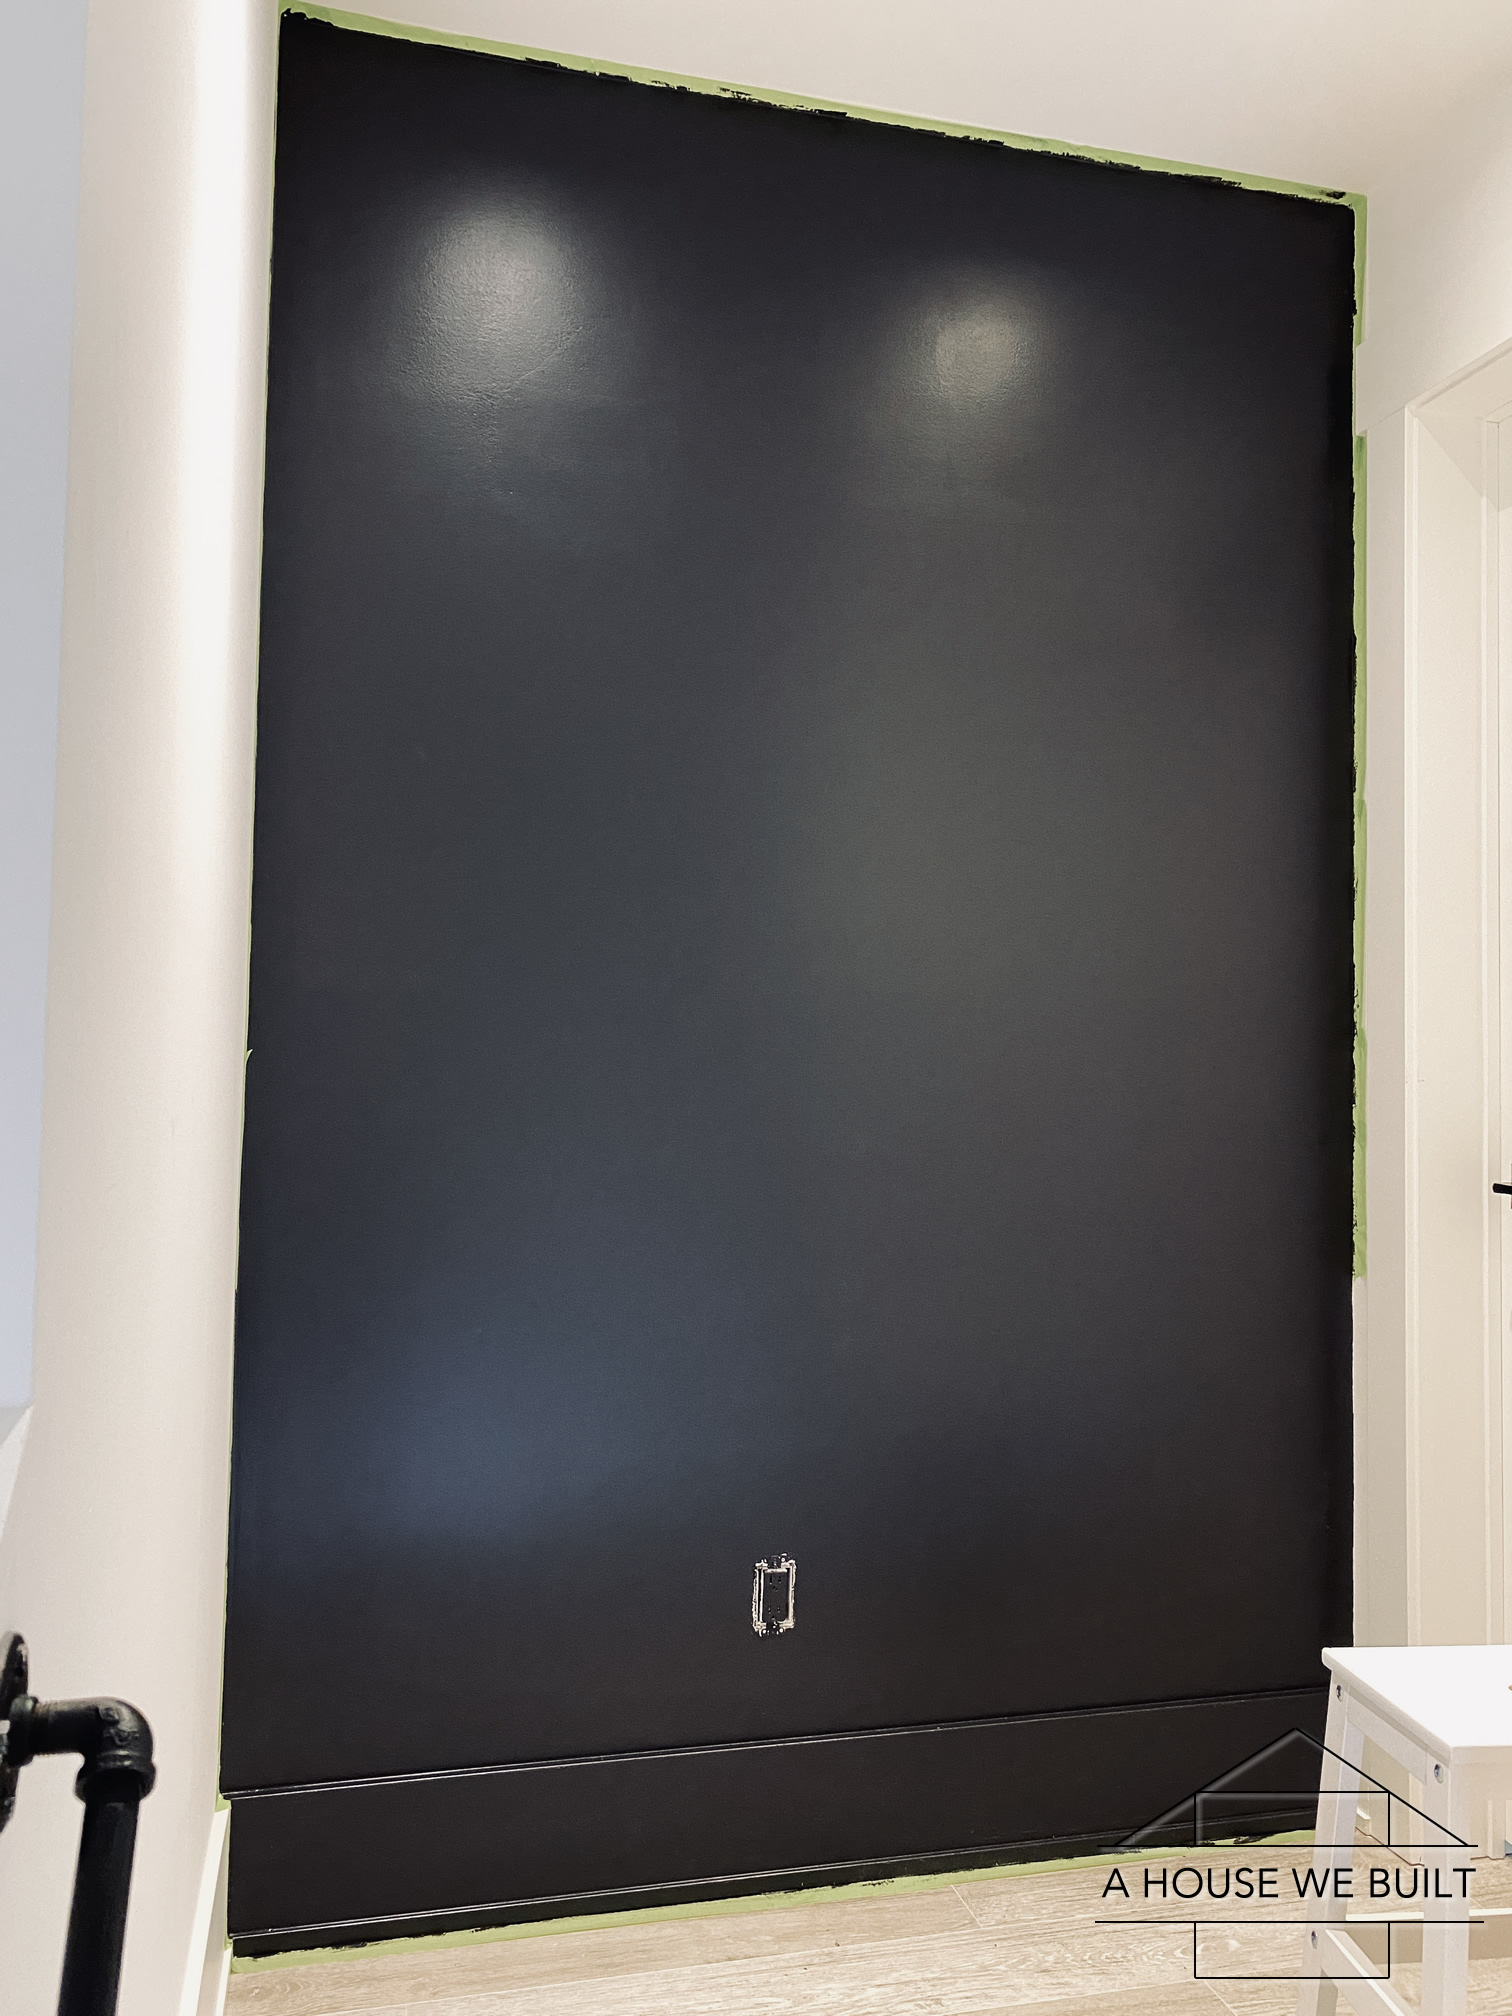
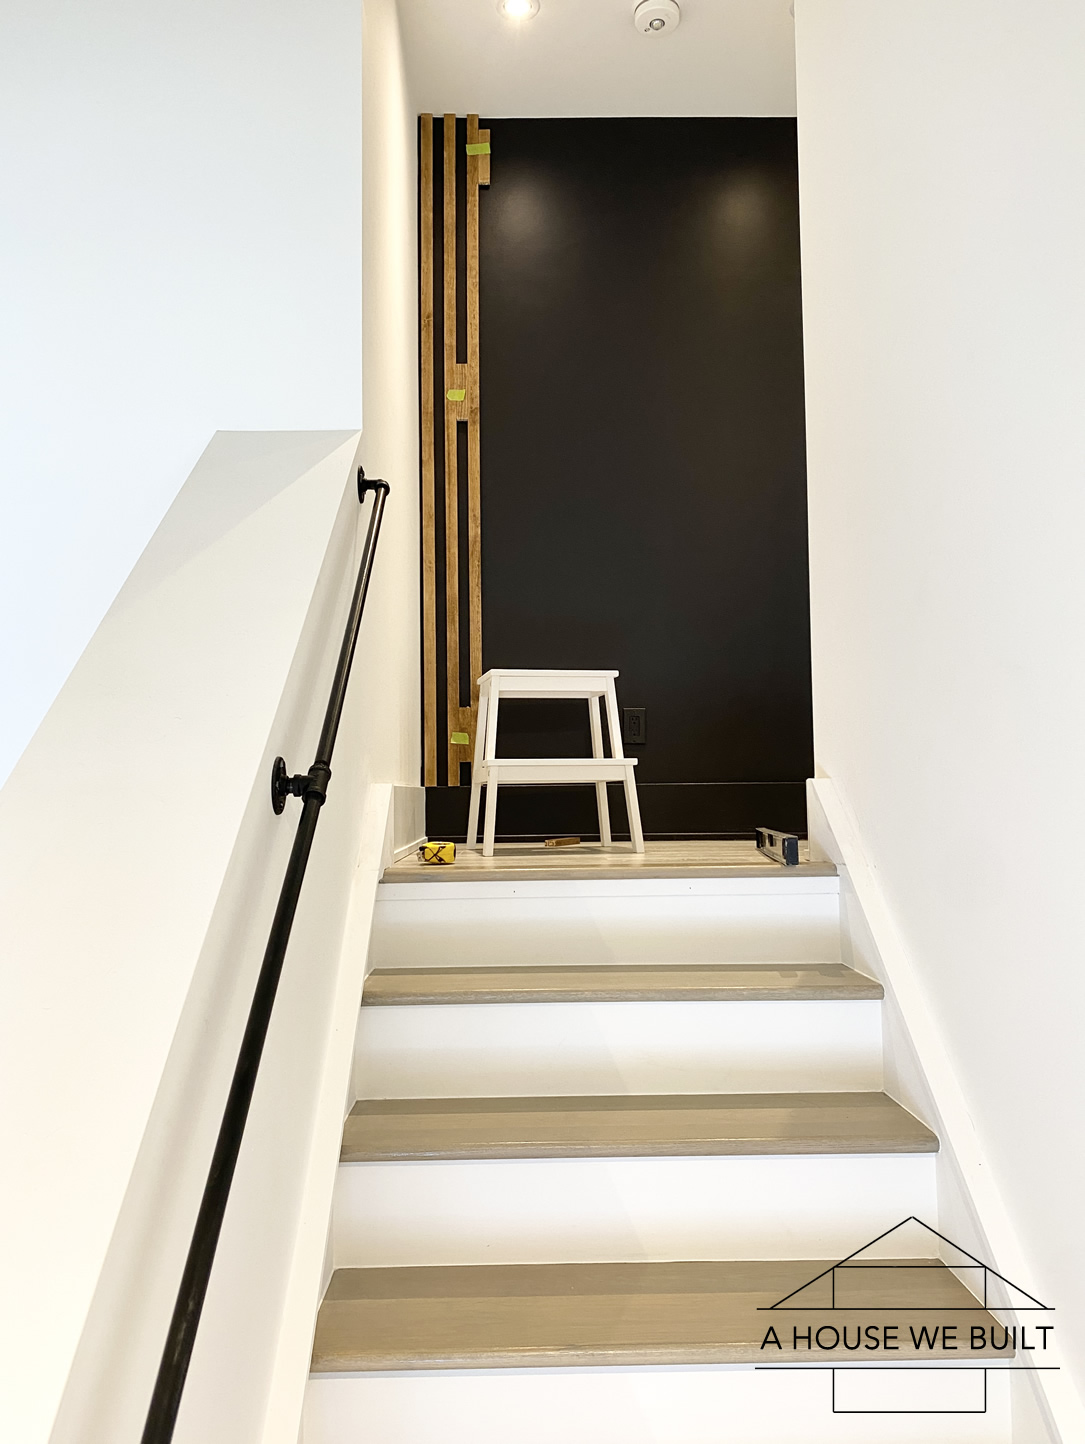
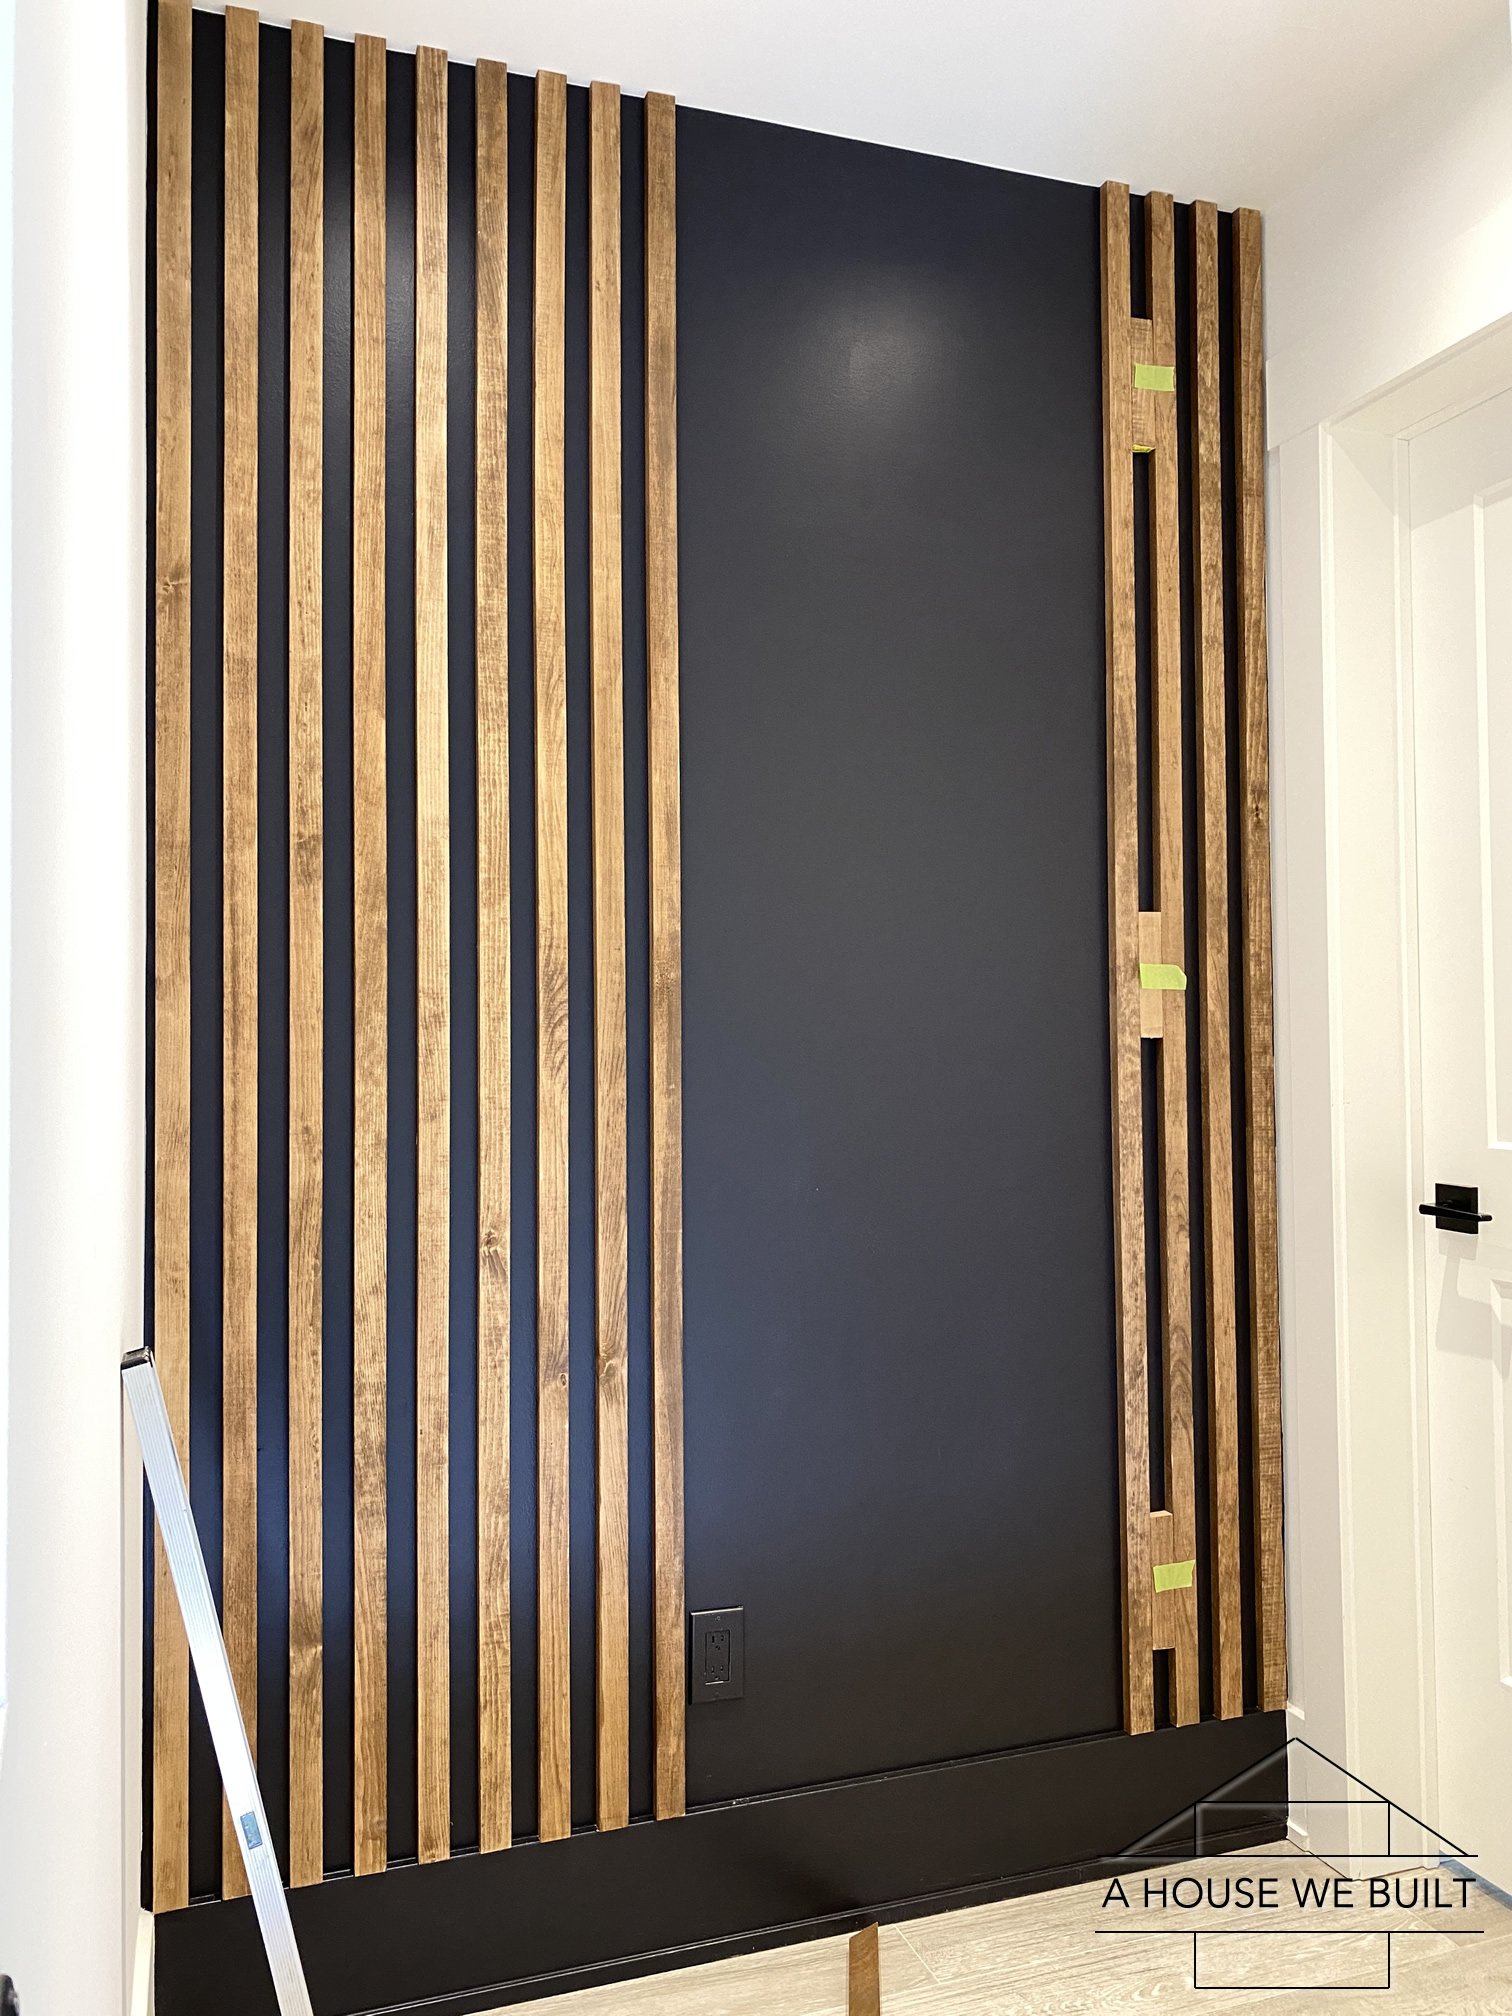
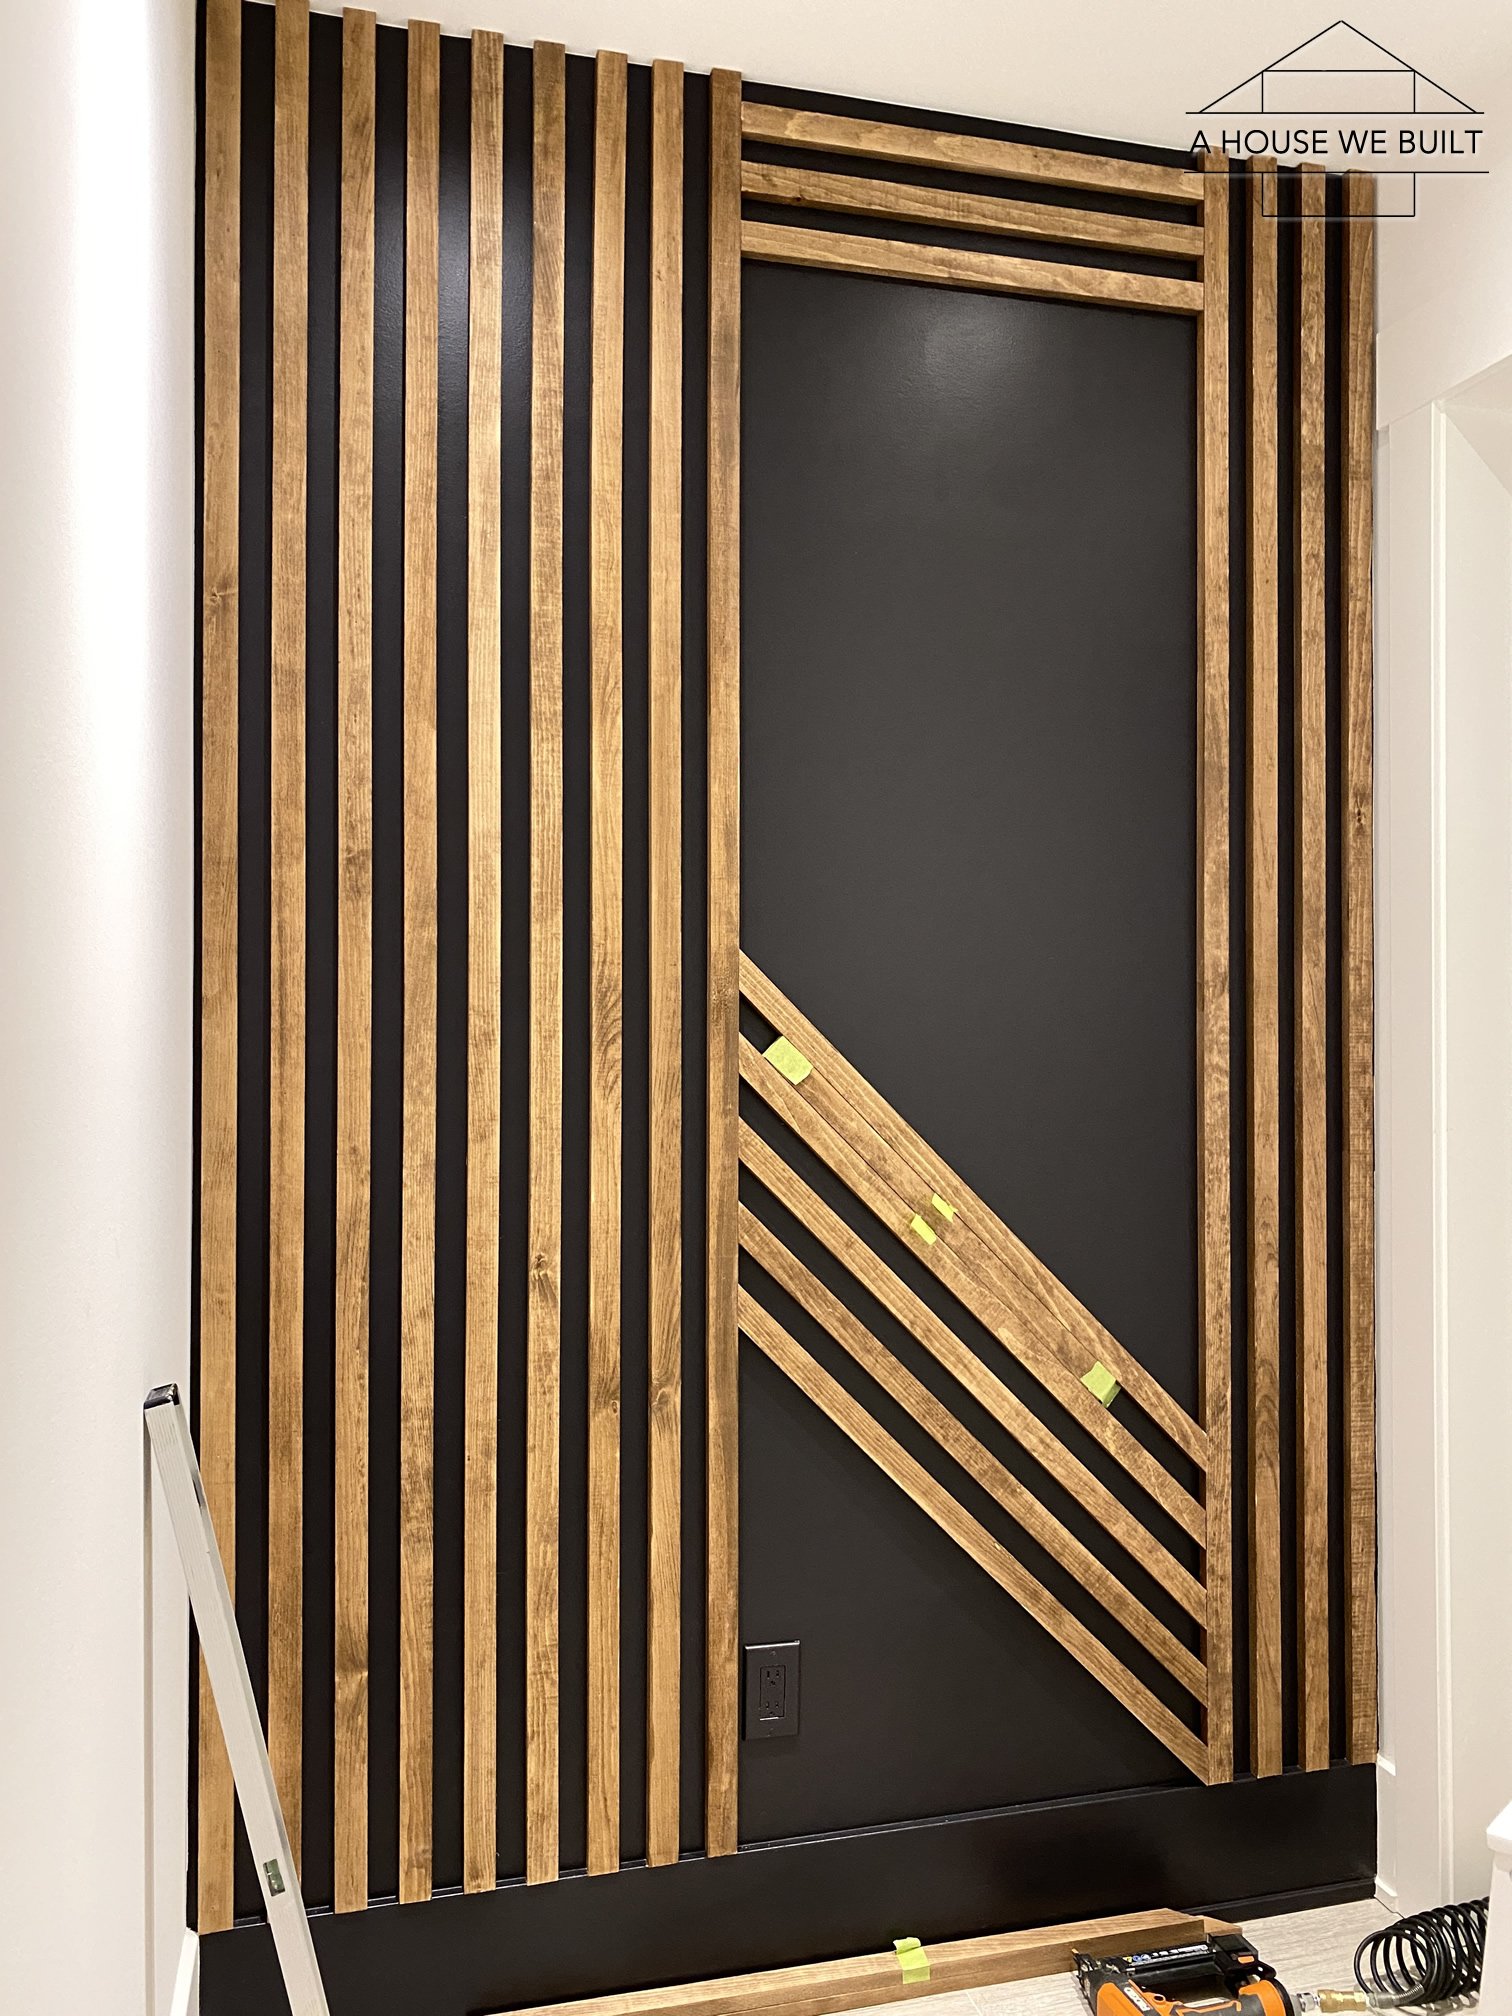
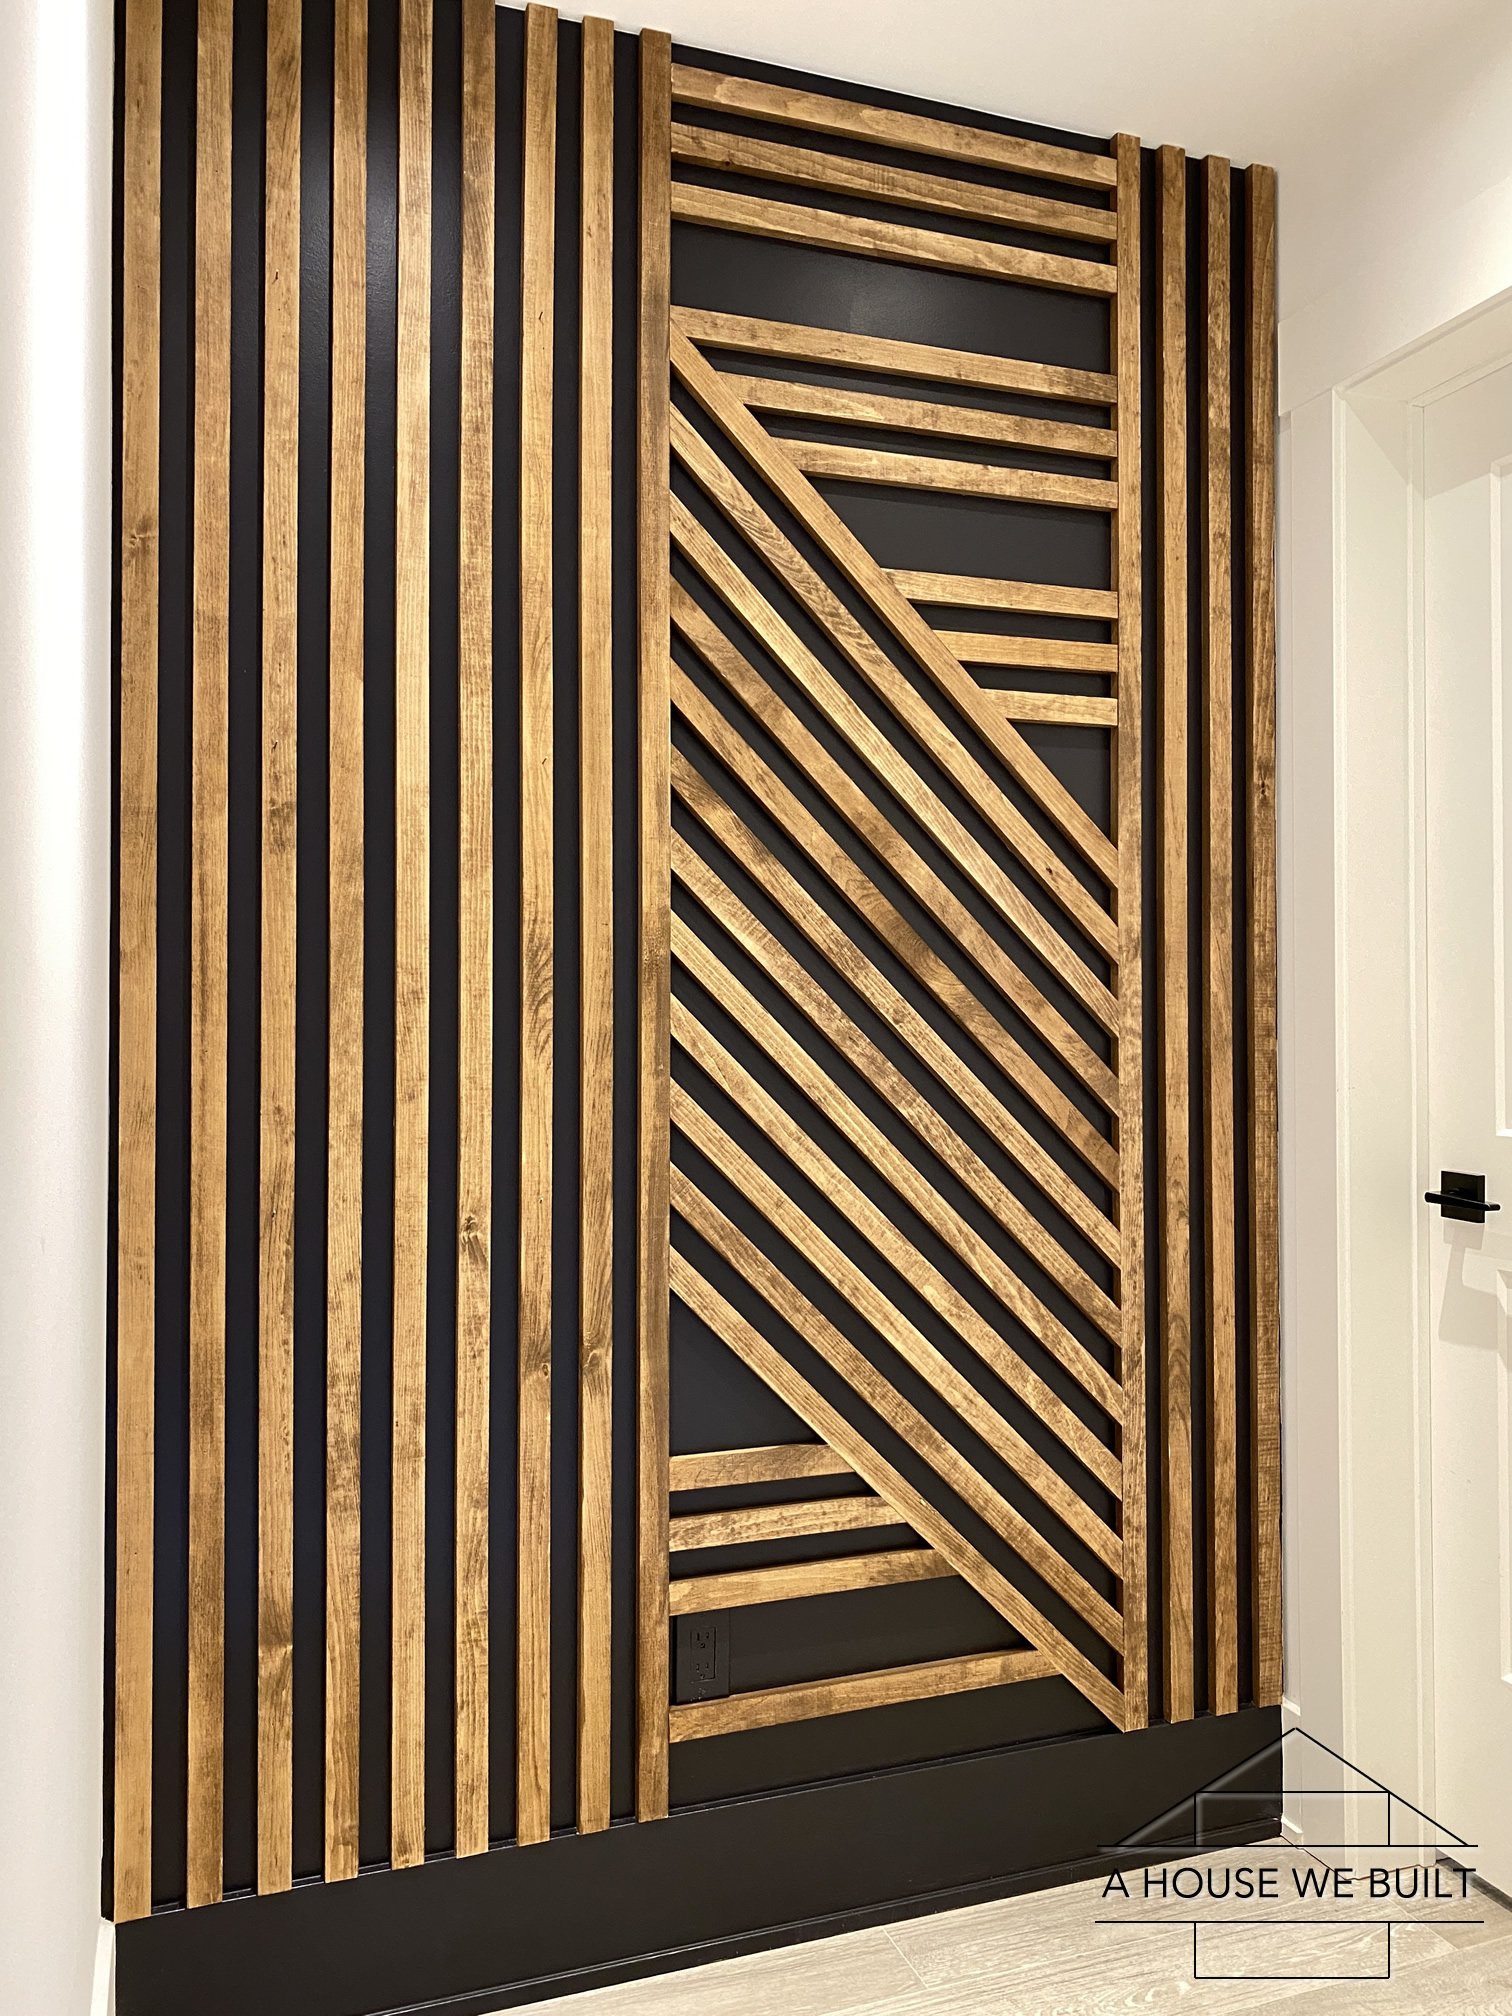
  • BM Black Panther: all dark basement paint, theater room, sofa pit, slat sideboard, slat wall.
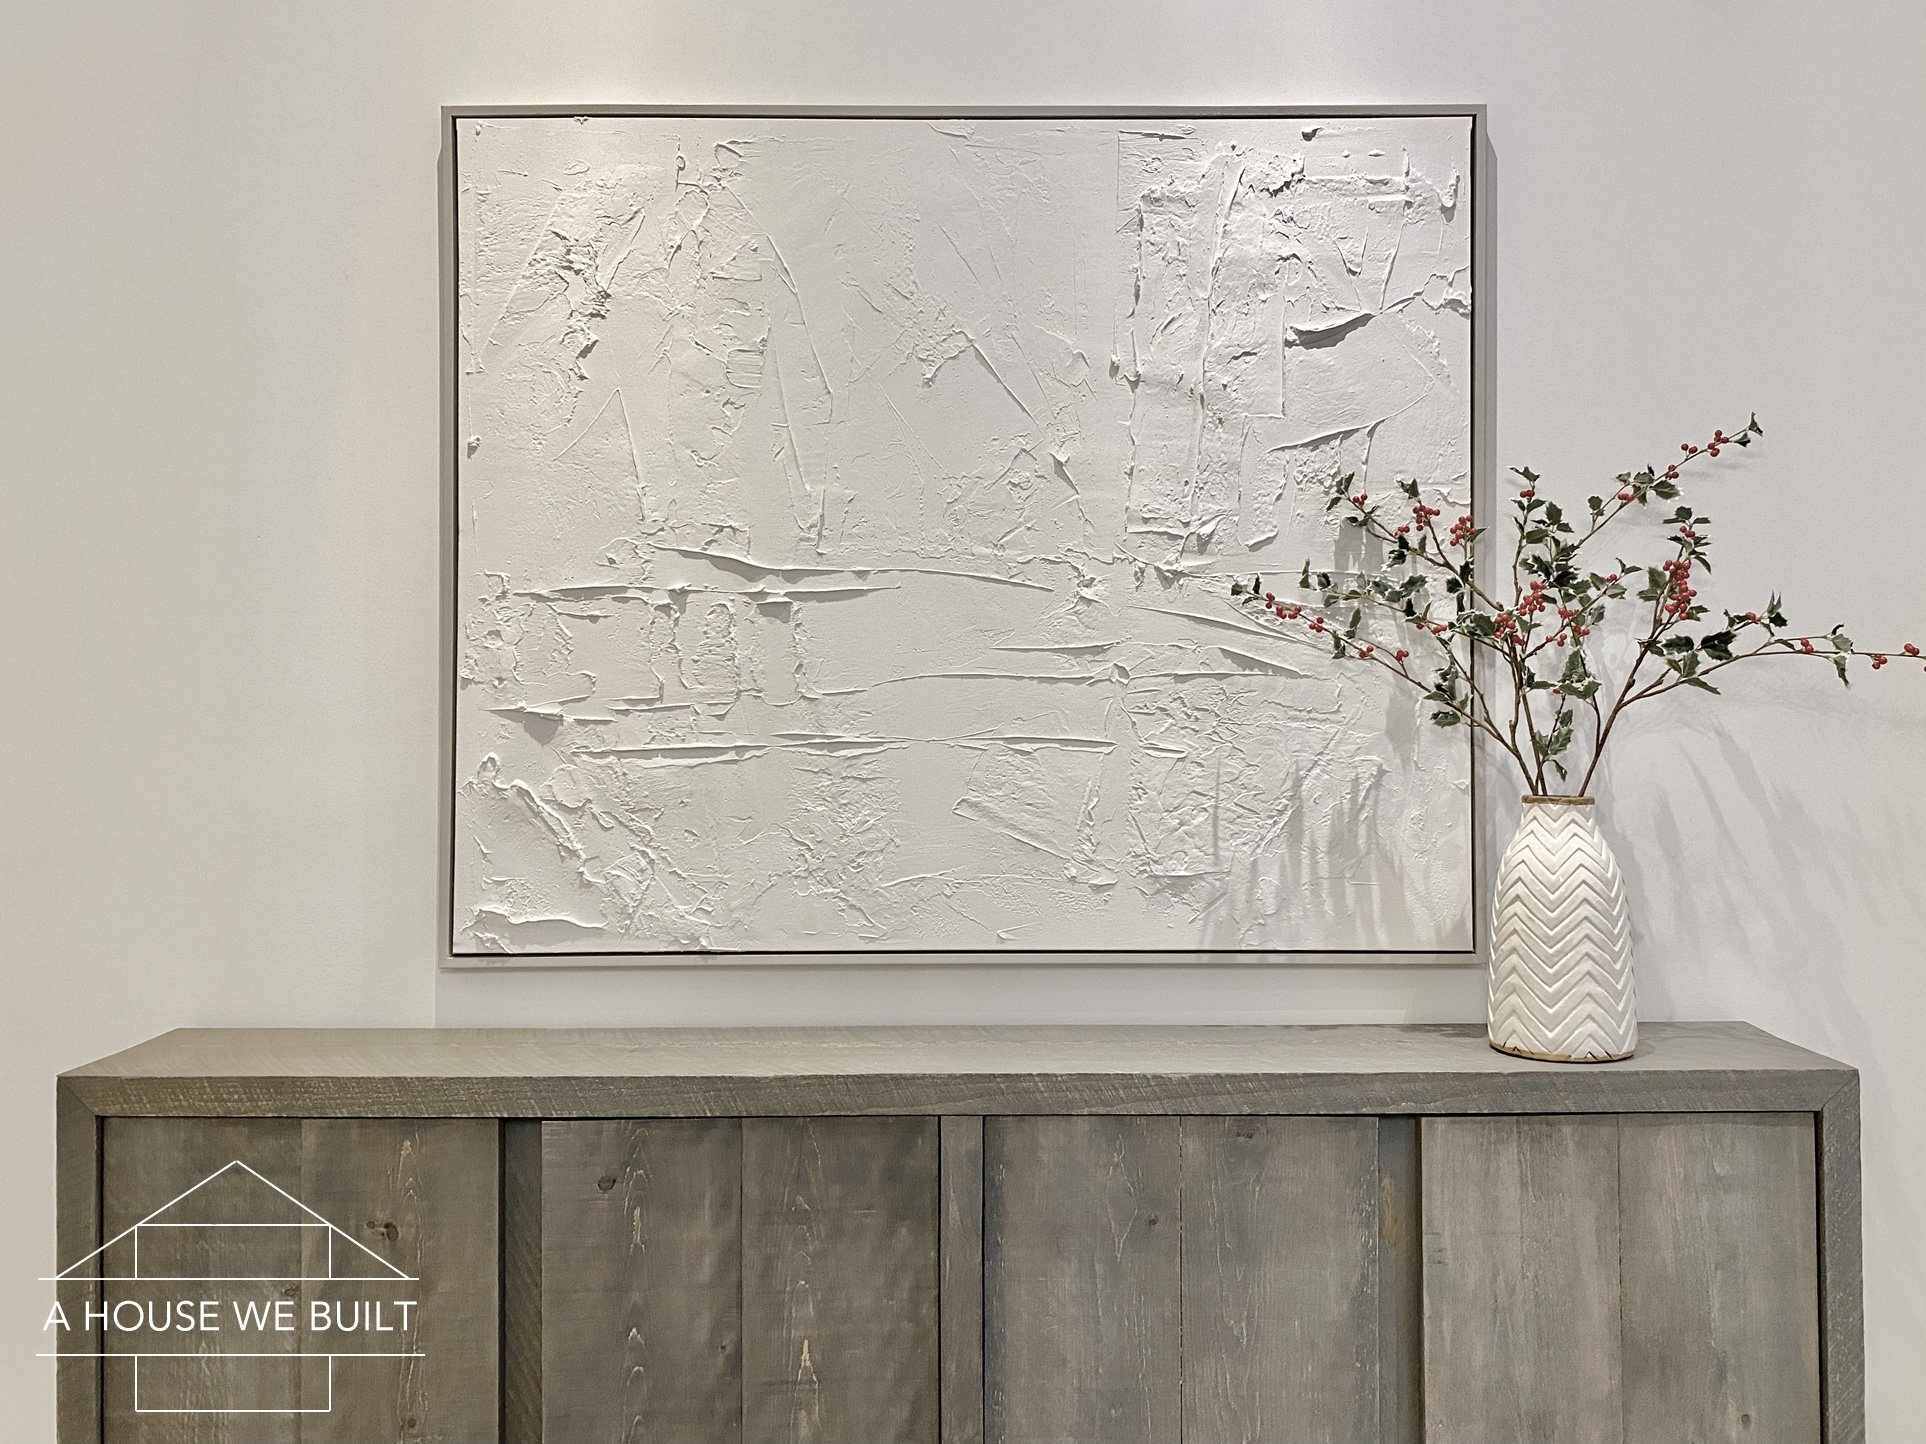
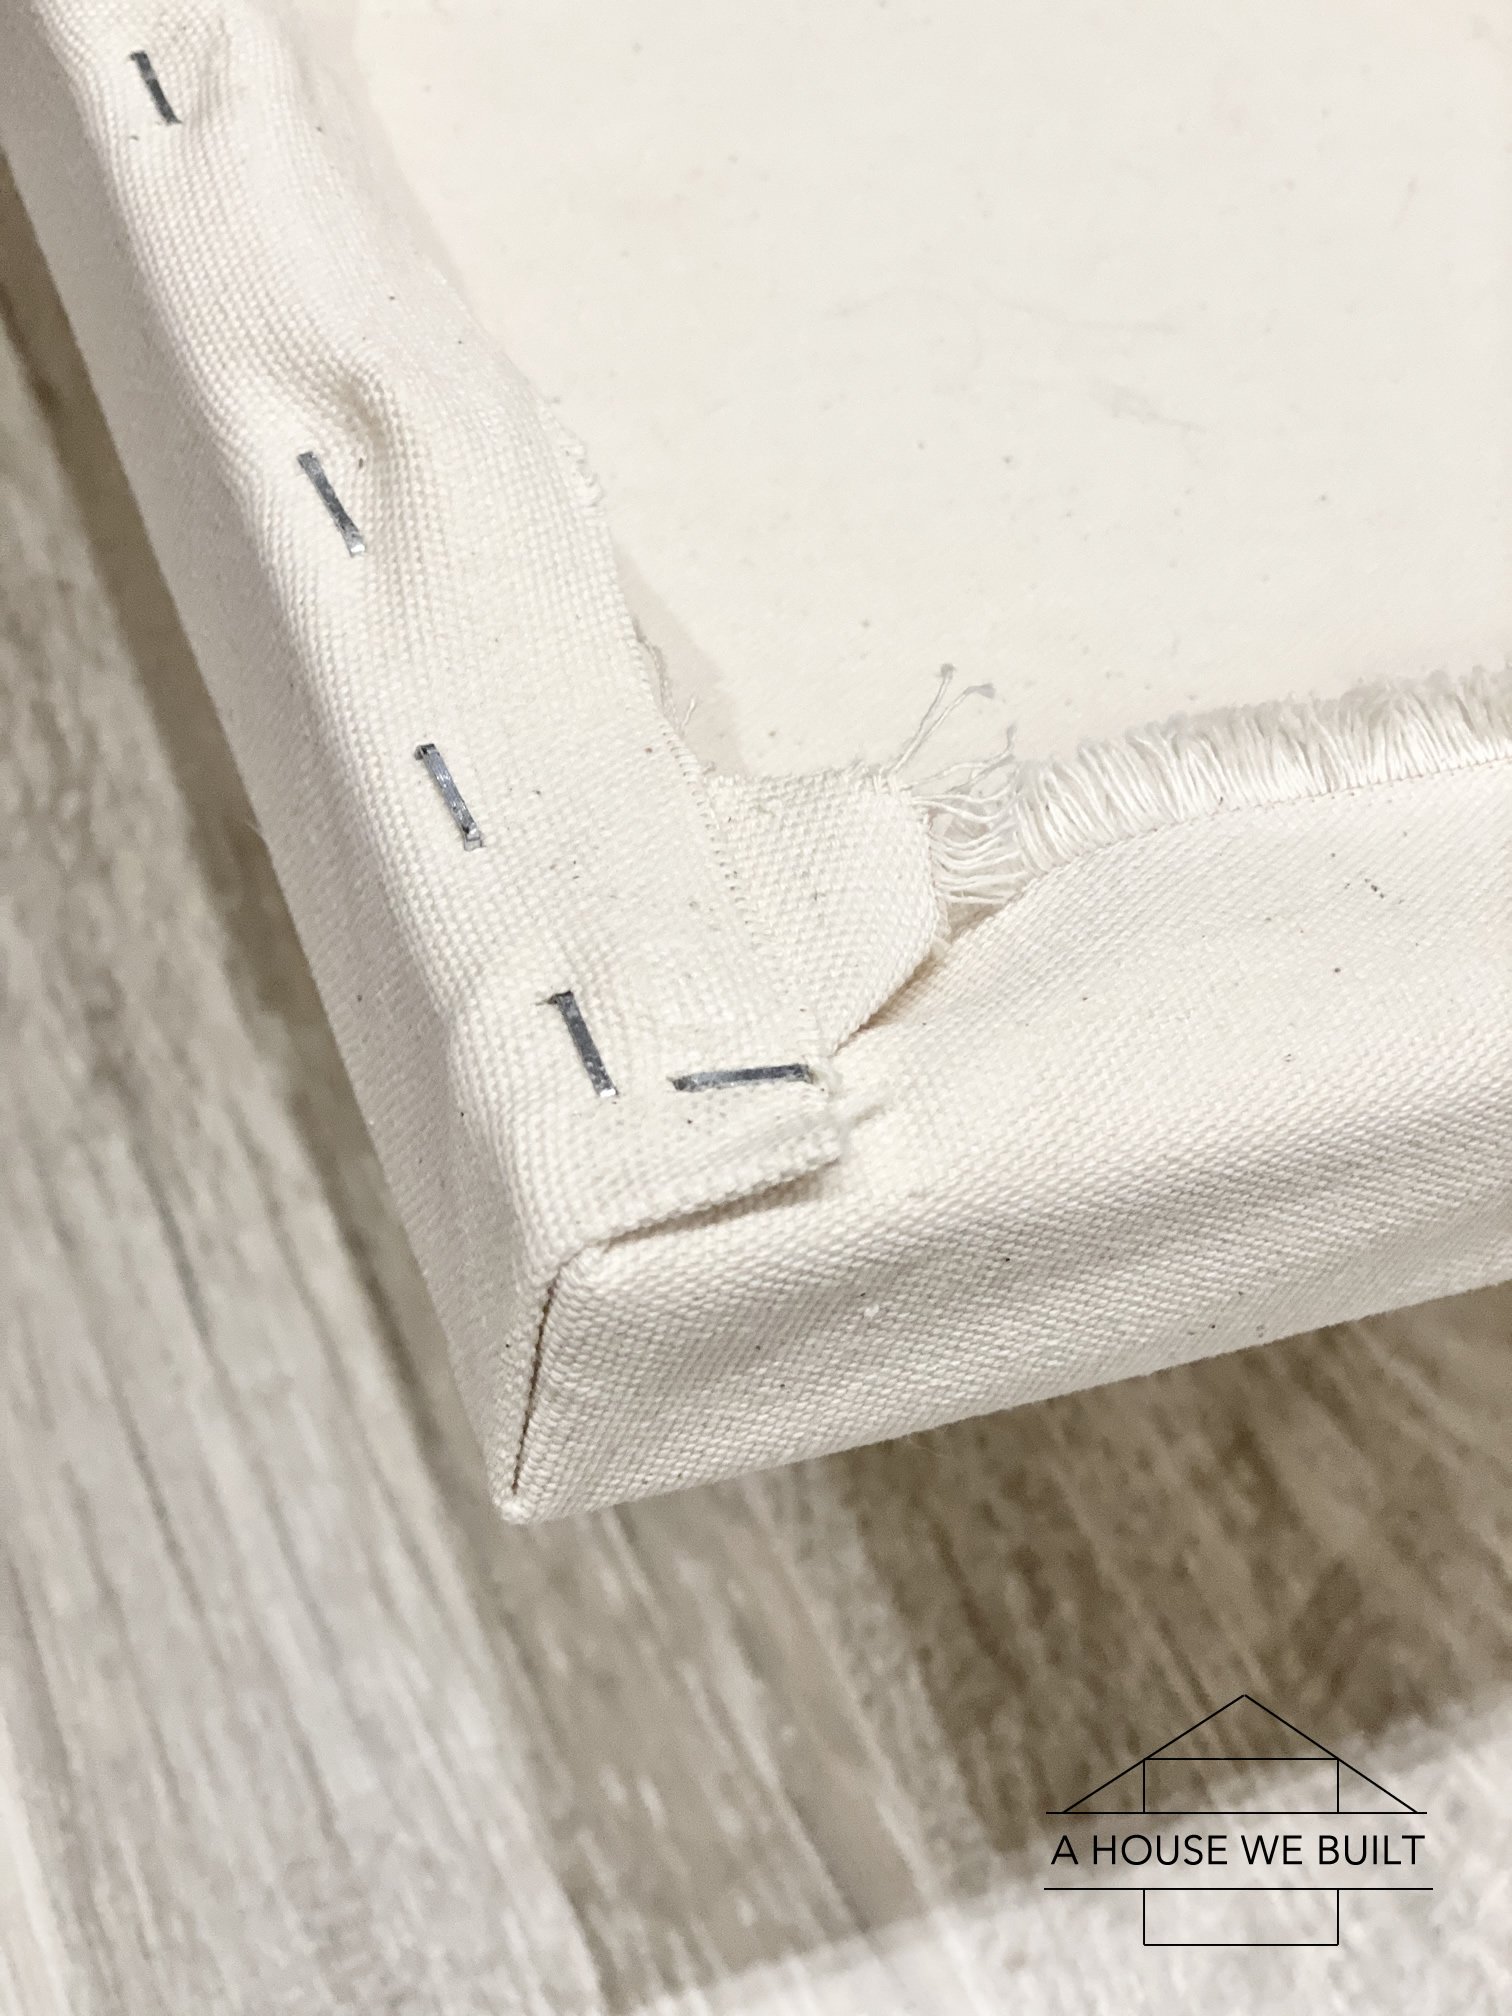
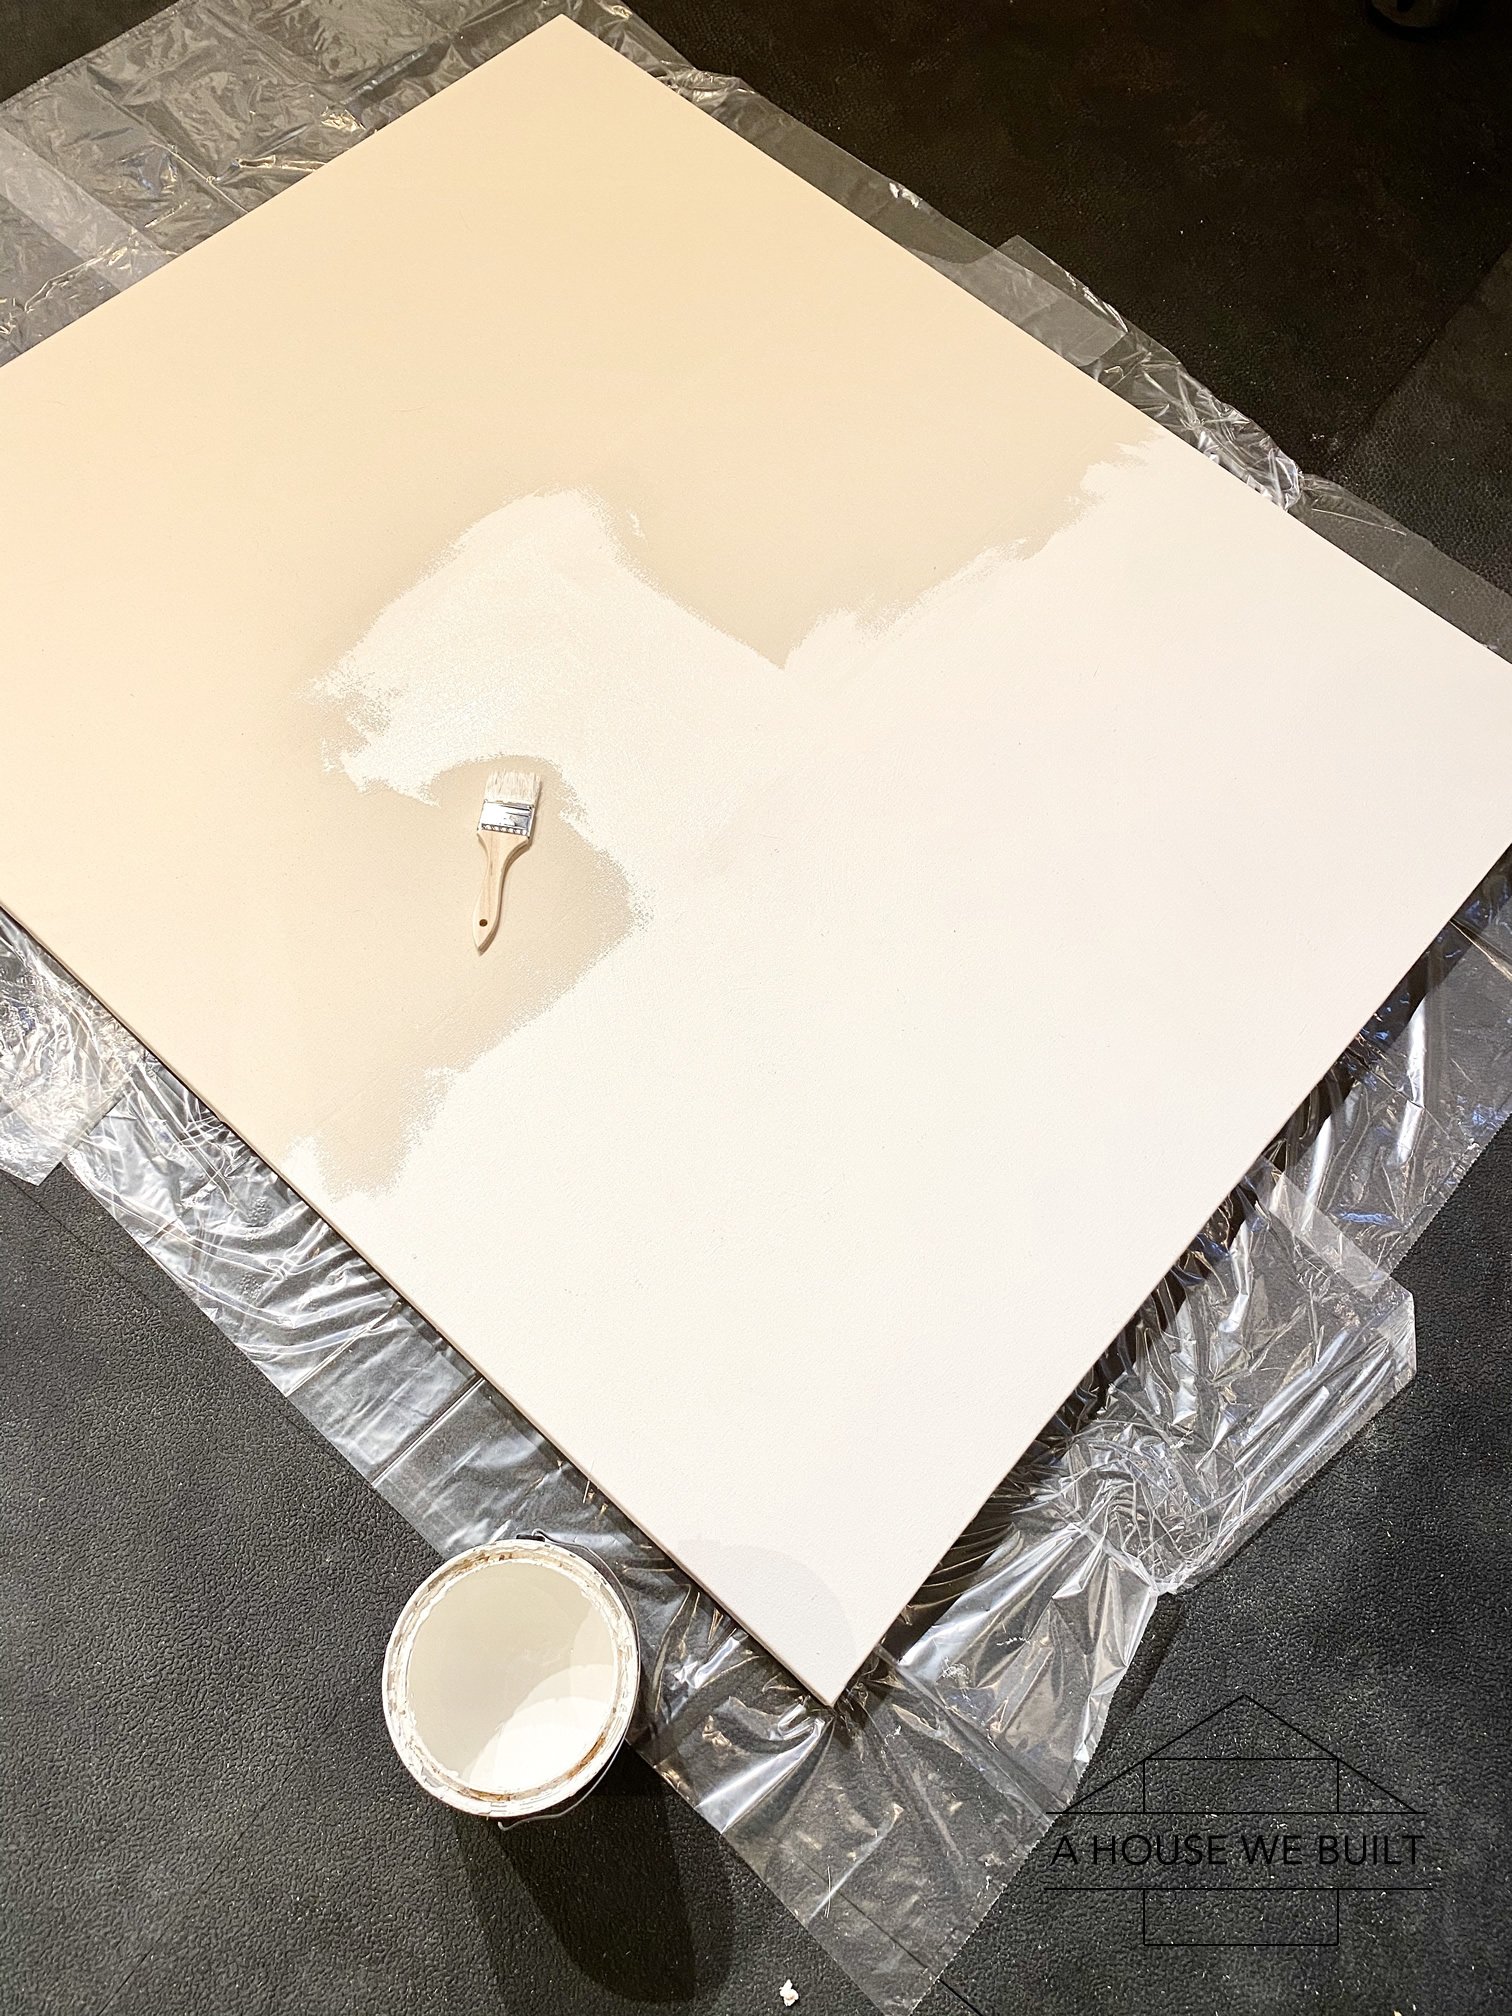
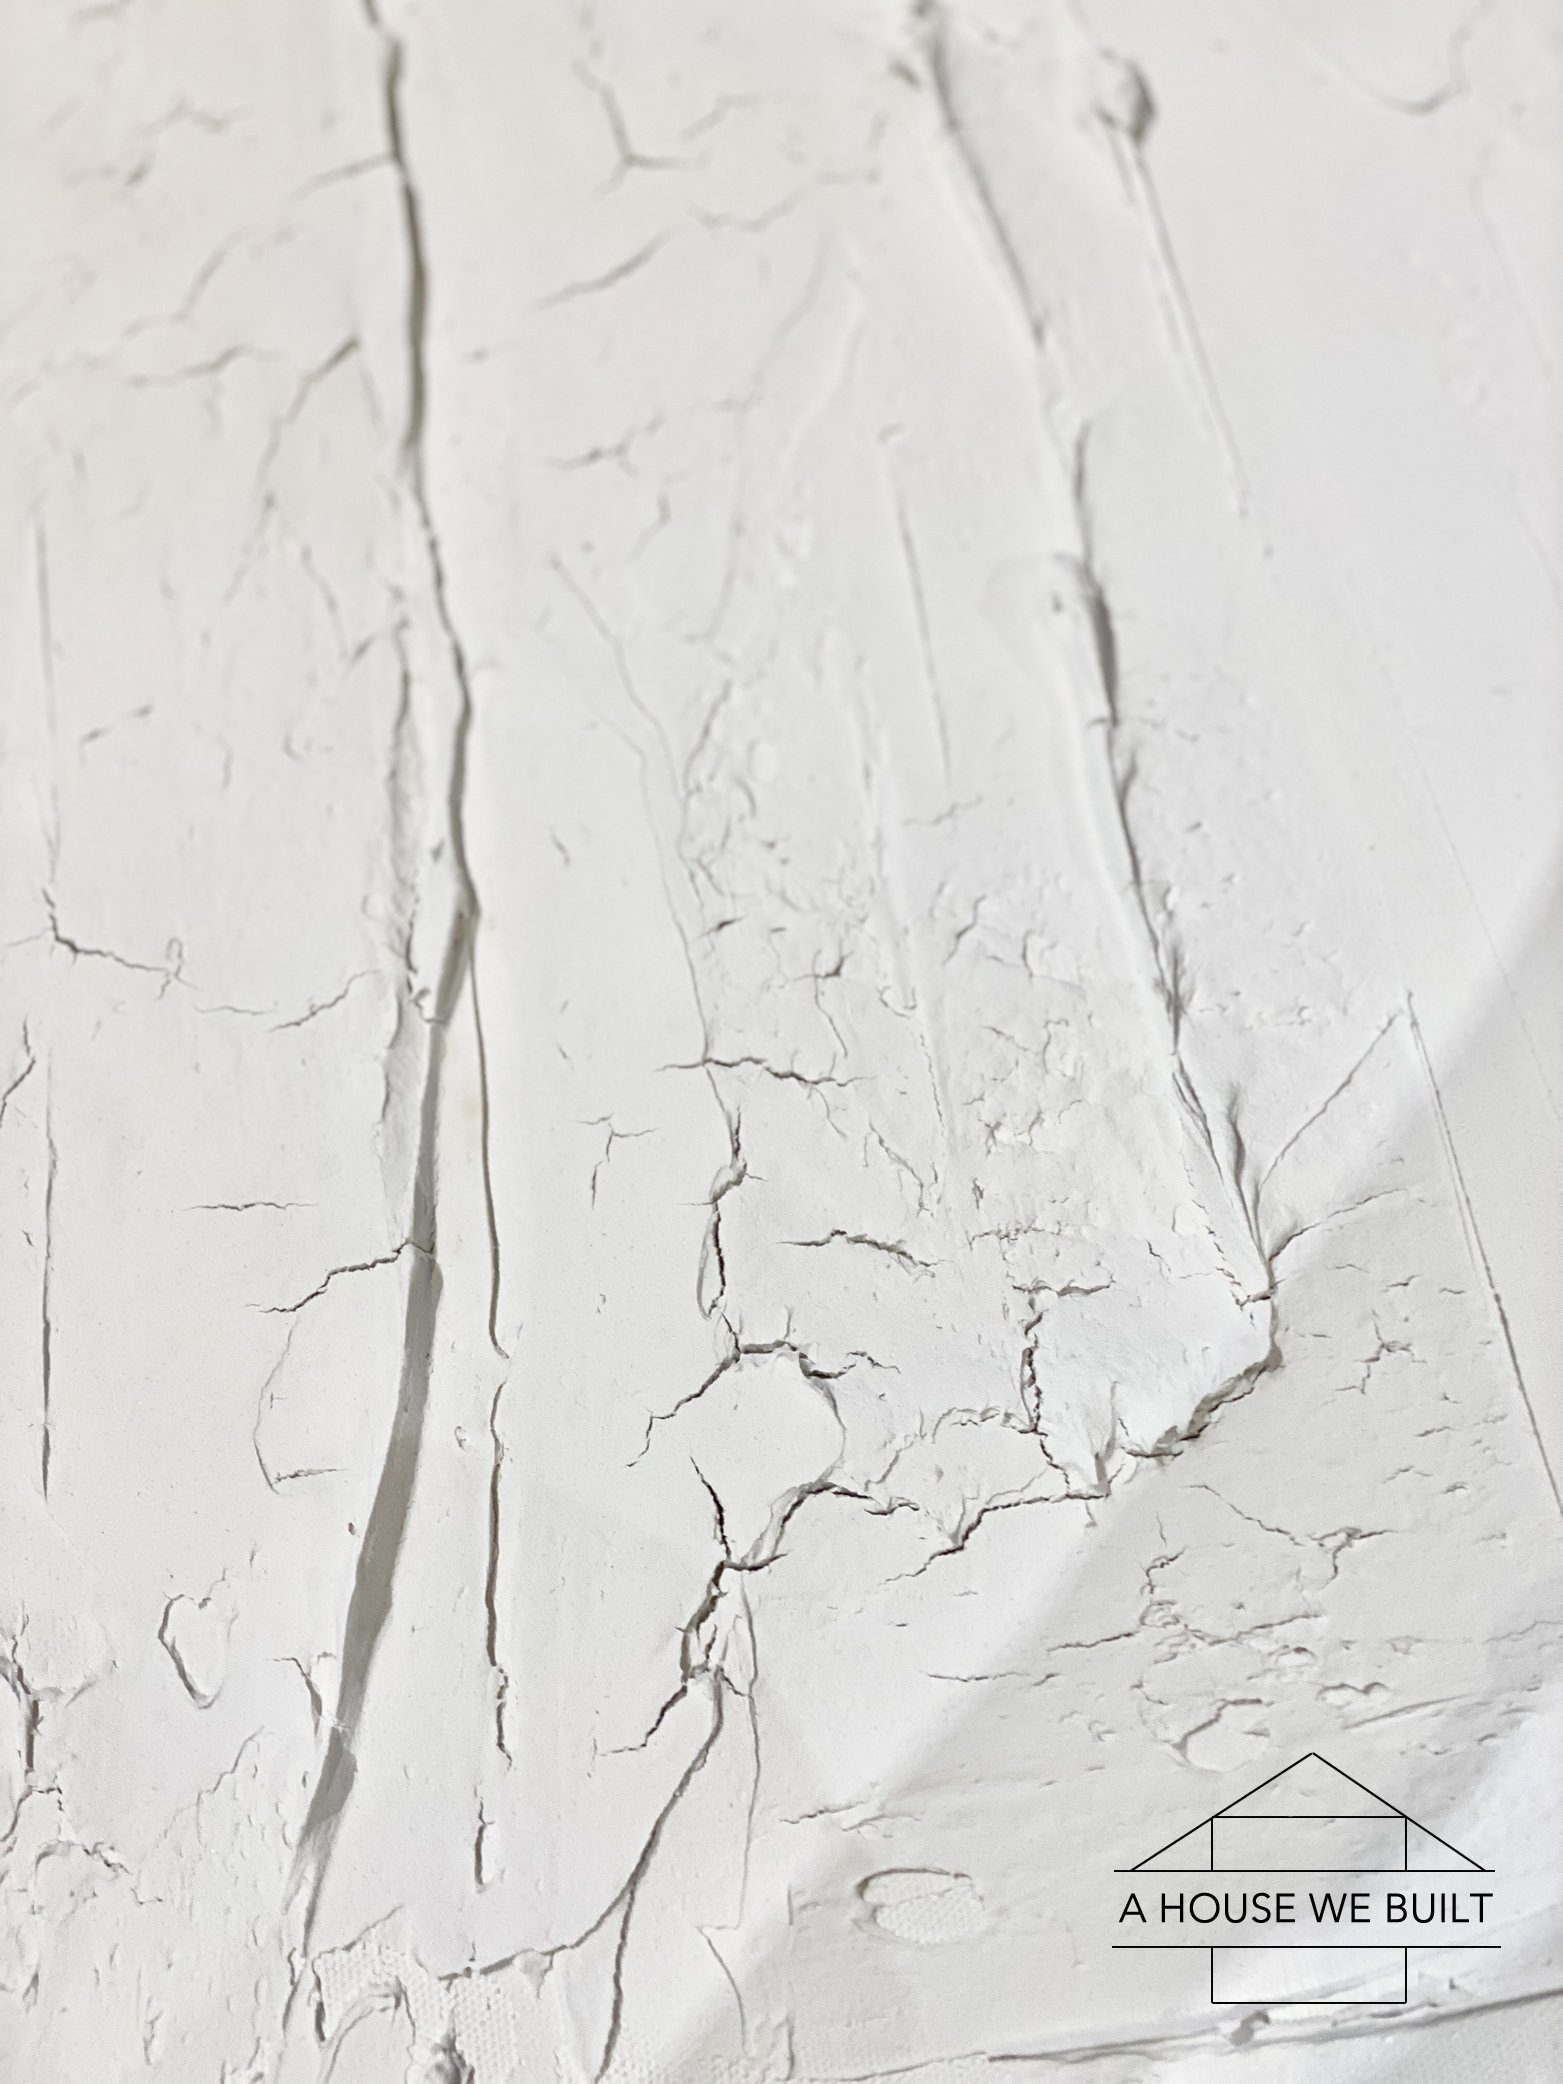
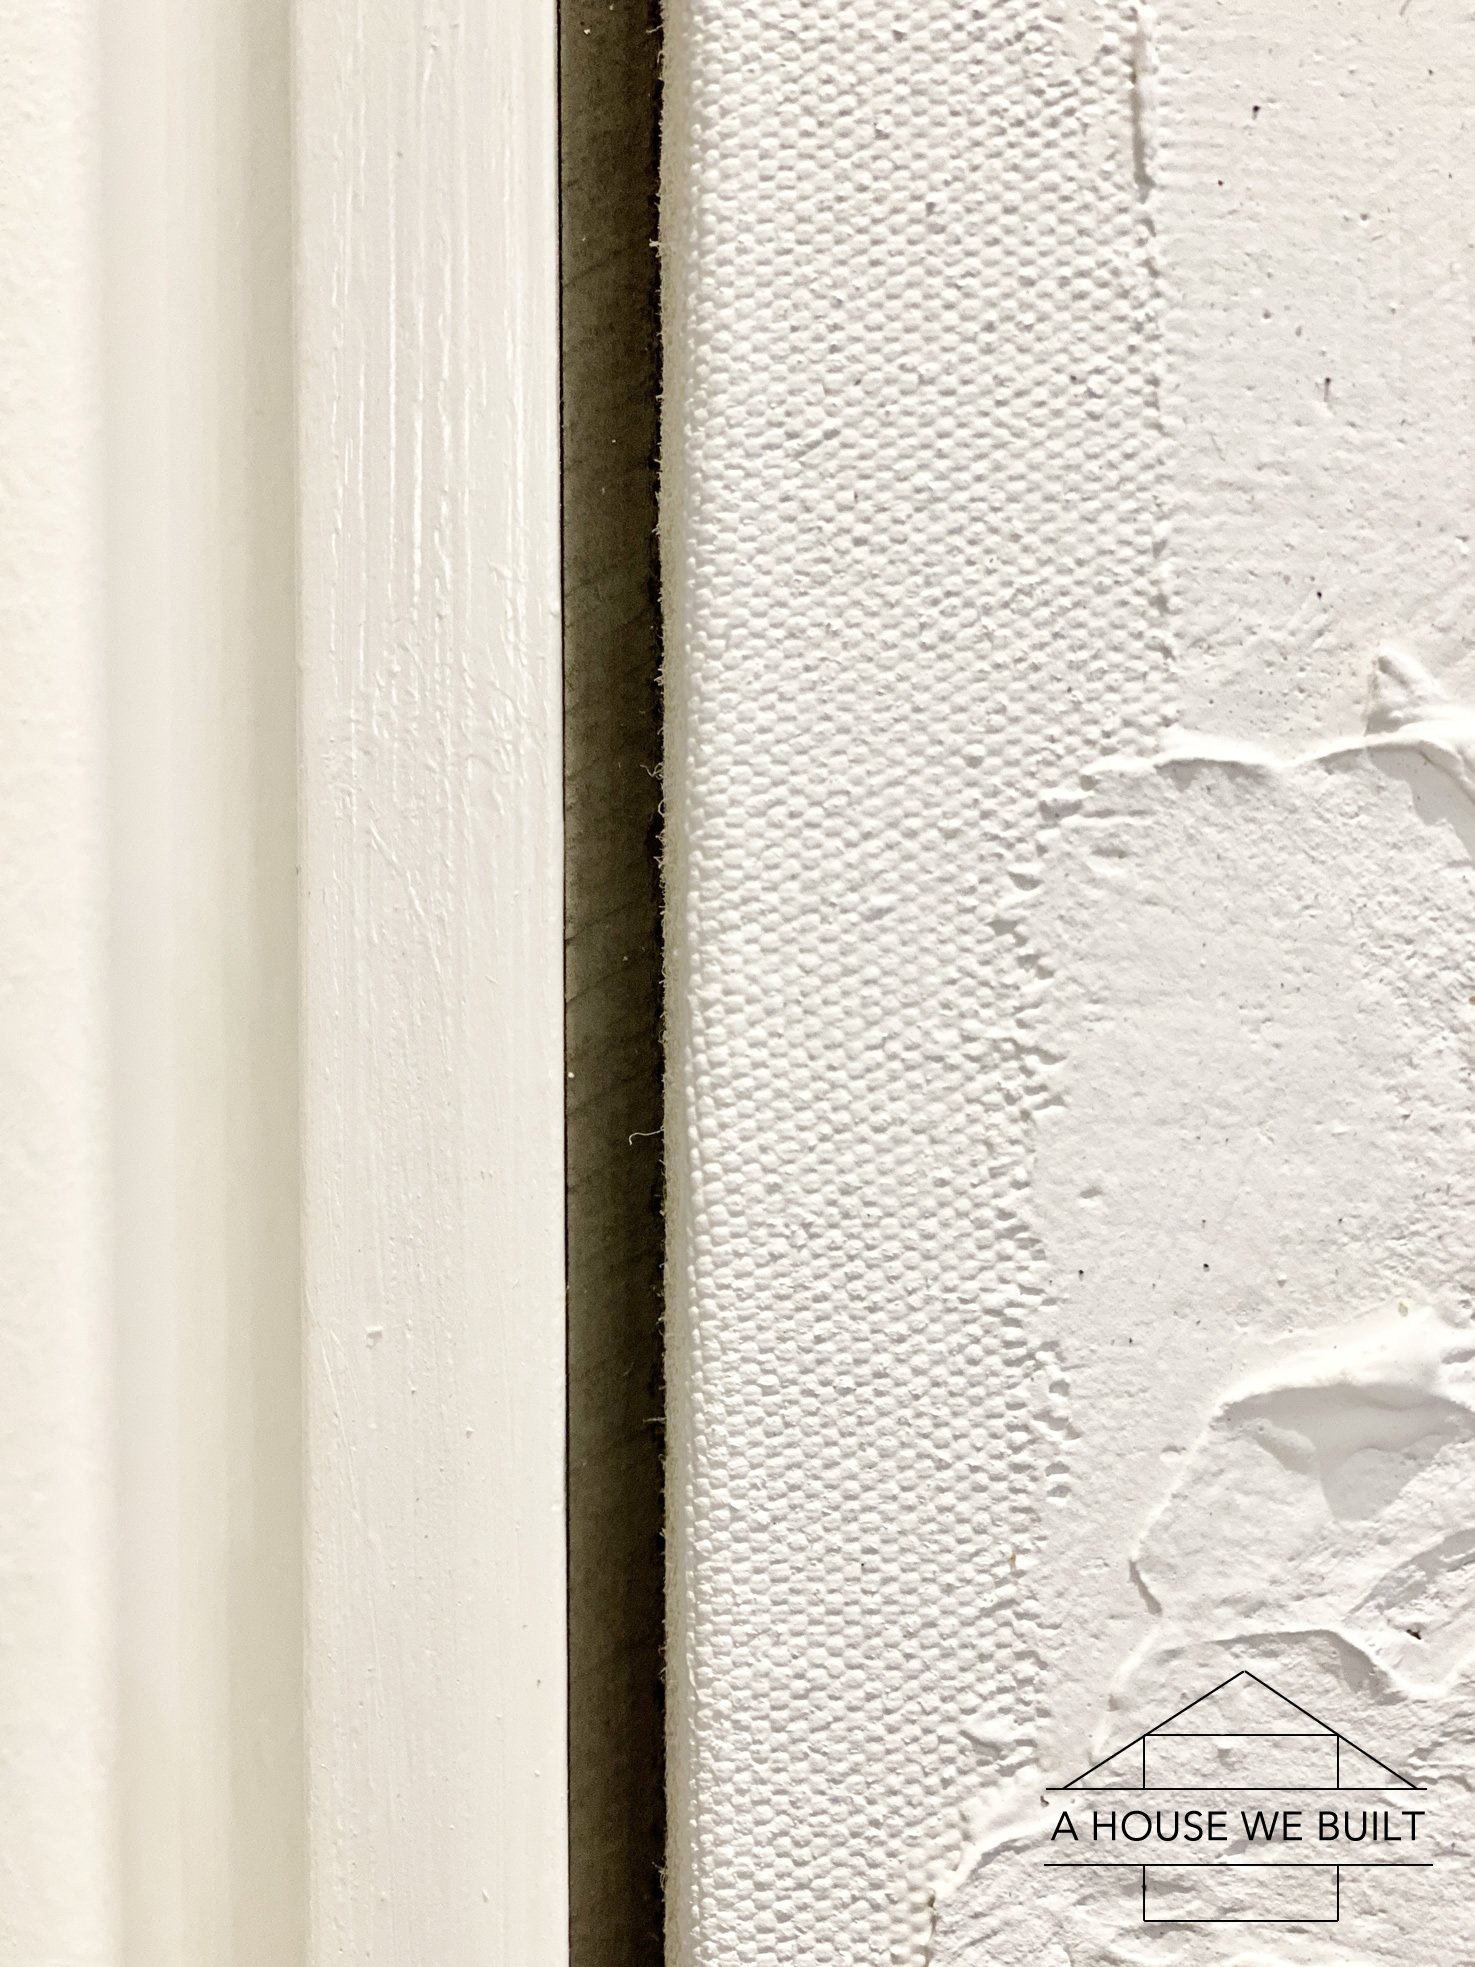
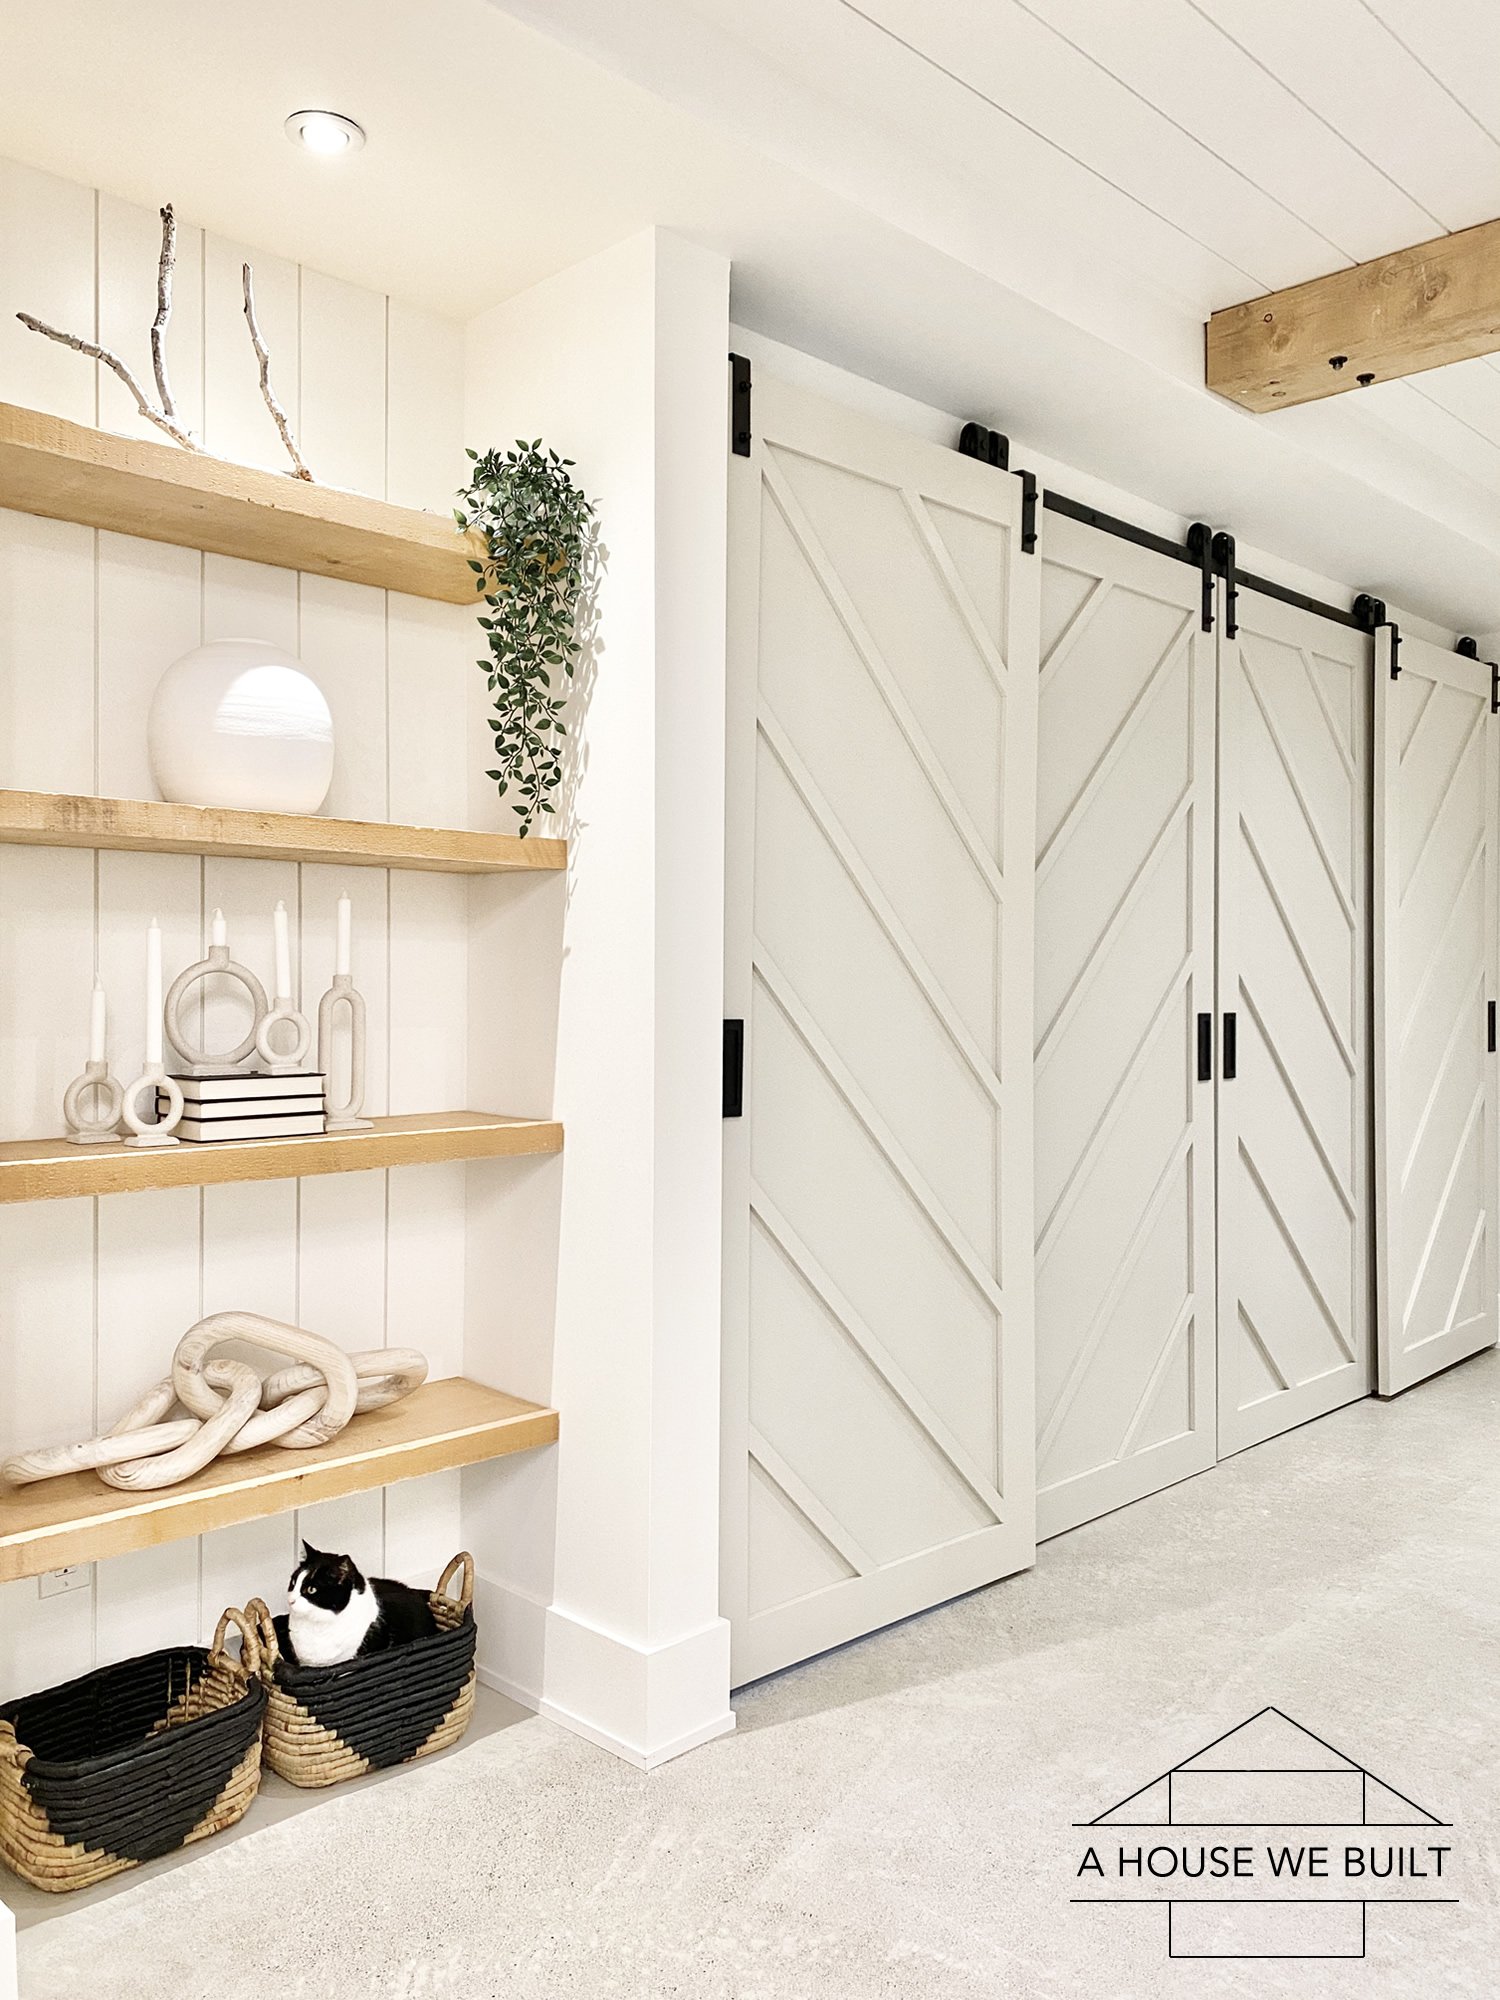
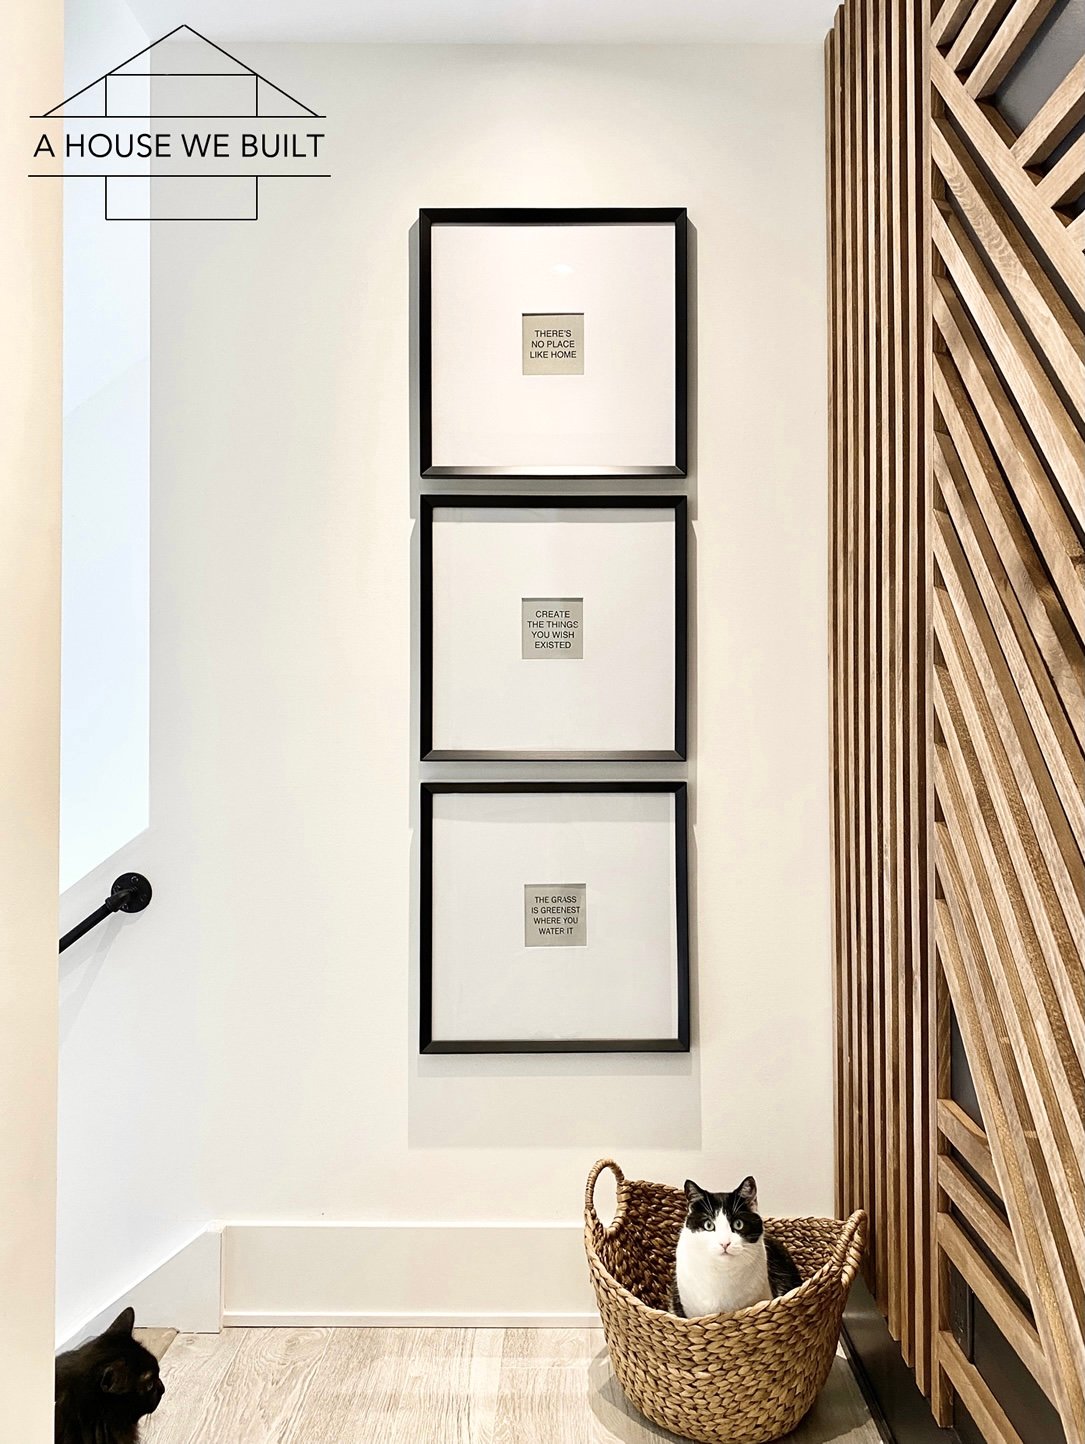
  • BM Revere Pewter: barn doors in our basement, canvas art frame.
  • SW Dorian Gray: home office window seat & chevron wall.
  • SW Tricorn Black: all windows & dark exterior doors.
  • Exterior Hardie is Arctic White (one of their standard colors).

PAINT FINISHES

  • Ceilings/walls: flat.
  • Bathrooms: eggshell.
  • Trim/shiplap/interior doors/built-ins: satin.
  • Cabinets: custom lacquer paint finish, close to flat/matte (with the exception of our bedroom’s window seat cabinets which are flat wall paint and pantry cabinets which are satin).
  • Windows/exterior doors: custom finish on fiberglass, close to flat.
  • All our drywall is smooth with no texture.

STAINS

  • Gray stain: Amazon (used on our dining table, console table, tree stand, primary bedroom faux beam, and basement bathroom counter)
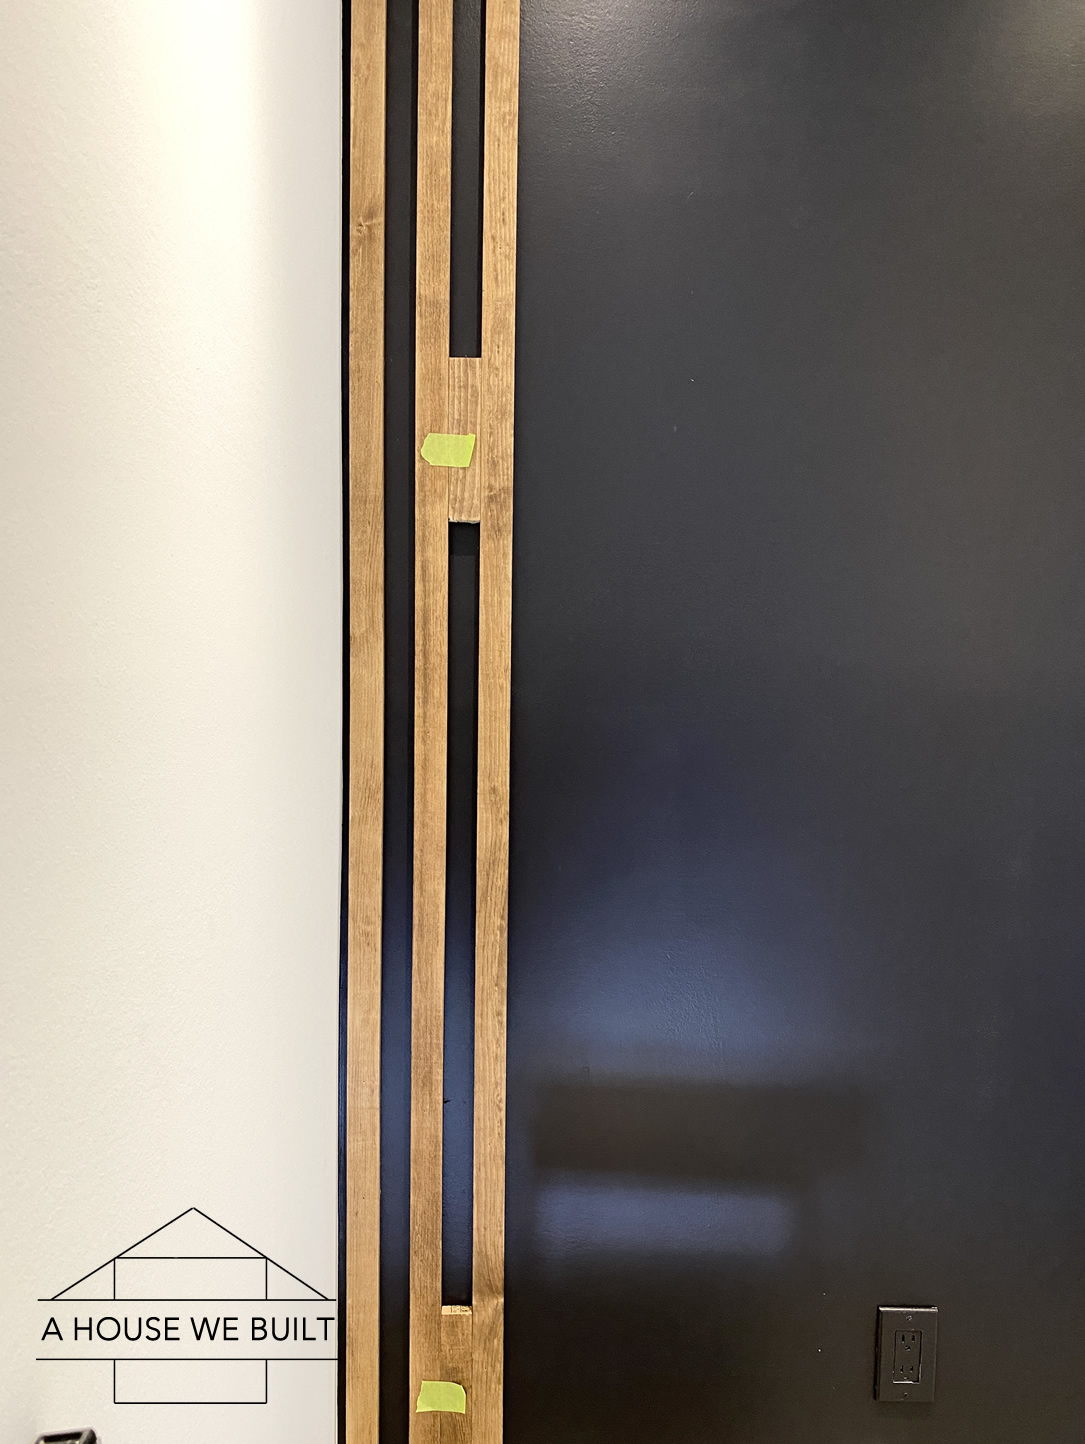
  • Brown stain: Home Depot (used on our slat wall and slat sideboard)
  • Matte top coat: Amazon (used over all stains and also on our open shelving and wood counters)
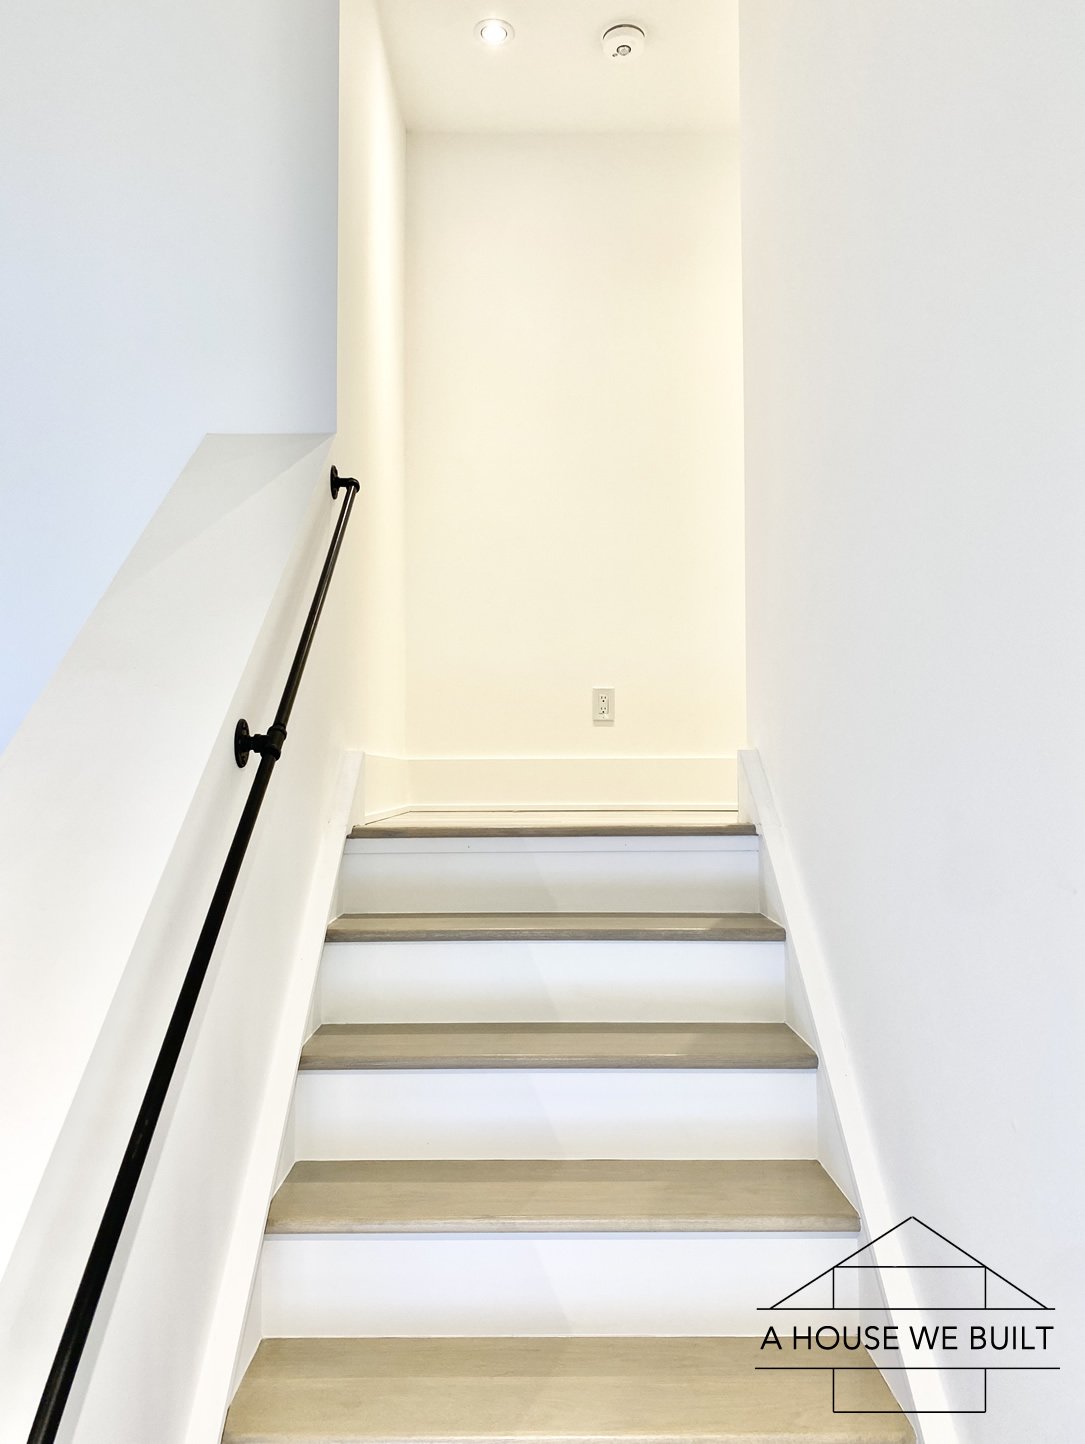
  • Stair & railing stain is a custom color made to match the darker undertones in our flooring.
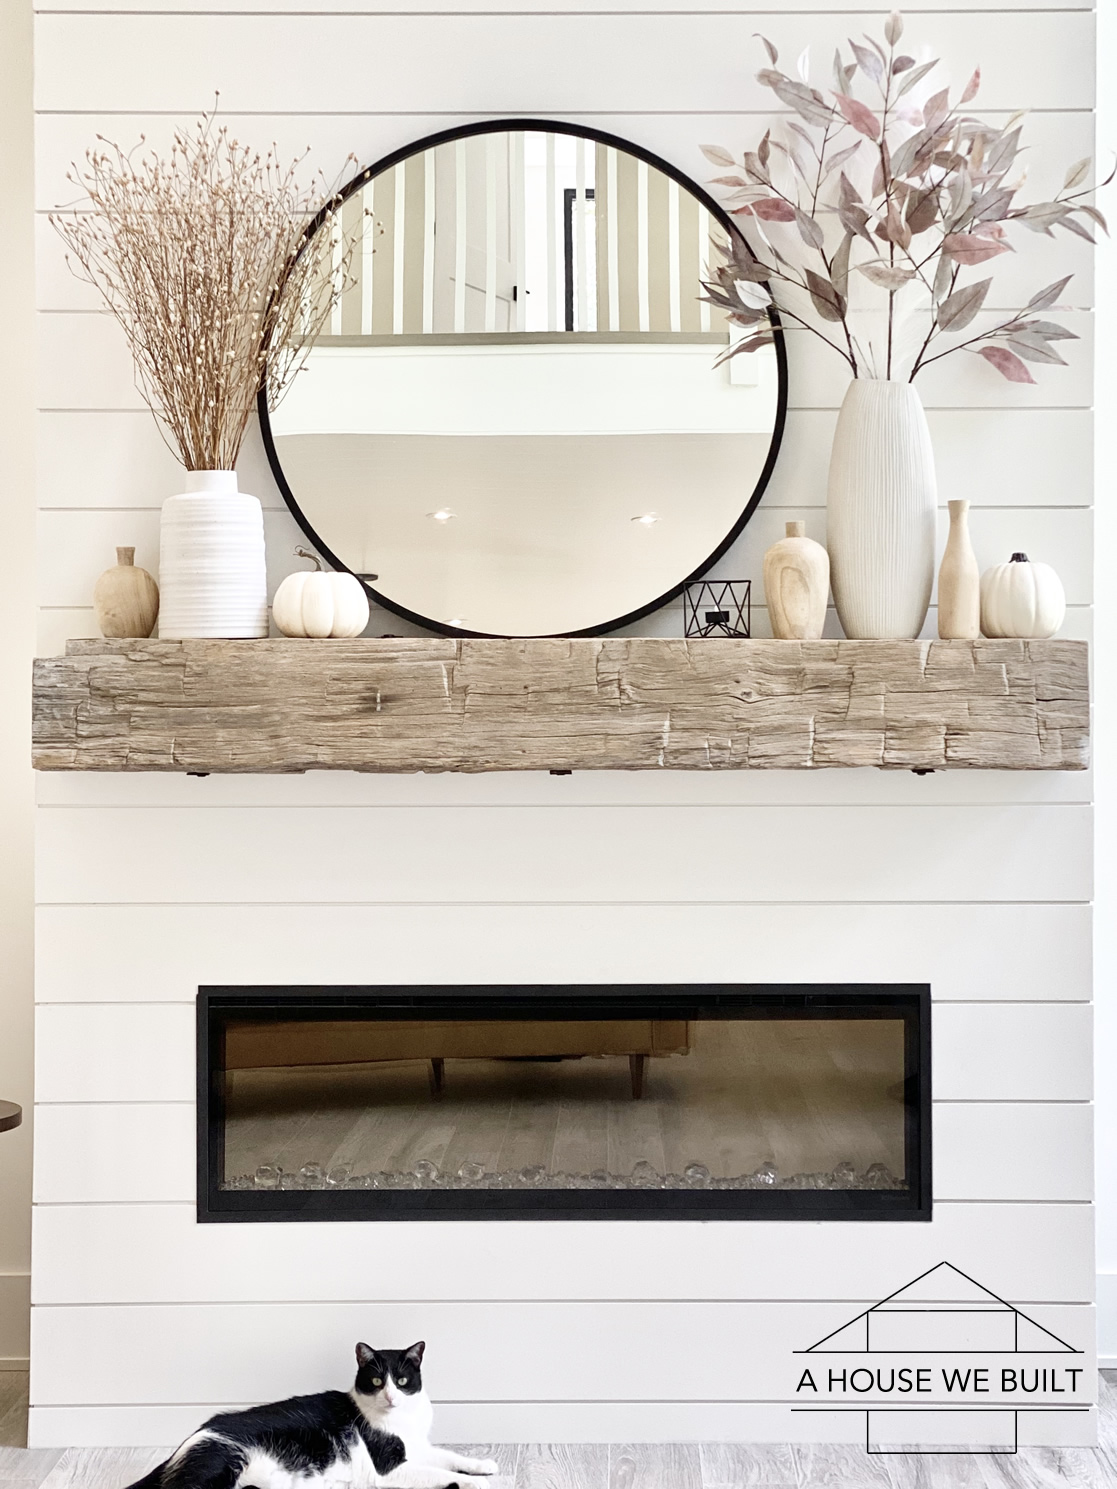
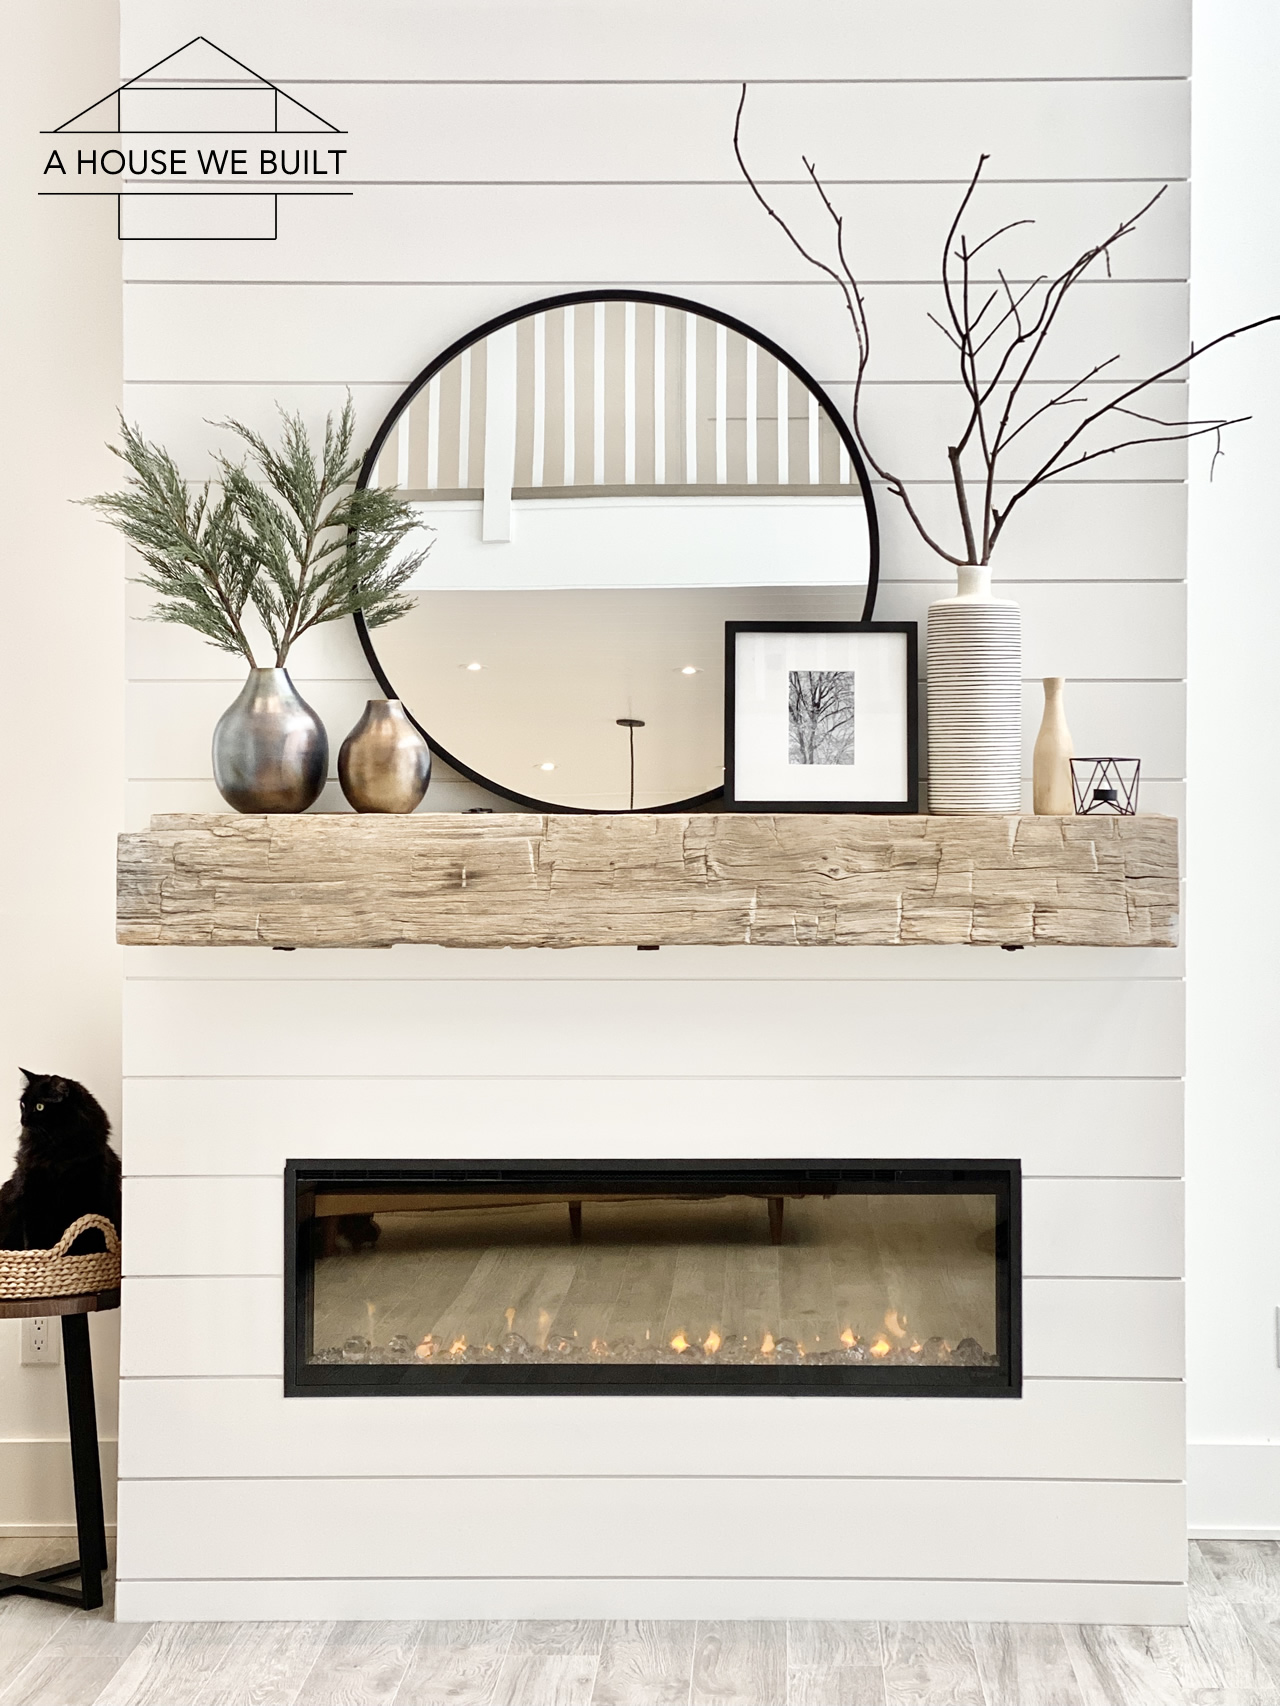
  • No stain or color treatment on fireplace mantel, hallway beams, or open shelving.

To explore more rooms in our house, visit our Website Roadmap.
To follow our daily updates and progress, follow us on Instagram @ahousewebuilt.

Filed Under: Shop my house

How to Build a Slat Wall

January 27, 2021 by admin 8 Comments

We created this bold slat accent wall at the top of our stairs and I’m going to share how we made it here! I’ve loved this wood-and-black slat wall look for a long time and was eager to find a spot in our home to do it. I love to go bold in small nooks because I feel like they’re the perfect place for a fun accent!

The general concept of this paneling style is created by painting a wall black and attaching boards to the wall with even spacing. However, you can get really creative with it so there are many possible variations. For my wall, I did a mixture of vertical, horizontal, and diagonal narrow boards and I mostly spaced them evenly apart, except for a few spots where I left one board out to create a separation pattern.

MATERIALS NEEDED:

  • 1x2x8 boards: Home Depot (Note 1: you can create a slat wall with any size boards you prefer and you can even vary the sizing as you go, but I chose to use only 1x2s. Note 2: I suggest getting a good grade of lumber for this project because you really need the planks to be straight and not warped to achieve even spacing between them. Note 3: my wall design required 21 1x2x8s. Note 4: be sure you check your boards for straightness before using them, they cannot be warped.)
  • Paneling adhesive: Home Depot | Amazon (and adhesive gun)
  • Painter’s tape: Home Depot | Amazon (if you’re using 1x2s like I did, then I suggest getting ~1.5″ painter’s tape as it is close to the size of the 1x2s and you can use it for templating)
  • Black paint: I used BM Black Panther (matte), but you can use any background color you like
  • Stain: I used Special Walnut (Home Depot), but you can use any color you like

TOOLS NEEDED:

  • Nailer: Home Depot | Amazon (I used 1″ nails (3/4″ into the wood + 1/4″ into drywall). With a slat wall, there’s no way to get all your slats over studs and I made sure my nails were short enough not to puncture straight through the drywall so that they wouldn’t hit any wires or plumbing)
  • Miter saw: Home Depot | Amazon
  • Measuring tape: Home Depot | Amazon
  • Carpenter’s square: Home Depot | Amazon
  • Level: Home Depot | Amazon

INSTRUCTIONS:

  1. Design your wall. There are no rules to this step, just create whatever you love. You can do all vertical, all horizontal, all angled, or a mix of all 3 as I did.
  2. This is an optional step, but since I was doing a small wall, I found it helpful to template out my wall with painter’s tape just so I could see my design from different angles and make adjustments easily. Tip: All my angles were 45° so a way to ensure that your tape follows the correct angle is to simply fold a piece of paper and use that as a guide. Templating is very helpful because as you can tell from the end result of my wall. My final design changed quite a lot from my original templated idea.
  3. Paint your wall black (or whatever background color you choose).
  4. Stain your 1x2s and allow them to dry overnight. I always apply stain with a rag: bunch the rag up to create a firm bundle-o-rag, dip it in the stain, rub over the board until evenly coated. I use just enough stain to create color, but I do not do the whole “wipe-on-wipe-off” thing. I also did not end up sealing my stained boards but you can if you want. It just didn’t feel necessary to me here.
  5. Cut your 1x2s to size and attach them to your wall using a combination of paneling adhesive and nails. I recommend cutting as you go instead of cutting all the boards up front to ensure the most accurate measurements. Use small cut-offs of 1x2s as spacers between the 1x2s you’re attaching to the wall to create a consistently even spacing between boards. I attached my 1×2 flat to the wall and used another flat 1×2 between them. So my spacing went: 1×2, 1.5″ gap, 1×2, 1.5″ gap, etc. I recommend starting with verticals or whatever your primary main board style is. (Note: there is an outlet in the lower part of my wall so I designed my paneling around the outlet so that no board crossed the outlet, then painted the outlet black to make it disappear.) Finally, always remember to constantly use your level as you build your wall to make sure that your boards are always straight! The pictures I’ve shared below chronologically show my progress and process creating the wall.

FINISHING TOUCHES:

  • Square frames: Crate & Barrel | Similar: Pottery Barn | West Elm | Michaels | Amazon
  • Basket (similar): West Elm | West Elm

I also like the idea of maybe doing a potted (faux) tree in a basket for the corner:

  • Olive tree: Wayfair | Target
  • Basket: McGee & Co | Crate & Barrel | West Elm

BEFORE & AFTER:

If you liked this tutorial, you may enjoy some of our other similar tutorials:

  • How to Build a Slat Sideboard
  • How to Install Shiplap
  • How to Create a Faux Brick Wall
  • How to Build a Paneled Accent Wall
  • How to Build Industrial Stair Railings
  • List of all our tutorials

For our daily progress, follow us on Instagram @ahousewebuilt.
To explore the other rooms in our house, click here.

Filed Under: Tutorials

Chocolate Chip Cookie Recipe

January 17, 2021 by admin Leave a Comment

This is my favorite cookie recipe and I’ll just jump straight into it:

Dry ingredients:

  • 2 cups flour, sifted
  • 3/4 tsp baking soda
  • 1/2 tsp salt

Wet ingredients:

  • 1 cup brown sugar
  • 1/2 cup white sugar
  • 3/4 cup sunflower oil
  • 1 egg + 1 egg yolk
  • 1 tbsp vanilla

Extras:

  • 1 cup chocolate chips
  • 1 handful roasted & salted peanuts (or any nut)

Instructions:

  1. Preheat oven to 325.
  2. Mix all dry ingredients together.
  3. Mix all wet ingredients together.
  4. Combine dry + wet ingredients.
  5. Add in chocolate chips (and nuts) and mix until fully combined.
  6. Spoon onto cookie sheet. I use this cookie scoop (Amazon) for even cookies.
  7. Bake at 325 for 16 minutes.

For more of our recipes, click here.
To explore rooms in our house, click here.
For our daily posts, follow us on Instagram @ahousewebuilt.

Filed Under: Recipes

Winter Decor 2021

January 15, 2021 by admin Leave a Comment

Please note: the items listed are only the winter decor items. Anything not listed here means that it is still currently in use in that particular room and you can visit each dedicated room page for those sources.

Living Room:

  • Metal vases: Crate & Barrel (large) | Crate & Barrel (medium)
  • Lanterns (similar): Amazon | West Elm | Crate & Barrel
  • Branches: foraged from our forest
  • More Living Room Sources

Dining Room:

  • Circular vase: Crate & Barrel
  • Wood links: Bloomist
  • Branches: foraged from our forest
  • More Dining Room Sources

Entryway:

  • Black vase: CB2 | Similar: Crate & Barrel
  • White knot candle holder: CB2
  • Eucalyptus bunch: West Elm | Similar: Michaels
  • More Entryway Sources

Kitchen:

  • Winter wreath: CB2
  • More Kitchen Sources

Bedroom:

  • Winter wreath: Home Depot
  • More Bedroom Sources

Filed Under: Past Decor

Vegan Pad Thai Recipe

January 15, 2021 by admin Leave a Comment

One of our favorite meals to eat out at restaurants is Pad Thai and recently we’ve been trying to learn to make all our favorite “restaurant meals” ourselves so we finally learned this dish! The secret ingredient is authentic tamarind paste – there’s really no substitute and you just can’t make it taste legit without it. As long as you have that ingredient, this is one of the easiest, quickest, and yummiest warm meals to make!

Prep the following ingredients and set aside:

Tofu:

  • 1 block extra firm tofu – thinly sliced (pieces ~ 1″x1.5″x1/8″), sprayed lightly with oil, and placed on a lined baking dish evenly so that none are touching. Roast them in the oven at 350 for 6-7 mins. They should be just starting to crisp. Prep this first and allow it to cool while making everything else.

Sauce:

  • 1/2 cup tamarind paste: Amazon
  • 1/2 lime – juiced
  • 6 tbsp brown sugar
  • 6 tbsp soy sauce
  • 3 tbsp sriracha – you can add more or less of this to taste

Veggies:

  • 2 heads of broccoli – cut to bite size pieces
  • 1 carrot – chopped into match sticks
  • 1 red onion – sliced into half rings
  • 3 green onions – chopped into 2-3” pieces

Garnish:

  • Handful roasted peanuts – chopped
  • Handful cilantro – chopped
  • 1 lime – sliced for squeezing

Noodles:

  • Use flat rice noodles: Amazon | Amazon. Place noodles in a pot. Pour hot water over them until they’re covered and soak for about 3 minutes. Stir occasionally to shake them up and get rid of excess starch. Drain once they’re al-dente (they will finish cooking in the sauce later).

Cooking instructions (note: I literally use a timer on my phone to be sure I don’t over/under cook the ingredients, I’ve made this dish several times now and this timing works perfectly on my cooktop):

  1. In a wok on med-high heat, drizzle in some cooking oil.
  2. Sauté onions for 3 minutes, stirring frequently.
  3. Add in the tofu and broccoli.
  4. Sauté for 3 minutes, stirring frequently.
  5. Add in the carrots.
  6. Stir, then cook for 3 minutes with the lid on, stir every minute.
  7. Add in the noodles, green onion, and the sauce.
  8. Sauté for 2-3 minutes, stirring constantly.
  9. Plate and sprinkle over peanuts and cilantro. Serve with lime wedges on the side.

For more of our recipes, click here.
To explore rooms in our house, click here.
For our daily posts, follow us on Instagram @ahousewebuilt.

Filed Under: Recipes

Baked Pumpkin Donuts Recipe

December 15, 2020 by admin Leave a Comment

I love donuts but I don’t love that they’re traditionally fried so I finally figured out a baked donut recipe I was happy with (basically an adaptation of my Donut Bites recipe) but it’s less work and very easy!

All you need is a donut tray (Amazon | Walmart) which is like a muffin tray for donuts.

1. Preheat your oven to 350.

2. Make your batter like this:

In a medium mixing bowl, combine your wet ingredients:

  • 1/4 cup white sugar
  • 1/4 cup light brown sugar
  • 3/4 cup canned pumpkin
  • 1 egg
  • 1 tsp vanilla
  • 1/2 cup milk (I use soy)
  • 1/3 cup sunflower oil or melted butter

In a separate bowl, combine your dry ingredients:

  • 1 3/4 cup flour
  • 2 tsp baking powder
  • 1 tsp cinnamon
  • 3/4 tsp nutmeg
  • 1/8 tsp cloves
  • 1/2 tsp salt

3. Combine wet and dry ingredients and mix – I literally just use a fork.

4. Spray down your donut trays with oil, then spoon the mixture into the rings. I use 2 spoons and do about a third of the donut at a time. I find this much easier than piping them in.

5. Bake at 350 for 12-13 minutes.

6. Remove from tray as soon as you can handle them and transfer the donuts to a cooling rack. As soon as they can be handled (while they’re still quite warm), get two bowls: fill one with 1/4 cup of oil or melted butter, fill the other with 1/2 cup of cinnamon sugar (1/2 cup white sugar + 1/2 tsp cinnamon).

7. Brush each donut with oil on both sides, then dunk it in the sugar bowl until fully coated.

8. Devour all donuts. They are best fresh. It’s possible they’d keep well overnight but we’ve never gotten that far. Ours are usually all eaten within the hour lol.

For more of our recipes, click here.
For our daily posts, follow us on Instagram @ahousewebuilt.

Filed Under: Recipes

How to Make Paper Christmas Trees | DIY Decor

November 16, 2020 by admin Leave a Comment

If you’re looking for an easy Christmas Decor DIY, it doesn’t get easier than these paper trees we made for our Theater Room! They look super cute anywhere – on shelving, as part of a table scape, on a mantel… the possibilities are endless! And they fold up flat so they take up almost no storage space.

You can make them out of any paper weight you like but I chose to use 8.5 x 11 cardstock for mine.

Materials:

  • Cardstock: Amazon | Amazon | Michaels | Michaels
  • Double sided tape: Amazon
  • Ruler or anything straight
  • Scissors

Instructions:

  1. Each tree needs 4 sheets of cardstock folded in the exact same way. So all my instructions will need to be repeated on 4 sheets for each tree.
  2. Fold each sheet in half. x4
  3. Draw a straight, diagonal line from the top of the middle crease to the exterior corner. x4
  4. Cut that line. x4
  5. Now you have 4 identical folded triangle shapes. If you stand them all up and place the creases to the middle, you’ll see they make a tree shape.
  6. All you need to do now is tape them all together. Tape the first two to each other, then tape a third one on, then the fourth, then tape the fourth one to the first one. And that’s it!!!

Note: to get different sizes of trees, just vary the angle of the diagonal you cut. Different diagonal angles will give you narrower or wider, taller or shorter trees. You can do any angle or size of tree you want, but the only rule is that all 4 angles/sheets must always be the same for each tree you make.

Below are my visual instructional pics.
Special thanks to our rescue cats as my assistants!

If you’re not into DIYs, I found some ready-made paper trees at: West Elm | Crate & Barrel | World Market

Other relevant sources & tutorials from our Theater Room:

  • Reindeer: Pottery Barn
  • Faucet: Wayfair | Home Depot
  • Drinking water faucet: Amazon | Overstock
  • Soap pump: Wayfair | Home Depot
  • Vase (similar): Crate & Barrel | Pottery Barn | McGee & Co
  • Gold cabinet knobs: CB2
  • Gold drawer pulls: Amazon
  • Gold finger pulls (similar): Wayfair
  • Floating shelves: Tutorial
  • Wood countertop: Tutorial
  • Faux brick wall: Tutorial
  • Shiplap: Tutorial & Info

For more of our Christmas posts, click here.
For more of our DIY tutorials, click here.
To explore the other rooms in our house, click here.

Filed Under: Christmas, Tutorials

Christmas Decor 2020

November 15, 2020 by admin 2 Comments

This is a recap of all the Christmas decor we have displayed throughout our house categorized by room. This list is only Christmas decor, so for all other sources you will need to click through to the main sources page for each room or you use our website roadmap to navigate to your room of choice. You can see pics of how we’ve displayed everything here if you’re following us on Instagram @ahousewebuilt.

These are seasonal items so if a link no longer shows the items, then it’s sold out for the season.

[Read more…] about Christmas Decor 2020

Filed Under: Christmas, Past Decor

How to Cat-Proof Christmas Trees & Decor

November 10, 2020 by admin Leave a Comment

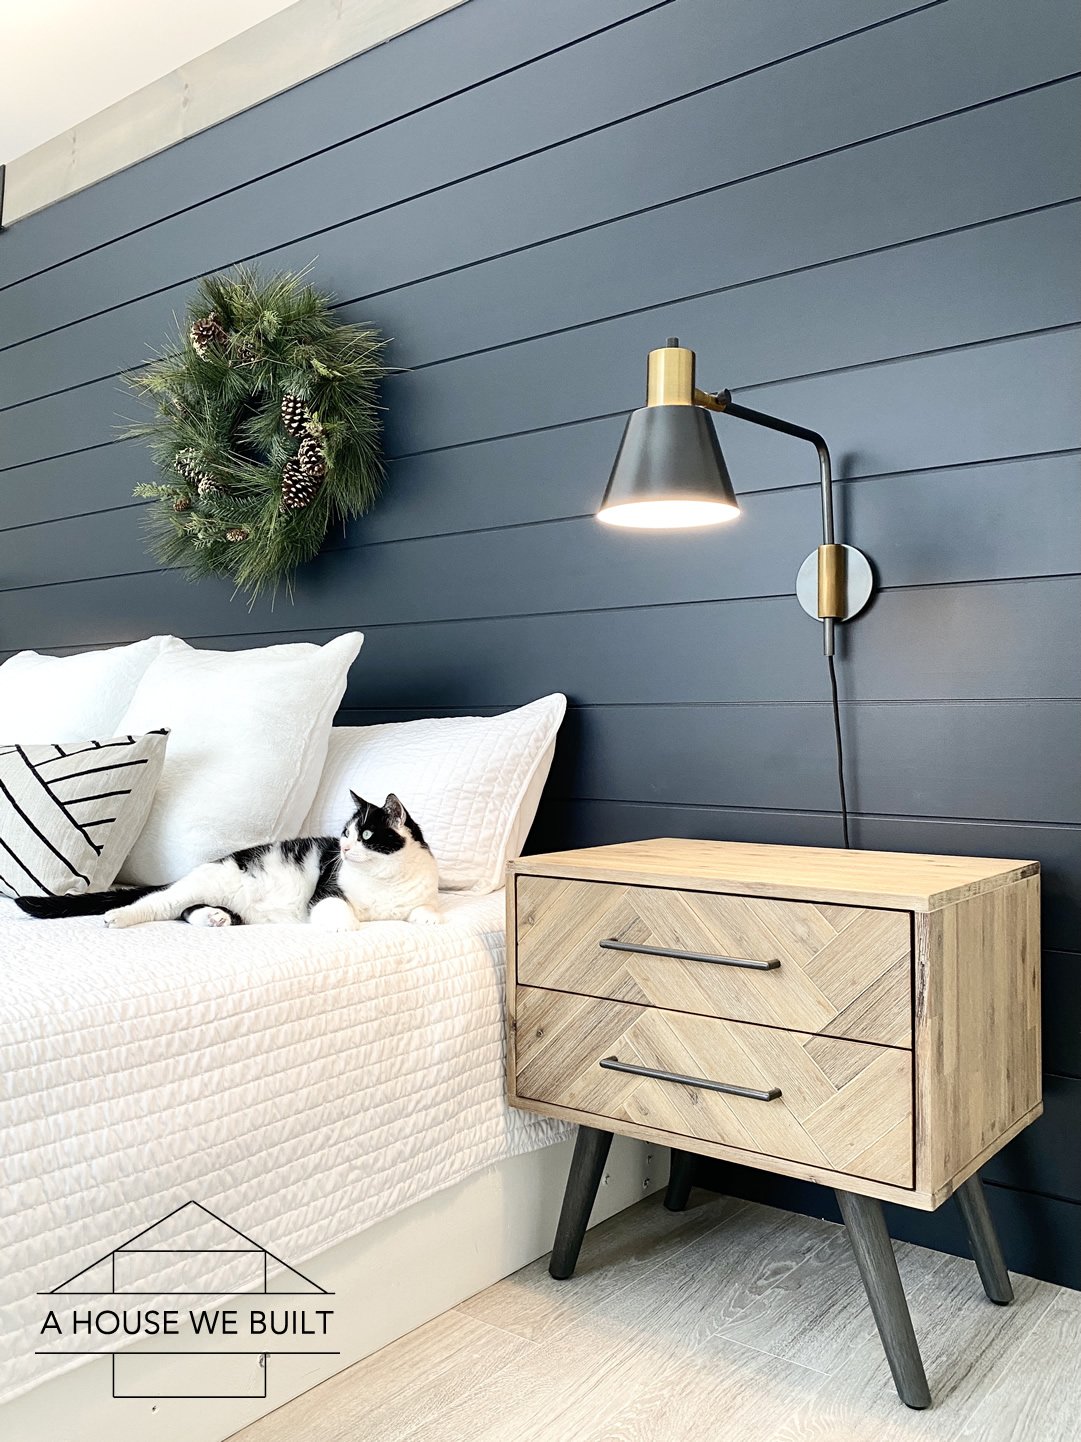
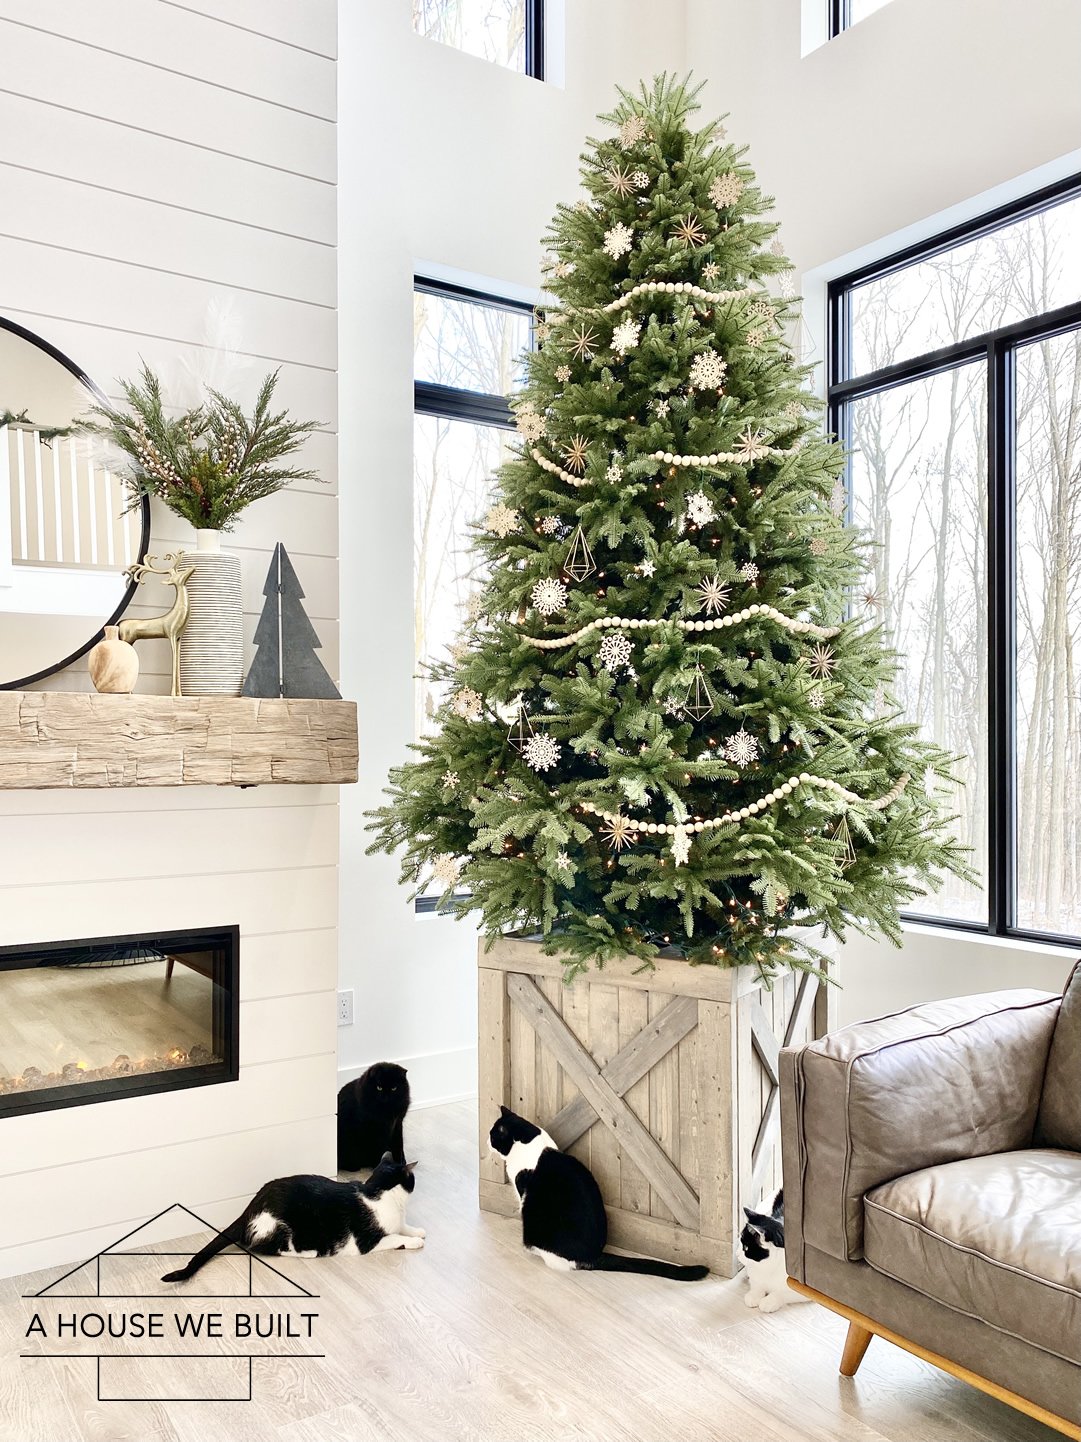
At Christmas, many cat lovers struggle with keeping their cat away from their tree and decor so here are some tips that have worked for us in our cat-filled household and that will hopefully work for you too!

SAFETY FIRST.

The most important thing is keep your cats safe. Tinsel, plastic, wires, pine needles, berries, glass etc can all be very dangerous if your cat eats or plays with them so please always remember that! Consider a cat like a small child that’s mobile but too young to understand how dangerous something can be.

Choose your decor carefully. I don’t use any glass ornaments or tinsel anywhere in my house, and all the ornaments I use are shatter-proof. When we had a real tree I vacuumed the needles under it daily (more on real vs artificial trees below). I don’t typically decorate with anything small enough to be carried off and swallowed. I generally stay away from flocked items (including trees) as they often contain toxic chemicals dangerous to pets (and humans honestly). I don’t use any real plants or berries that could be ingested. I have no lit candles anywhere without supervision. I don’t drape garlands, instead I wind them around railings. I try not to let anything ‘dangle’ as that can invite them to play with it. And I’m just generally very careful about where I place certain types of decoration that might be more tempting to our curious cats.

ELEVATE YOUR CHRISTMAS TREE.

Cats are significantly less interested in Christmas trees if the lowest branches are above their head height. Our solution is that we designed and built this Christmas Tree Stand the first year we moved into this house and you guys… IT WORKED!!!! Naturally, it didn’t completely stop the cats from being interested in the tree but it went a very long way towards deterring their attention away from the tree (even a real tree). In combination with that, I also used my same Cat Training Methods that I used to teach our cats not to go on our food counters to teach them not to jump up on the box and for the most part this did a really great job of keeping the cats away from the tree. The first year, they did occasionally jump up onto the top of the box, but I’d quickly correct them and none of them ever climbed the tree. If you’re attentive and you correctly them the first time they do it (so they don’t build a history of learning that it’s sometimes ok), they’re more likely to understand that this spot is off limits, rather than if you let them do it several times before correcting them. But basically, find creative ways of elevating your tree in a very secure manner. You can do this by building a box like we did, or using a really big barrel is another way I’ve seen done beautifully. Unfortunately, simply using a tree collar isn’t enough because it’s not high enough. It needs to be minimum 2 feet tall with a wide base so that it can’t be tipped over.

(Side note: simply putting your tree on a table is not the answer because your cat can jump up to the table, and then the situation is actually no different than having the tree on the floor except now the tree has farther to fall. Instead it’s best to elevate your tree with a box/surround around the base.)

ARTIFICIAL CHRISTMAS TREE.

The safest and my most highly recommended Christmas trees to have around cats are artificial trees with no flocking. Flocking contains chemicals toxic to pets and I personally just stay away from it in general.

With artifical trees, pretty much any brand will do, just make sure that they don’t shed any plastic (or other) materials that your cat might ingest. I suggest shaking the tree out as you assemble it, just in case.

There are several drawbacks to real trees around cats: 1) They smell good. They smell like the outdoors and have lots of enticing scents on them that will attract your cat’s attention. 2) They shed pine needles which can be quite dangerous to your cat if ingested. 3) The result of them smelling good and attracting your cat to them and also you having to constantly clean up around them is that they can be much more work for you. Artificial trees however have no enticing smells and they don’t generally shed much (maybe a few bits during set up but that’s it). But a combination of an artificial non-nature-smelling non-shedding unflocked tree that’s elevated with a box is a recipe for success when it comes to Christmas & Cats.

DON’T DECORATE IN FRONT OF YOUR CAT.

This is a rule I have all year around, not just at Christmas time, that I never ever decorate when the cats are around. In fact, I don’t even touch or adjust my decor when the cats are around. My solution is to simply put them in their cat room, but if you don’t have one, then consider putting your cat in a bedroom or some other safe and cozy room where they can hang out while you make changes to your house (be sure they have access to a litter box, food, and water in any room you enclose them in). The reason for not decorating in front of cats is that cats are curious by nature and they’re going to be interested in anything you’re interested in. If you start “playing” with your decor (because that’s how they will interpret it), then they’re going to do the same too. But if you decorate while they’re in another room, and then don’t do anything to draw attention to your new decor, they’re much less likely to be interested in it.

DISTRACT THEM WITH NEW TOYS.

At the same time as you put up your tree, it’s a good idea to set up a new and entertaining toy for your cat somewhere away from the tree. This provides them with another focus point that hopefully will distract their attention away from the tree. You don’t have to spend money on toys for this to work — even just a new cardboard box will be enough to give them something they’re allowed to play with to focus on.

ALLOW THEM TO SNIFF.

Cats like to take inventory of everything in their living space (i.e. your house) so once they notice your tree, they are absolutely going to want to investigate and you should let them do this. Let them give the tree base a complete sniff-down, but don’t do anything to attract their attention towards it – don’t jingle ornaments or shake a branch at them… just pretend the tree is completely uninteresting and ordinary. If they try to batt at or play with the tree, verbally correct them and make sure they listen. Once they’ve sniffed down the tree, it’s likely they’ll start ignoring it if you’ve been following the other tips like elevating it.

DON’T PLACE ANY BIG ORNAMENTS AT THE BASE OF THE TREE.

This is pretty self explanatory but basically if you dangle an ornament at the base of the tree like a toy, then it’s inevitable that they’re going to try to play with it. So just don’t.

NO PRESENTS UNDER THE TREE.

In our house, we don’t put presents under the tree until Christmas Eve because the ribbons, tissue paper, wrapping etc are just too tempting for curious kitties and adding these new “toys” (as they see it) under the tree, just encourages them to gather near the tree which is the opposite of what you want.

What do we do with our wrapped presents then? I display them all around our home as Christmas decor! It’s a win-win situation because presents that I would have wrapped anyway get to double as decor I can style our home with. Just be careful that if they have ribbon on them (which cats can be attracted to playing with and can be dangerous for them without supervision) that you’re displaying them somewhere elevated (I often display them on our open shelving or bookshelves where they’re out of reach).

NOISE AND CHAOS.

Cats are very sensitive creatures and the hustle, bustle, noise, and chaos of holiday celebrations can be extremely scary and stressful for them. During all holidays or parties (year round), I strongly recommend calmly placing your cat(s) in a quiet, closed room they feel safe and comfortable in that has food, water, and litter box access and where they will not be disturbed. Anytime anyone other than my parents visits our house, I always put our cats away in their cat room. It is very important to do this also at times when there are fireworks going on etc. Holidays can be hectic and you don’t want your pet to accidentally get lost or run away in the confusion so try to be very aware of the fact that they don’t understand our human holidays and parties and as the humans who brought this chaos and change into their home, it is our job to make them feel safe during them. Also, if you have guests interacting with your pets (especially children who might not know any better), be sure that they understand how to be gentle, calm, and kind. You are your pets’ guardian and it is your responsibility to make sure they’re treated well by your guests.

Side note: please never give a cat or kitten (or any pet) as a Christmas gift, or as any other type of gift. A cat is a big commitment who can easily live for up to 20 years so unless you are personally committing to their care and well-being for the rest of their lives, never ever ever buy any pet as a present for anyone!

TAKE PRECAUTIONS FOR WHEN YOU’RE NOT AROUND.

Whenever you leave the house and also at night, I strongly recommend putting your cats away in their cat room or any safe, comfortable room that has food, water, and a litter box. This prevents them from getting into any trouble when you’re away or sleeping. We actually do this all year around regardless of holidays.

I hope these tips help you have a safe and happy Christmas with your cat(s)!

For more cat-related posts, click here.
For more Christmas posts, click here.
To shop our home pics, click here.
To explore rooms in our house, click here.
Follow us on Instagram to see our daily posts here: @ahousewebuilt.

Filed Under: Cats, Christmas

How to Make Textured Canvas Art (With Drywall Mud)

November 3, 2020 by admin 31 Comments

We made a huge textured canvas art piece for our dining room and I’m going to show you how we did it!

I made everything completely from scratch meaning I built my own canvas frame, I did my own art, and I made the floating frame but you can also skip part of these by buying a canvas frame or skipping the floating frame, so I’ve separated the tutorial into 3 steps so you can skip down to any step you want.

But if you’re not into DIY or just not feeling super artistic, here are similar art pieces you can buy ready-made: McGee & Co (rectangular) | McGee & Co (square) | Crate & Barrel | Anthropologie | Pottery Barn.

Ok so I literally made everything out of scrap wood and unused materials that were lying around my house but in case you don’t have these things on hand, I’ve tried to find sources for as much as I could.

STEP 1: HOW TO MAKE A CANVAS FRAME

Note: if you don’t want to make your own canvas from scratch, you can totally just buy one. I actually couldn’t find one that was the size I wanted (5′ x 4′), but depending on what size art you want to make, it may be easier to just buy one. Here are a few that are very similar to the ones I made:

  • Canvas & frame set: Michaels | Amazon (largest I could find)

If you want to make your frame though, you’ll need these materials:

  • 1×2 wood: Home Depot (My canvas was 5’x4′ so I needed 3 for the frame + 1 for supports)
  • Cotton canvas fabric: I got mine from a small fabric supply store a long time ago but I think this is the same or similar: Amazon | Amazon.

Tools:

  • Miter saw: Home Depot
  • Heavy duty staple gun: Home Depot
  • Locking pliers: Home Depot
  • Screwdriver & screws if your canvas is large
  • Nailer & nails if your canvas is smaller

Instructions for making the frame:

  1. Determine how large you want your canvas to be. I wanted mine to be about 5ft x 4ft so I cut two 1x2s down to 60″ each and another one in half (two 48″ pieces) and used that for the exterior frame. If you have a small frame, then you can get away with just little diagonal support pieces in the corners, but if your frame is as large as mine or larger, then you’ll also need additional support pieces so I also cut an additional 1×2 in half to create two more support pieces. Then I used the cut-offs from the two 1x2s that I got the 60″ pieces from to create diagonal support pieces. The exact sizes don’t really matter as long as they functionally support the frame. So in total I needed:
    – 2 x 60″ lengths
    – 4 x 48″ lengths
    – 4 x diagonal support pieces with 45* corners so that it could brace against the exterior frame
  2. Using pilot holes & screws, assemble your frame starting with the 4 exterior frame pieces, then interior vertical supports, and finally the diagonal supports.

Instructions for attaching the canvas fabric:

  1. The basic idea here is that you’re going to wrap the canvas over the front of the frame and staple it to the back. But you have to pull the canvas tight or you’ll end up with ripples and nobody wants that. So here’s how we did ours: First, we smoothed the canvas out to get rid of any fold lines, then placed the frame over it and secure one side all the way, stapling it to the wood every 1-2 inches, but be sure to stop about 2″ before the corners because you’ll do the corners at the end.
  2. Then continue on to secure the other sides with more staples. We always would start in the center and work our way to the corners. We used locking plyers to help pull the canvas tight – but be careful because you can rip the canvas if you pull too tight.
  3. Finally do the corners. I’ve shown a picture to kinda show how I folded it. There’s no right or wrong way to do it – just make it look neat and well tucked and give it a couple extra staples.

STEP 2: HOW TO MAKE DRYWALL MUD / JOINT COMPOUND ART

Materials:

  • Joint compound/drywall mud: Home Depot (I always use this dust control one)
  • Paint (I used BM Simply White in matte)

Tools:

  • Trowels/taping knives. I used these two sizes: Home Depot / Amazon | Home Depot / Amazon
  • Paint brush

Instructions for mud art:

  1. Before you begin texturing your canvas, you’ll need to paint the entire canvas with any type of house paint you have on hand to essentially seal the canvas fabric. I saw that pros do this with something called “gesso” (?) but I figured that house paint would probably function the same and it worked for me. Basically the way I understand it is that the idea is to make it so that the fabric is a little stronger base to hold your mud and so that the moisture won’t sink into it as much. Anyhoo, just paint the whole thing and let it dry fully before starting anything else. I used matte wall paint and a paint brush – really making sure that I got the paint into the weave of the fabric.
  2. Once your painted canvas is dry, it’s time to texture! There are no rules to this process. Just gloop a bunch of drywall mud onto the canvas and shape it until you’re happy with how it looks. [Tip #1: if you’ve never worked with drywall mud before, I would suggest practicing a little on a scrap board or something just so you get a feel for it. I’ve mudded and taped a ton of drywall at this point so I’m really familiar with how the mud goes on and what textures to look for but if I wasn’t, I think I would have liked to practice a little first. Tip #2: if you add a little water, you can create different consistencies in the mud, which in turn will look a little different as you smear it so play around with that. Tip #3: have a few different tools on hand. I actually just used my drywall taping knife and trowel so it doesn’t have to be fancy but I suggest at least two different sizes of tools.]
  3. Allow this to dry FULLY, especially if you have some thicker mud sections. I let mine dry for about 5 days before moving to the next step. Left pic below is after about 1 day of drying.
  4. After it’s fully dried, you may notice that sections of the mud have cracked. Don’t worry, this is normal. Just go in with a gloved hand and a little bit of mud and use your finger to *gently* repair the cracks by adding a small amount of more mud over the cracks (also if the crack is larger, fill in the gap with mud) but smooth it back over so you don’t lose the shape of the texture and lines you created. I did this in sections all over my entire canvas. The idea here is that you want your mud to be firmly secured to your canvas and if there are cracks, I’d be worried it would just crack and fall off once you moved it to a vertical position so I wanted to repair all the cracks to strengthen the overall mud structure. I’ve shown some before (middle) and after (right) pics below:
  5. Allow the crack repairs to dry FULLY. I let mine dry for 2 days.
  6. Once dry, seal everything by painting over it with wall paint. I used the same matte paint that I used to seal the canvas prior to applying the mud. Paint it by hand with a paintbrush and CAREFULLY go over everything – like get right into any cracks and gently go around all the texture. You want to create a seal-coat without hiding any of the more subtle texture so this takes some attention. Also paint down the sides of the canvas too just to really seal it all up.
  7. Allow this to dry FULLY. I let mine dry for 24 hours.

STEP 3: HOW TO MAKE A FLOATING FRAME

Materials:

  • 1/4″ strips of any material (I ripped down MDF)
  • 1×2 wood (if you plan to stain it) or MDF (I used MDF)
  • Paint (I used BM Revere Pewter in Satin) or Stain

Tools:

  • Table saw: Home Depot | Amazon (if you need to rip down MDF)
  • Nailer: Home Depot (& nails)
  • Wood filler
  • Sandpaper

Instructions for floating frame:

  1. Now, obviously this is totally optional and there are many ways to frame art, but if you want to create a floating frame, this is how I did mine: Essentially you need to create a gap (I did a 1/4″ gap) between the canvas and the exterior frame you’re going to build. My frame was made from 1×2 (meaning it had a depth of 1.5″ so the way I created the gap was to simply nail a strip of wood that was 1/4″ x 3/4″ between the canvas frame and the exterior frame. I created my strips by ripping down some MDF I had on hand but plywood would work fine or I think some hardware stores might have something already made that could work. There’s no rules for this, it just has to be a shallower depth then your frame to create the gap. And it doesn’t have to be perfect – the idea is that these strips won’t really ever show.
  2. Then you nail the strips to the canvas frame. I also painted mine a darker gray (black would work too) to accentuate the shadow line but that’s optional.
  3. Then measure & cut 1x2s for your final exterior frame (I mitered my corners but that’s optional) and nail them into place. I then wood-filler’ed the seams and once that was dry, I painted it all gray.

That’s it! Now your art piece is ready to hang!

And if you’re following us on Instagram and familiar with the layout of our dining room and you’re wondering how on earth I got those straight pics of the art piece, I was sitting on our dining table lol! Finally, if you’re wondering why these pics are a little darker than my other pics, I took these at night so there’s no natural light so for those of you asking what our house looks like at night, this is an example.

SIMILAR OPTIONS

If you’re not into DIY or just not feeling particularly artistic, here are similar art pieces you can buy ready-made: McGee & Co (rectangular) | McGee & Co (square) | Crate & Barrel | Anthropologie | Pottery Barn.

Other sources from these pics:

  • Chevron vase: Crate & Barrel
  • Holly stems: Pottery Barn
  • Sideboard: Tutorial | Similar: Wayfair | Crate & Barrel

For more sources from our Dining Room, click here.
For more of our DIY tutorials, click here.
To explore the other rooms in our house, click here.

Filed Under: Tutorials

Questions & Answers about Products & Sources

November 1, 2020 by admin 595 Comments

Hey guys!

This is a place for you to ask us questions about the products or sources in our home.

Please be sure to read the entire home page (including the FAQs at the bottom of it) or look at each room source page as the information we’re asked for is very often already listed on our website.

We do not share our house plan. We designed our house from scratch so our plan is fully custom, very personal to us, and the result of over a year of our hard work so we have chosen not to share it. As such, we don’t answer questions about measurements or layout further to what we’ve provided on our website.

Our house is not for sale and we have no intention of selling it in the future.

We appreciate your understanding.
We check this page regularly so we will get back to you!

PRODUCT SOURCES: BY ROOM

  • Kitchen Sources
  • Pantry Room Sources
  • Living Room Sources
  • Dining Room Sources
  • Home Office Room Sources
  • Reading Room Sources
  • Laundry Room Sources
  • Mudroom Sources
  • Entryway / Foyer Sources
  • Gallery Wall Sources
  • Guest Bedroom Sources
  • Master Bedroom Sources
  • Master Closet Sources
  • Master Bathroom Sources
  • Buffalo Check Bathroom Sources
  • Powder Bathroom Sources
  • Basement Bathroom Sources
  • Basement Sources
  • Theater Room Sources
  • Game Room Sources
  • Stairs & Landings
  • Paint Colors & Stain Recap

TUTORIALS: ART

  • How to Make Textured Canvas Art
  • How to Make Wood Block Art

TUTORIALS: FURNITURE

  • How to Build a Slat Sideboard
  • How to Build a Rustic Sideboard
  • How to Make a Sofa Pit
  • How to Build a Farmhouse Table and Benches
  • How to Build a Console Table
  • How to Build a Round Table

TUTORIALS: WALL TREATMENTS

  • How to Build a Slat Wall
  • How to Stencil a Wall
  • How to Install Shiplap
  • How to DIY a Faux Brick Wall (German Schmear)
  • How to Build a Paneled Accent Wall
  • How to Hang Gallery Wall Frames

TUTORIALS: CONSTRUCTION

  • How to Build a Window Seat
  • How to Build Bypass Barn Doors
  • How to Install Floating Open Shelves
  • How to Build Wood Countertops
  • How to Built Cabinet Doors
  • How to DIY a Nightstand Charging Drawer
  • How to Stain Stairs and Paint Risers
  • How to Build Industrial Stair Railings
  • How to Build a Window Seat Cushion

TUTORIALS: DECOR

  • How to Make a Wood Bead Garland
  • How to Make Clay Links
  • How to Texture Bowls & Vases
  • How to Make Paper Mache Bowls
  • How to Make a Wheat Wreath
  • How to Make Paper Christmas Trees

CAT-RELATED POSTS

  • Cat Room Tour & Litterbox Info
  • Cat-Related Sources & Cleaning Tips
  • How to Stop Cats from Scratching Furniture
  • How to Train Cats & Kittins
  • How to Cat-Proof Christmas Trees & Decor
  • How to Introduce New Kittens to Older Cats
  • How to Cope with Cat Allergies
  • General Cats & Decor Tips

CLEANING TIPS & SOURCES

  • House Cleaning Tips
  • Cat-Related Cleaning Tips
  • Minimalism: How to Get Started

RECIPES FROM OUR KITCHEN

  • Apple or Blueberry Crumble
  • Apple Turnovers
  • Baked Pumpkin Donuts
  • Blueberry Lemon Cake
  • Cheese & Cracker Snack Boards
  • Chocolate Chip Banana Bread
  • Chocolate Chip Cookies
  • Cinnamon Rolls
  • Cinnamon Pumpkin Donut Bites
  • Creamy No-Cheese Pasta Sauce
  • Coconut Curry Squash Soup
  • Easy Garlic Flatbread
  • Fresh Rolls
  • Gingerbread House & Cookies
  • Hearty Vegetable Soup
  • Meatless Bolognese Pasta Sauce
  • Molasses Cookies
  • Oatmeal Raisin Cookie Recipe
  • Pesto Pasta
  • Potato Chickpea Curry + Homemade Naan Bread
  • Puff Pastry Christmas Tree
  • Pumpkin Oat Muffins
  • Roasted Red Pepper Pasta
  • Vegan Pad Thai
  • Veggie Lasagna
  • Veggie Pasta

PAST DECOR LOOKS

  • Christmas Decor 2020
  • Fall & Halloween Decor 2020
  • Summer Decor 2020
  • Spring Decor 2020
  • Christmas Decor 2019
  • Fall Decor 2019
  • Summer Decor 2019
  • Spring Decor 2019
  • Winter Decor 2019
  • Christmas Decor 2018

CHRISTMAS POSTS

  • Christmas Decor 2020
  • How to Make Paper Christmas Trees
  • Neutral Christmas Present Wrapping
  • Holiday Cheese & Snack Boards
  • How to Make Salt Dough Ornaments
  • How to DIY a Modern Wooden Christmas Tree
  • How to DIY a Minimal Wooden Christmas Village
  • How to Build a Christmas Tree Stand
  • How to Cat-Proof Christmas Trees & Decor
  • Recipe: Gingerbread House & Cookies
  • Recipe: Puff Pastry Christmas Tree
  • Christmas Decor 2019
  • Christmas Decor 2018

ABOUT US

  • About Us

Filed Under: Uncategorized

Fall & Halloween Decor 2020

October 20, 2020 by admin 2 Comments

Halloween decor:

  • Wall bats: Amazon | Walmart | Walmart (I attach them with rolled up scotch tape)
  • Halloween birds: Amazon | Amazon | Walmart | Walmart | Walmart | Michaels
  • Wood bead garland: Tutorial | Similar: Amazon | McGee & Co | Crate & Barrel
  • Black vase: Tutorial | Similar: West Elm | McGee & Co
  • Fall florals: Michaels | Similar: Pottery Barn | Pottery Barn
  • Striped vase: Crate & Barrel (mine is last year’s version)
  • Branches: Natural | Similar: Crate & Barrel
  • Black candlesticks (similar): West Elm
  • Black bowl (similar): CB2 | CB2

Fall decor:

  • Wheat wreath: Tutorial | Similar: Kirklands | Pottery Barn | Amazon | Wayfair | Target
  • Muted eucalyptus leaves: Crate & Barrel
  • White pampas grass: Crate & Barrel
  • Tall white vase: Crate & Barrel
  • Dried flax stems: West Elm
  • Medium white vase: Crate & Barrel
  • White pumpkins: Michaels | Michaels | Michaels

For the early Fall Preview page, click here.

More sources relevant to these pictures can be found on our:

  • Kitchen Sources page
  • Living Room Sources page
  • Dining Room Sources page
  • Gallery Wall Sources page
  • Basement Sources page
  • Home Office Room Sources Page

Filed Under: Past Decor

  • « Go to Previous Page
  • Go to page 1
  • Go to page 2
  • Go to page 3
  • Go to page 4
  • Go to page 5
  • Interim pages omitted …
  • Go to page 10
  • Go to Next Page »

Primary Sidebar

SHOP OUR HOME

Click any image below for sources from our pics!

WEBSITE ROADMAP

  • Shop Our Home
  • Sources by Room
    • All Sources & FAQs
    • Kitchen Sources
    • Pantry Sources
    • Living Room Sources
    • Dining Room Sources
    • Home Office Sources
    • Laundry Room Sources
    • Entryway Sources
    • Mudroom Sources
    • Gallery Wall Sources
    • Reading Room Sources
    • Theater Room Sources
    • Game Room Sources
    • Guest Bedroom Sources
    • Primary Bedroom Sources
    • Primary Closet Sources
    • Primary Bathroom Sources
    • Powder Bathroom Sources
    • Buffalo Check Bathroom Sources
    • Basement Bathroom Sources
    • Basement Sources
    • Stairs, Landings & Hallways
    • Paint Colors and Stain Recap
    • Cleaning Sources & Routines
  • Tutorials
    • How to Make a Staircase Gallery Wall
    • How to Make Textured Canvas Art
    • How to Install Shiplap
    • How to Build a Slat Wall
    • How to Paint an Ikea Dresser
    • How to Build Bypass Barn Doors
    • How to Build a Farmhouse Table and Benches
    • How to Build a Rustic Sideboard
    • How to Build a Slat Sideboard
    • How to Make a Sofa Pit
    • How to DIY a Faux Brick Wall
    • How to Build a Window Seat
    • How to Build a Paneled Accent Wall
    • How to DIY a Functional Play Kitchen
    • How to Stencil a Wall
    • How to Build a Round Table
    • How to Build a Console Table
    • How to Make Paper Stars
    • How to Make Paper Mache Bowls
    • How to Make Clay Links
    • How to Texture Bowls & Vases
    • How to Install Open Shelves
    • How to Make Wood Block Art
    • How to Make a Wood Bead Garland
    • How to Build Cabinet Doors
    • How to Build a Wood Countertop
    • How to DIY a Nightstand Charging Drawer
    • How to Make a Wheat Wreath
    • How to Hang Gallery Wall Frames
    • How to Stain Stairs and Paint Risers
    • How to Make Industrial Stair Railings
    • How to Build a Window Seat Cushion
    • How to Make Salt Dough Ornaments
    • How to DIY a Modern Mantel Christmas Tree
    • How to DIY a Wooden Christmas Village
    • How to Build a Wood Christmas Tree Collar Box
    • How to Make Paper Christmas Trees
  • Cats
    • Cat Room Tour & Litterboxes
    • Cat-Related Sources & Cleaning Tips
    • How to Cat-Proof Christmas Trees & Decor
    • How to Stop Cats from Scratching Furniture
    • How to Stop Cats from Playing with Decor
    • How to Train Cats and Kittens
    • How to Cope with Cat Allergies
    • How to Introduce New Kittens to Older Cats
  • Christmas
    • Christmas Decor Favorites 2023
    • How to Build a Wood Christmas Tree Collar Box
    • Neutral Christmas Present Wrapping
    • How to Make Paper Christmas Stars
    • How to Make Paper Christmas Trees
    • How to Make Salt Dough Ornaments
    • DIY Holiday Art Ideas
    • How to Cat-Proof Christmas Trees & Decor
    • How to Make Modern Tabletop Trees
    • How to Make a Wooden Christmas Village
    • Holiday Cheese & Snack Boards
    • Christmas Decor 2021
    • Christmas Decor 2020
    • Christmas Decor 2019
    • Gingerbread House & Cookies Recipe
    • Puff Tastry Christmas Tree Recipe
    • Christmas Decor 2018
  • Cleaning
    • Cleaning Sources & Routines
    • Minimalism: How To Get Started
    • Cat-Related Cleaning Tips
  • Recipes
    • Apple Turnovers Recipe
    • Baked Pumpkin Donuts Recipe
    • Banana Chocolate Chip Bread Recipe
    • Blueberry Lemon Cake Recipe
    • Cheese & Cracker Snack Boards
    • Chocolate Chip Cookie Recipe
    • Christmas Crack Recipe
    • Chocolate Crinkle Cookies Recipe
    • Cinnamon Rolls Recipe
    • Cinnamon Star Pastry Recipe
    • Coconut Curry Squash Soup Recipe
    • Creamy No-Cheese Pasta Sauce Recipe
    • Crumble Recipe
    • Easy Veggie Pasta Recipe
    • Fresh Rolls Recipe
    • Garlic Flatbread Recipe
    • Gingerbread Biscotti Recipe
    • Gingerbread House & Cookies Recipe
    • Healthy Hearty Salad Recipe
    • Homemade Bread Recipe
    • Lasagna Recipe
    • Molasses Cookies Recipe
    • Oatmeal Raisin Cookies Recipe
    • Pad Thai Recipe
    • Pesto Pasta Recipe
    • Potato Curry + Naan Bread
    • Puff Pastry Christmas Tree Recipe
    • Pumpkin Donut Bites Recipe
    • Pumpkin Loaf Recipe
    • Pumpkin Oat Muffins Recipe
    • Roasted Red Pepper Pasta Recipe
    • Rocky Road Bars Recipe
    • Vegan Bolognese Pasta Sauce
    • Vegetable Soup Recipe
  • About
    • About Us
    • Website Roadmap
    • Shop Our Home
    • Minimalism: How To Get Started
    • Privacy Policy
  • Blog

WHERE WE SHOP

Amazon

Wayfair

West Elm

Crate & Barrel

CB2

Pottery Barn

McGee & Go

Overstock

Rejuvenation

Joss and Main

All Modern

Target

Home Depot

World Market

Etsy

H&M Home

Lulu and Georgia

Serena & Lily 

Schoolhouse

Anthropologie

RECENT POSTS

  • Christmas 2023
  • Christmas Decor Favorites 2023
  • How to Make a Staircase Gallery Wall
  • Functional Play Kitchen DIY
  • Christmas Decor 2022
  • Cinnamon Rolls Recipe

Meta

  • Log in
  • Entries feed
  • Comments feed
  • WordPress.org

Footer

RECENT POSTS

  • Christmas 2023
  • Christmas Decor Favorites 2023
  • How to Make a Staircase Gallery Wall
  • Functional Play Kitchen DIY
  • Christmas Decor 2022
  • Cinnamon Rolls Recipe
  • Christmas Decor 2021
  • Cinnamon Star Pastry Recipe

SHOP OUR HOME

FOLLOW US

ON INSTAGRAM

For daily updates on our house projects and rescue kitties, follow us on Instagram @ahousewebuilt

ON SHOP.LTK

To shop our home pics daily, follow ahousewebuilt in the free SHOP.LTK app (formerly LIKEtoKNOW.it) now available from the App Store to get product sources from our pics. With this app, you can instantly shop your screenshot of any of our Instagram pics! We always link exactly what we have when available and often offer similar options as well!

Copyright © 2025 · Metro Pro on Genesis Framework · WordPress · Log in